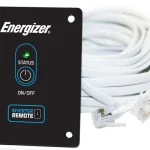



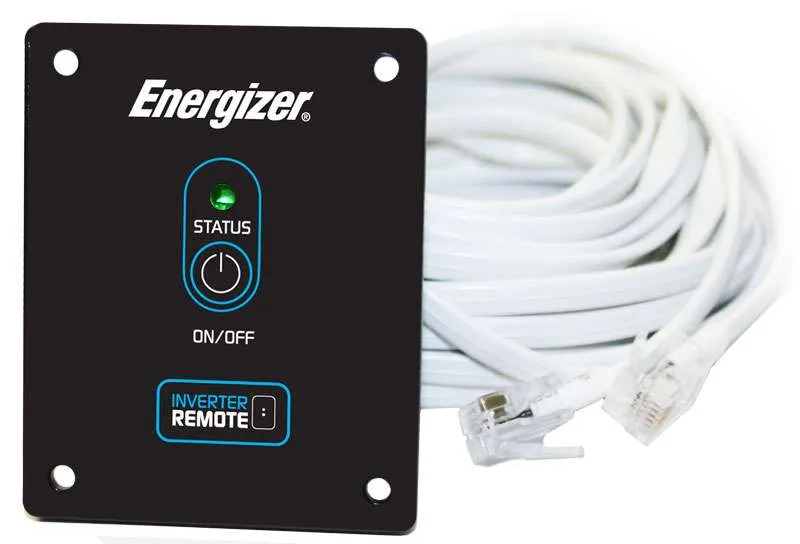
Vanonpower.com – Wiring an inverter remote switch in a campervan involves connecting the remote control cable directly from the inverter’s designated data port to the switch panel, ensuring the polarity matches to allow for remote power management.
Understanding the Inverter Remote Switch Functionality
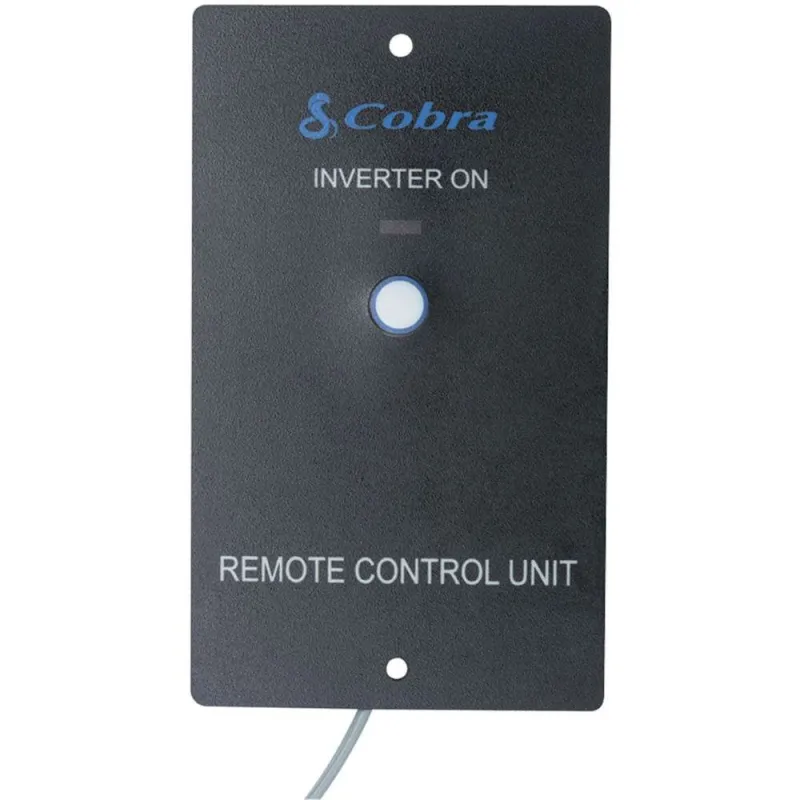
A remote switch is an essential upgrade for any campervan electrical system. It allows you to toggle your inverter on and off without needing to physically reach the unit, which is often tucked away in a cramped storage bay or under a bed frame. Beyond convenience, it helps conserve battery life by making it effortless to cut power to the inverter when it is not in use, preventing the parasitic drain that occurs even when the inverter is in standby mode.
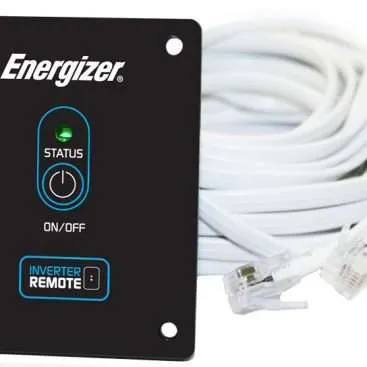
Most modern pure sine wave inverters feature a dedicated RJ11 or RJ45 port specifically designed for remote operation. It is important to note that these remotes do not carry high-voltage AC current; instead, they send low-voltage control signals to the inverter’s internal relay. This makes the installation process relatively safe and straightforward, provided you follow the manufacturer’s wiring diagram.
Required Tools and Materials for Installation
Before starting the installation, gather the necessary tools to ensure a clean and professional finish. You will need a cable stripper, a screwdriver set, a drill with a hole saw or spade bit for mounting the switch, and potentially some zip ties for cable management. Most inverters come with a standard 5-meter or 10-meter cable, but if your van layout requires a longer run, ensure you are using the correct gauge and type of shielded communication cable to avoid signal interference.
Step-by-Step Installation Process
- Disconnect the inverter from the main battery bank to prevent accidental shorts or damage during the setup process.
- Identify the ideal location for your remote switch, ensuring it is easily accessible from your living area but away from potential moisture or heat sources.
- Use a hole saw to cut the mounting hole into your wall panel or cabinet, following the specific diameter requirements provided in your inverter’s manual.
- Route the remote cable from the inverter location to the switch location, taking care to keep the cable away from high-current DC cables to prevent electromagnetic interference.
- Plug the cable into the inverter’s remote port, ensuring it clicks firmly into place to provide a secure connection.
- Mount the remote switch panel into the prepared hole using the provided screws or mounting bracket.
- Reconnect the main battery bank and perform a test run to ensure the inverter toggles on and off correctly when the switch is pressed.
Comparison of Inverter Remote Connectivity Options
Different inverter brands utilize various connection types. Understanding these differences is critical before purchasing a remote or attempting to splice a cable.
| Connection Type | Typical Use Case | Ease of Installation |
|---|---|---|
| RJ11 (Phone Style) | Budget and Compact Inverters | Easy – Snap-in connection |
| RJ45 (Ethernet Style) | High-End/Large Inverters | Moderate – Shielded cables required |
| Hardwired Terminal Block | Custom DIY Systems | Difficult – Requires manual crimping |
Common Mistakes and Troubleshooting
One of the most frequent mistakes installers make is running the remote cable parallel to the main DC battery cables. Because the remote cable carries low-voltage data signals, it is susceptible to “noise” or interference from the high-current wires. This can cause the inverter to flicker, fail to turn on, or behave erratically. If you must cross paths with DC cables, try to do so at a 90-degree angle to minimize interference.
Another common issue involves the physical mounting of the switch. If you mount the switch onto a metal wall without proper insulation, you risk creating a short circuit if the internal terminals contact the metal housing. Always use the included plastic mounting plate or ensure the switch is seated in a non-conductive material like wood or marine-grade plywood.
If your remote switch fails to trigger the inverter, check the cable integrity first. Inspect the RJ connector pins to ensure none are bent or corroded. In many cases, a simple “re-seat” of the cable—unplugging and plugging it back in—is enough to restore communication. If the problem persists, verify that the inverter’s local power switch is in the “Remote” or “Standby” position, as many units require this specific setting to accept signals from an external controller.
📷 Photo by invertersrus.com
Safety Considerations
📷 Photo by invertersrus.com
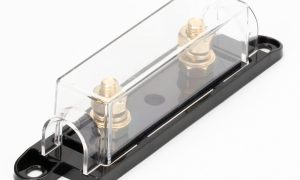
Always prioritize safety when working with your campervan electrical system. Even though the remote switch is low voltage, the inverter itself is connected to high-capacity lithium or AGM batteries. A short circuit here can be disastrous. Always utilize a fuse on the positive side of your inverter’s DC input, and ensure all connections are tight and free of oxidation. If you notice any burning smell or flickering LEDs on your remote switch, disconnect the power immediately and inspect the wiring for damage.
FAQ
Q: Can I extend the remote cable if the included one is too short?
A: Yes, you can extend the cable, but you must use the same type of cable (e.g., shielded RJ45) and ensure the total length does not exceed the manufacturer’s recommended maximum, usually around 15 to 20 meters, to avoid signal degradation.
Q: Will the remote switch work if the main switch on the inverter is turned off?
A: Most inverters require the main power switch to be set to the “Remote” or “Standby” position for the remote switch to function. If the main switch is set to “Off,” the remote will typically be disabled.
Q: Is it possible to use a standard light switch instead of the official remote?
A: Generally, no. Official remote switches contain internal circuitry and LEDs that communicate with the inverter’s microprocessor. A standard light switch lacks this data capability and will not be able to trigger the inverter’s internal relay.
By following these steps and keeping safety at the forefront, you can successfully integrate a remote switch into your campervan. This simple addition significantly improves the usability of your off-grid power setup, allowing you to focus more on your travels and less on managing your equipment.
📷 Photo by invertersrus.com