



Vanonpower.com – Choosing the correct busbar for a lithium battery bank requires matching the material conductivity and cross-sectional area to your system’s peak amperage draw to prevent overheating, voltage drop, and potential fire hazards. Proper sizing ensures that your battery bank operates efficiently while maintaining safe thermal limits under heavy load.
Understanding the Role of Busbars in Lithium Systems
A busbar acts as the central distribution hub for your battery bank, allowing multiple cells or battery modules to connect in parallel or series. Unlike standard wiring, which can become cluttered and difficult to manage, a busbar provides a solid, low-resistance path for high-current flows. In lithium iron phosphate (LiFePO4) systems, which are capable of delivering very high discharge rates, the busbar is the most critical link in the electrical chain.
If a busbar is undersized, it creates a bottleneck. This resistance generates heat, which is the enemy of lithium batteries. Excessive heat not only degrades the battery chemistry over time but can also melt terminal connections or trigger thermal runaway in extreme cases. Therefore, selecting the right material—usually copper or tinned copper—and the correct gauge is non-negotiable.
Material Selection: Copper vs. Aluminum
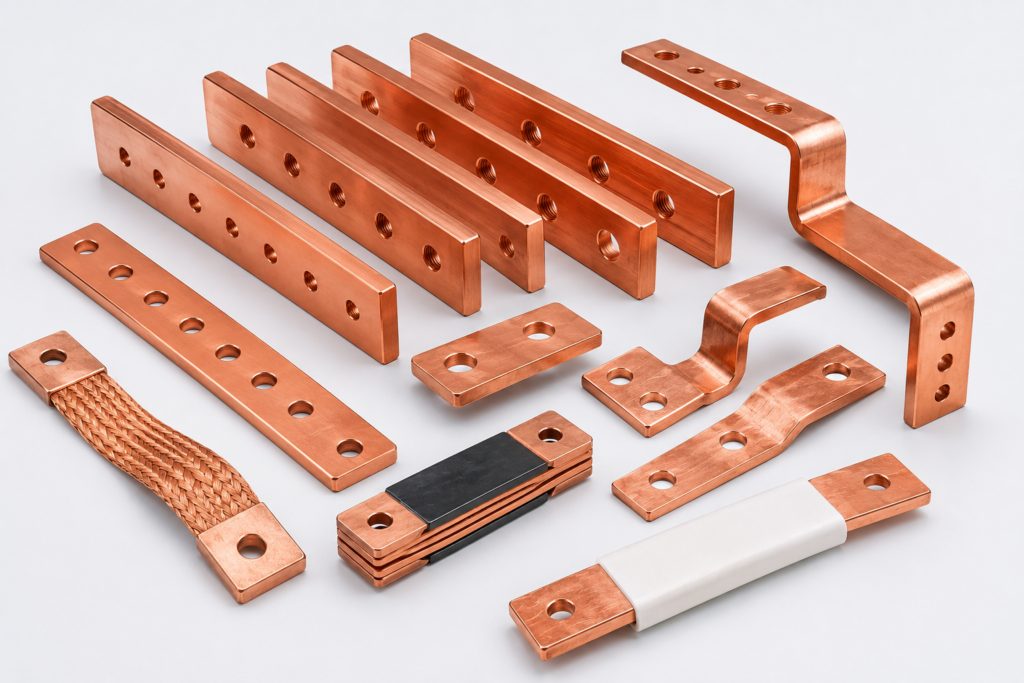
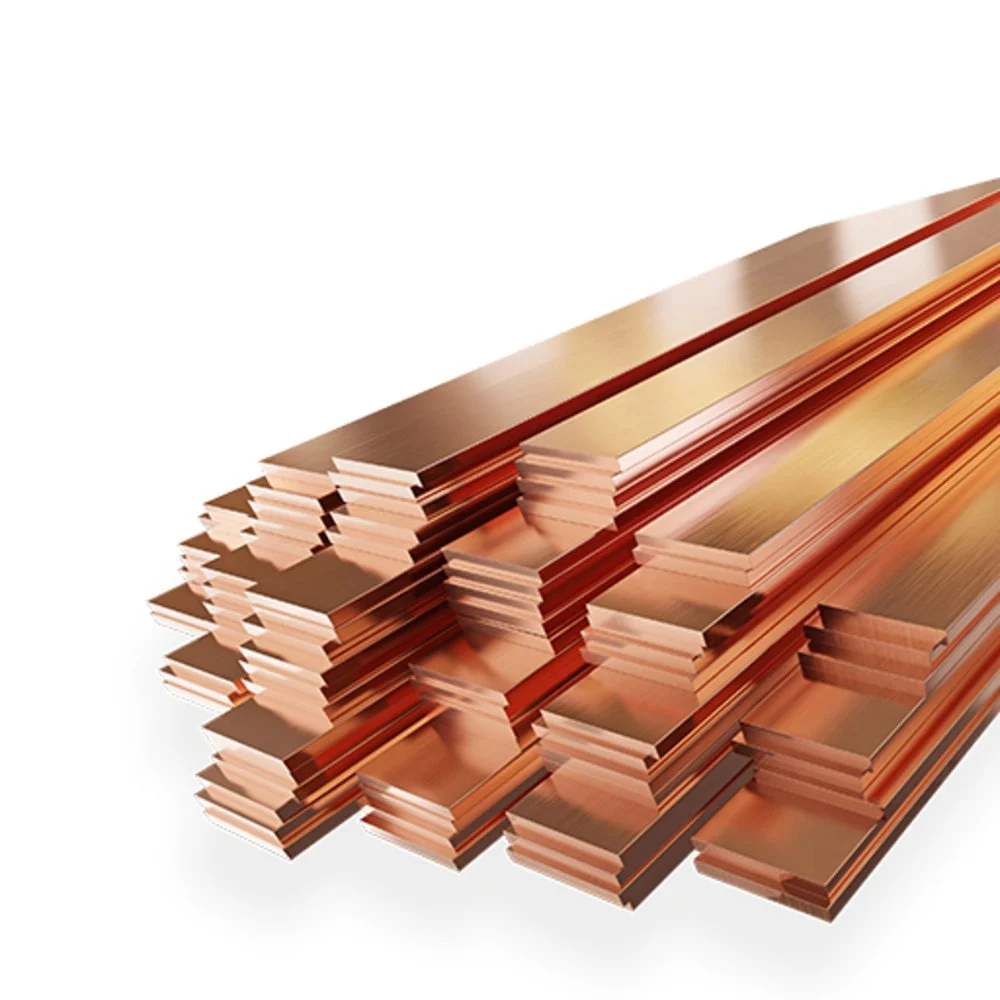
Copper is the industry standard for high-performance lithium battery banks due to its superior electrical conductivity. Tinned copper is even better, as it prevents oxidation and corrosion, which are common in marine or humid environments. Aluminum is cheaper and lighter, but it has higher electrical resistance and requires specialized anti-oxidant paste to prevent galvanic corrosion at connection points.
When selecting your busbars, always prioritize solid copper bars. If you are building a DIY power wall, avoid using thin braided cables if a solid bar can be used instead. Solid bars offer a greater surface area for contact, which minimizes connection resistance.
Amperage Sizing Rules and Calculations
The golden rule for busbar sizing is to calculate the maximum continuous discharge current of your entire system and then add a 20% safety margin. If your inverter pulls 200A, your busbar should be rated for at least 240A of continuous load.
| Busbar Cross-Section (mm) | Max Continuous Amps (Copper) | Recommended Application |
|---|---|---|
| 25 x 3 mm | 200A – 250A | Small solar storage / 12V systems |
| 25 x 5 mm | 300A – 350A | Medium home backup / 24V systems |
| 40 x 5 mm | 450A – 500A | Large DIY power walls / 48V systems |
| 50 x 10 mm | 700A+ | Industrial storage / EV charging |
Common Mistakes to Avoid
📷 Photo by carsai-precisionparts.com
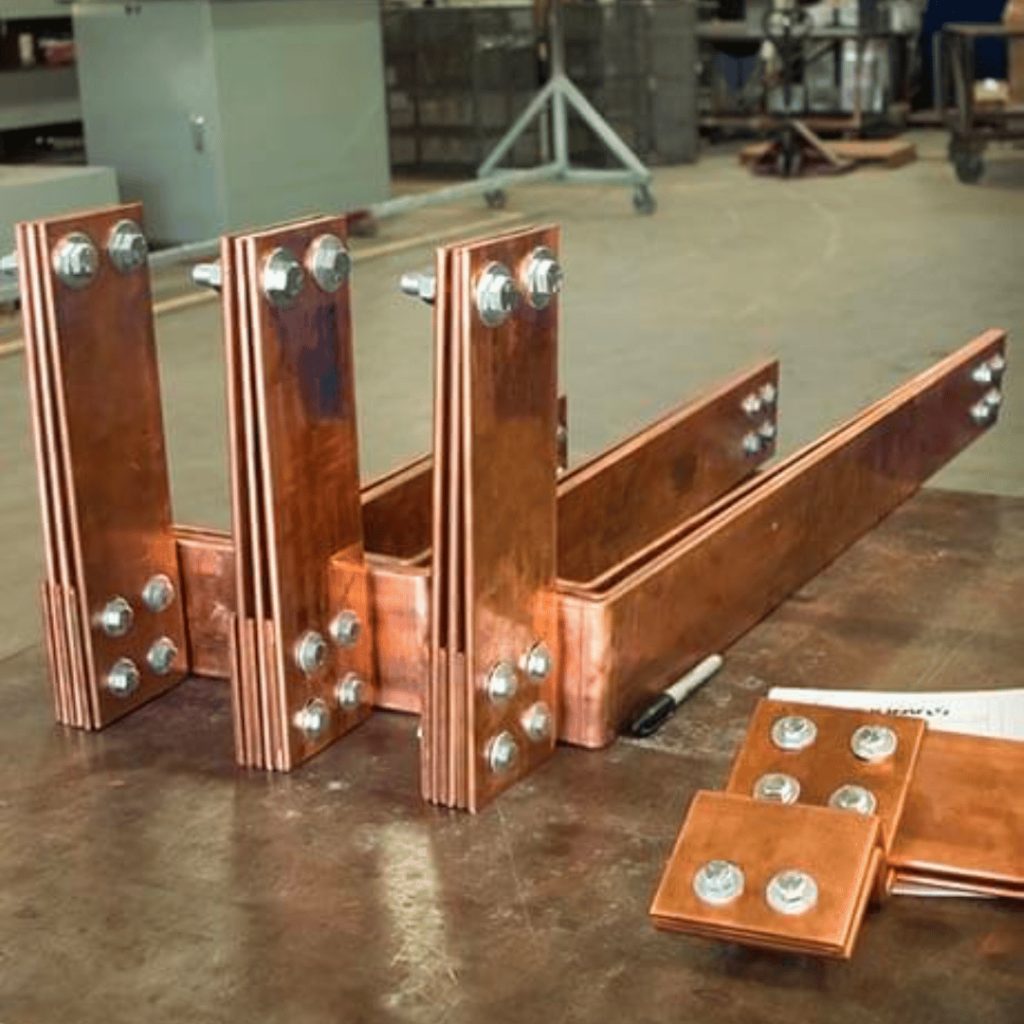
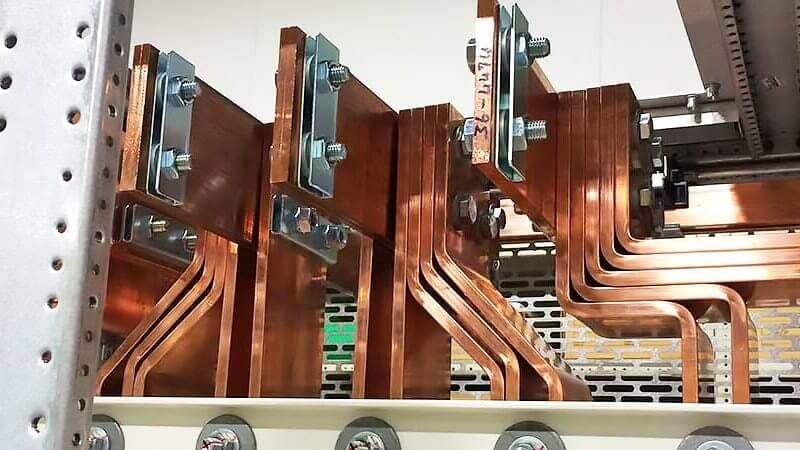
One of the most frequent errors is ignoring the “bottleneck effect” at the connection points. You might have a massive busbar, but if you attach it to the battery terminal with a small, thin bolt or a single inadequate lug, the entire system is limited by that narrow point. Always use high-quality, large-diameter stainless steel bolts and ensure that the contact surface is perfectly clean and flat.
📷 Photo by busbarmachinery.com
Another mistake is failing to account for temperature derating. If your battery bank is located in a hot garage or a confined cabinet, the busbar’s current-carrying capacity drops. Always opt for a larger busbar than you think you need if your environment lacks active cooling.
Step-by-Step Guide to Installing Busbars
Installing busbars correctly is just as important as choosing the right size. Follow these steps to ensure a safe, low-resistance connection:
- Clean all contact surfaces on both the busbar and the battery terminals using fine-grit sandpaper or a wire brush to remove any oxidation or protective coatings.
- Apply a thin layer of conductive anti-oxidant grease to the contact areas to prevent future corrosion.
- Align the busbar holes with the battery terminals and ensure the bars are sitting perfectly flat. Avoid forcing them into place, as this creates mechanical stress on the battery posts.
- Use a torque wrench to tighten the nuts to the manufacturer’s specified torque rating. Overtightening can strip threads, while undertightening increases resistance and heat.
- Install a heat-resistant cover or insulation over the entire busbar assembly to prevent accidental short circuits from dropped tools.
The Importance of Thermal Monitoring
Even with the best busbars, connections can loosen over time due to thermal expansion and contraction. It is a best practice to perform a thermal scan of your battery bank under full load after the first 24 hours of operation. If any connection point feels significantly warmer than the rest of the busbar, you have a high-resistance joint that needs to be cleaned and re-tightened.
Frequently Asked Questions
Q: Can I use aluminum busbars for my lithium battery bank?
A: Yes, but you must use specific anti-oxidant joint compounds and ensure your terminals are compatible to avoid galvanic corrosion; otherwise, copper remains the safer and more durable choice.
Q: Why does my busbar get warm during heavy discharge?
A: It is likely either undersized for the current draw, or the connections are loose, creating resistance that manifests as heat.
Q: Should I insulate my busbars?
📷 Photo by dir.indiamart.com
A: Absolutely. Busbars are live conductors; covering them with acrylic or polycarbonate shields prevents short circuits if a metal object falls across the battery bank.
Final Considerations for Safety
Your busbar is the backbone of your battery bank. Never cut corners on quality. Cheap, thin, or poorly plated busbars are one of the leading causes of preventable battery system failures. Always verify the cross-sectional area against your inverter’s peak output and inspect the installation annually. A well-designed system with properly sized busbars will last for thousands of cycles, providing stable and reliable power for years to come.
Read also: Does LiFePO4 Need Equalization Charging? Myths vs Facts
📷 Photo by frigate.ai