

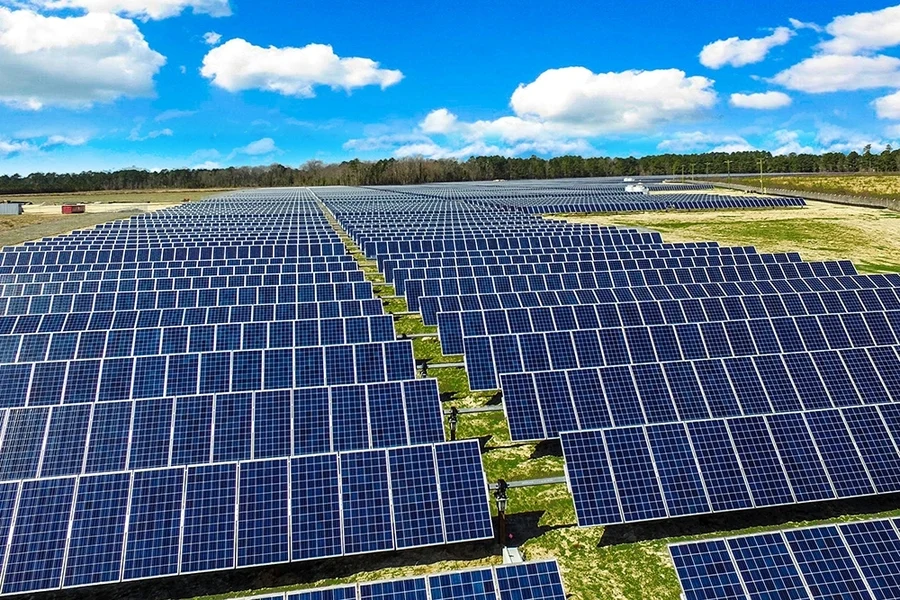
Vanonpower.com – A faulty solar panel in an array is diagnosed by isolating individual modules using a digital multimeter to measure open-circuit voltage (Voc) and short-circuit current (Isc) while comparing the readings against the manufacturer’s datasheet. If a panel’s output deviates significantly from its peers or its rated specifications under similar sunlight conditions, it is likely damaged or underperforming.
Solar arrays are designed to operate as a cohesive unit, but they are only as strong as their weakest component. When one panel fails, it can drag down the performance of the entire string, especially in systems utilizing series-wired configurations. Identifying this “weak link” requires a systematic approach that combines visual inspection with electrical testing.
The Importance of Safety Protocols
Before touching any electrical components, you must prioritize safety. Solar panels generate electricity whenever sunlight hits them, meaning they are “live” throughout the day. Always wear insulated gloves, use tools with rubber-coated handles, and never disconnect MC4 connectors under load, as this can create a dangerous electrical arc.
If you are working with high-voltage arrays, consider covering the panels with opaque blankets to minimize current production while you perform your diagnostics. If you are not comfortable working with live DC electricity, it is imperative to hire a certified solar technician.
Visual Inspection: The First Line of Defense
Most solar panel failures are not purely electrical; they are often preceded by physical degradation. Before pulling out your multimeter, perform a thorough walk-around of your array. Look for common signs of physical stress that indicate a panel has reached the end of its life or suffered environmental damage.
Common signs of failure include snail trails (discoloration patterns), burnt spots or localized browning on the cells, cracked backsheets, or shattered glass. Also, check the junction box on the back of the panel. If it appears melted, warped, or smells like burnt plastic, the bypass diodes inside have likely failed, which is a common cause of total panel output collapse.
Comparative Performance Data
To diagnose a fault effectively, you need a baseline. Use your solar inverter monitoring software to identify which string is underperforming. If your system uses microinverters or power optimizers, the software will pinpoint the exact panel that is reporting low energy production. If you have a traditional string inverter, you will have to test the panels manually to isolate the culprit.
| Test Type | What it Measures | Indication of Fault |
|---|---|---|
| Open-Circuit Voltage (Voc) | Maximum voltage without a load | Reading significantly lower than datasheet |
| Short-Circuit Current (Isc) | Maximum current flow | Zero or near-zero reading |
| Visual Inspection | Physical integrity | Cracks, burns, or moisture ingress |
Step-by-Step Diagnostic Procedure
Once you have identified the suspect string, follow these steps to isolate the faulty module safely. Ensure your multimeter is set to the correct DC range before beginning.
- Disconnect the suspect panel from the rest of the array string to isolate it electrically.
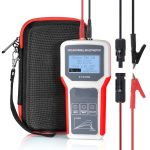
- Set your multimeter to DC Voltage mode and measure the Voc by touching the probes to the positive and negative MC4 connectors. Compare this result to the Voc listed on the panel’s rear label.
- If the voltage is zero or extremely low, the internal circuitry or bypass diode is likely compromised.
- If the voltage appears normal, set your multimeter to DC Amps to measure Isc, ensuring the probes are securely connected.
- Compare the Isc value to the rating on the label. A significantly lower current reading than the rated Isc under full sun indicates a cell failure or internal connection resistance.
Common Causes of Panel Failure
Understanding why a panel fails can help you prevent future issues. Micro-cracks are a silent killer; they are often invisible to the naked eye but grow over time due to thermal expansion and contraction, eventually severing the electrical path. Moisture ingress is another frequent culprit, occurring when the seal around the frame or junction box deteriorates, allowing water to cause internal corrosion.
Another common mistake is shade-induced hot spotting. If a single panel is consistently shaded by a tree or chimney, the bypass diodes work overtime to protect the panel. Eventually, these diodes can fail, causing the panel to stop producing power entirely or even become a fire hazard due to localized heat buildup.
When to Replace vs. Repair
In most residential setups, solar panels are sealed units. While you can sometimes replace a faulty junction box or bypass diode, the glass and cell structure itself cannot be repaired. If the fault lies within the silicon cells or the laminate, the panel must be replaced. Attempting to repair the internal glass layers will compromise the waterproof seal, leading to inevitable failure shortly thereafter.
Always check your manufacturer’s warranty before attempting any DIY repairs. Many solar panels come with a 25-year performance warranty. If your testing confirms a defect, you may be eligible for a free replacement, but tampering with the junction box or physical structure will almost certainly void that warranty.
Q: My panel shows voltage but no current. What does that mean?
A: This usually indicates an open circuit within the panel cells or a failed bypass diode that is blocking the flow of electricity, preventing the panel from producing usable power under load.
Q: Can I use a standard home multimeter for these tests?
A: Yes, as long as the multimeter is rated for the DC voltage output of your panels. Most residential panels output between 30V and 50V, so ensure your meter can handle at least 600V DC to be safe.
Q: Is it normal for panels to lose power over time?
A: Yes, all solar panels experience “degradation,” typically losing about 0.5% to 1% of their output efficiency per year. However, a sudden, significant drop in power is a sign of a technical fault, not natural degradation.
Maintaining a clean array is the best way to ensure your diagnostic readings are accurate. Dust, bird droppings, and pollen can create localized shading that mimics a faulty panel. Always clean your panels before performing electrical tests to ensure the data you gather is representative of the panel’s true health.
📷 Photo by shieldenchannel.com