

Vanonpower.com – Properly setting the Low Voltage Cutoff (LVC) for LiFePO4 batteries is critical to preventing permanent chemical damage, with the optimal threshold typically set between 10.5V and 11.5V for 12V systems depending on your specific BMS and load profiles.
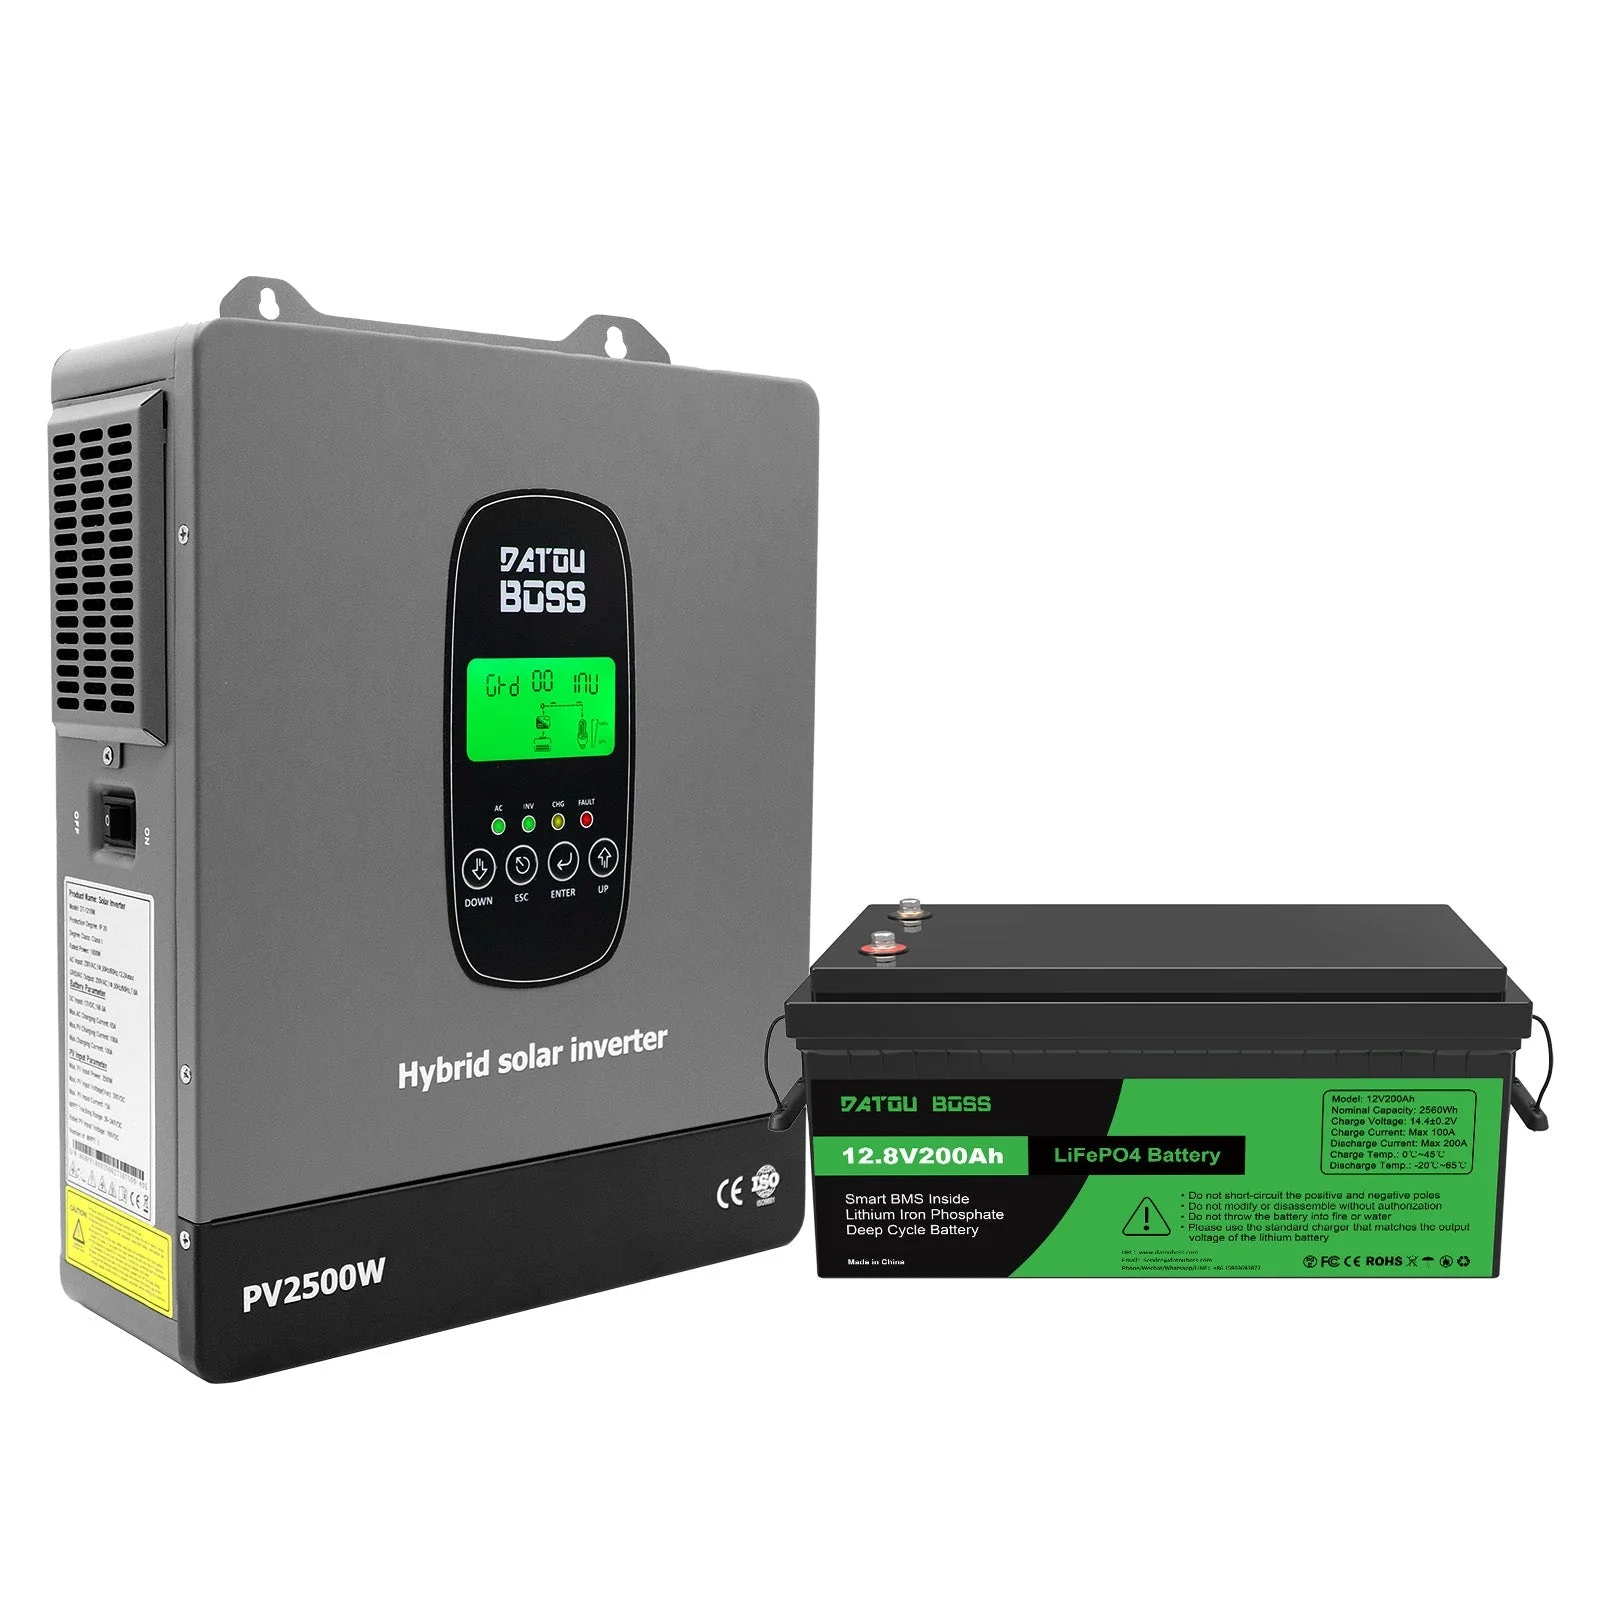
📷 Photo by xdatou.com
LiFePO4 (Lithium Iron Phosphate) batteries are prized for their flat discharge curve and long cycle life, but they are unforgiving when it comes to undervoltage events. Unlike lead-acid batteries that can recover from a deep discharge, dropping a LiFePO4 cell below its critical voltage threshold can trigger internal protection circuits, potentially bricking the battery or significantly reducing its total capacity.
Understanding the LiFePO4 Discharge Curve
The voltage profile of a LiFePO4 battery is unique because it spends the vast majority of its discharge cycle in a “plateau” phase, hovering between 13.0V and 12.8V. When the voltage begins to drop rapidly below 12.0V, the battery is already nearing its end-of-charge capacity. Setting your inverter’s LVC too high results in wasted energy, while setting it too low risks a hard disconnect from the Battery Management System (BMS).
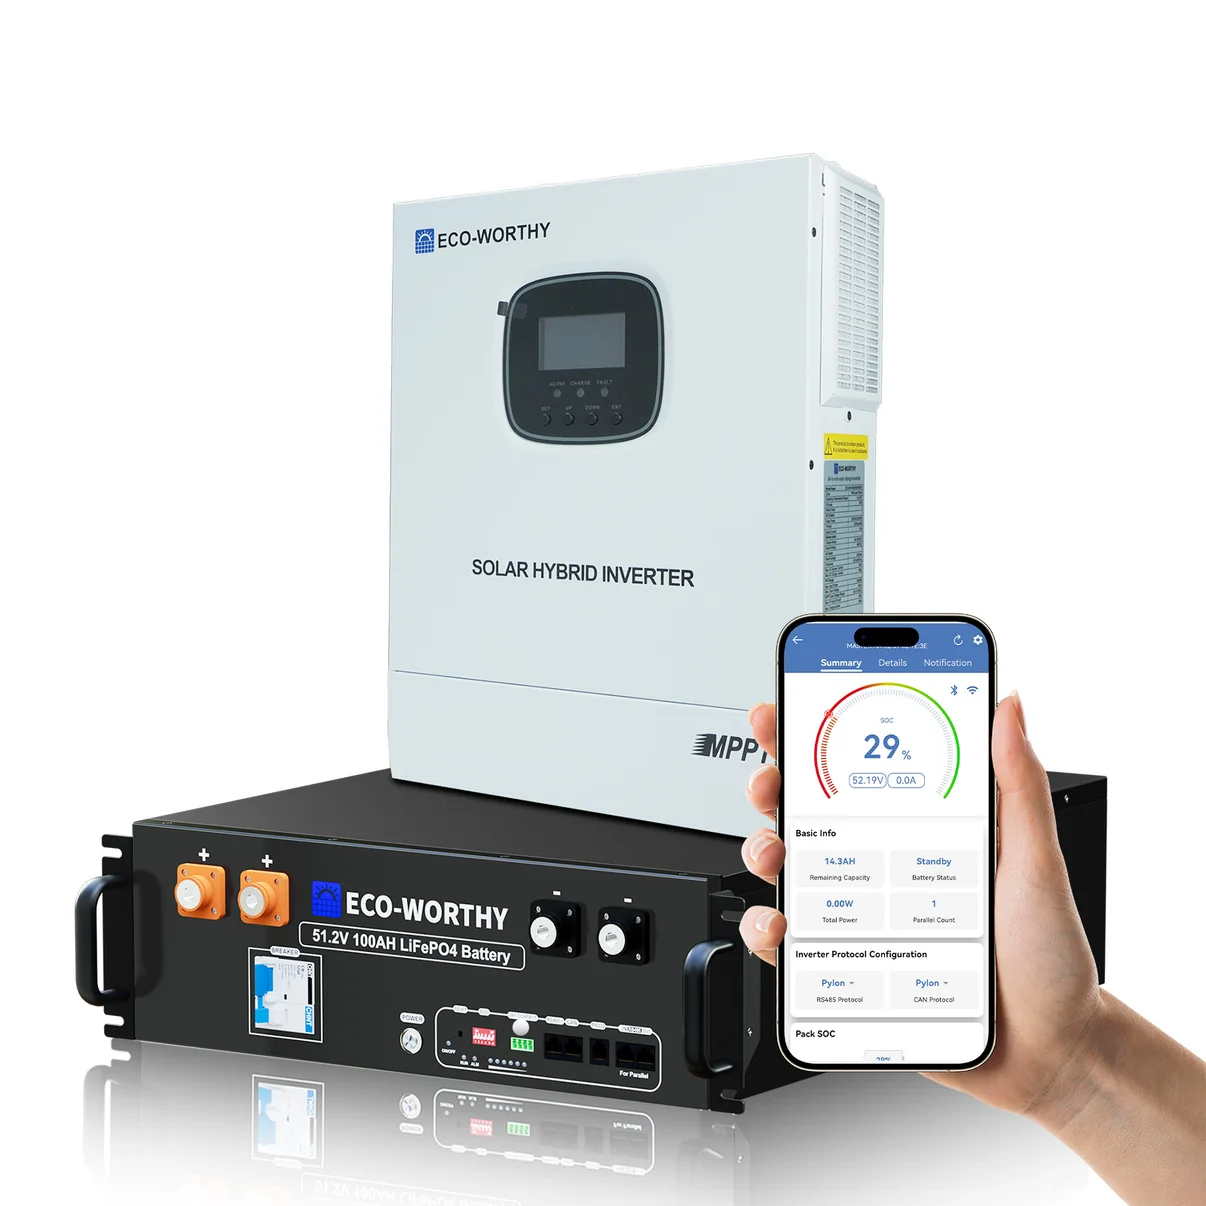
Most high-quality inverters allow for user-defined voltage settings. It is essential to distinguish between the inverter’s LVC and the BMS’s internal LVC. Your inverter should always trigger its shutdown before the BMS does. If the BMS triggers the cutoff, it is a “hard” disconnect that can lead to voltage spikes or communication errors with other system components.
Recommended Voltage Thresholds for LiFePO4 Systems
When configuring your system, consider the voltage drop caused by heavy loads. A large inverter pulling significant current will cause a temporary sag in battery voltage. If your LVC is set too close to the discharge limit, your inverter may shut down prematurely during high-power usage, even if the battery still has usable energy.
| System Voltage | Warning Threshold | Inverter Cutoff (Recommended) | BMS Hard Cutoff (Reference) |
|---|---|---|---|
| 12V System | 11.5V | 11.0V | 10.0V |
| 24V System | 23.0V | 22.0V | 20.0V |
| 48V System | 46.0V | 44.0V | 40.0V |
Steps to Configure Your Inverter LVC
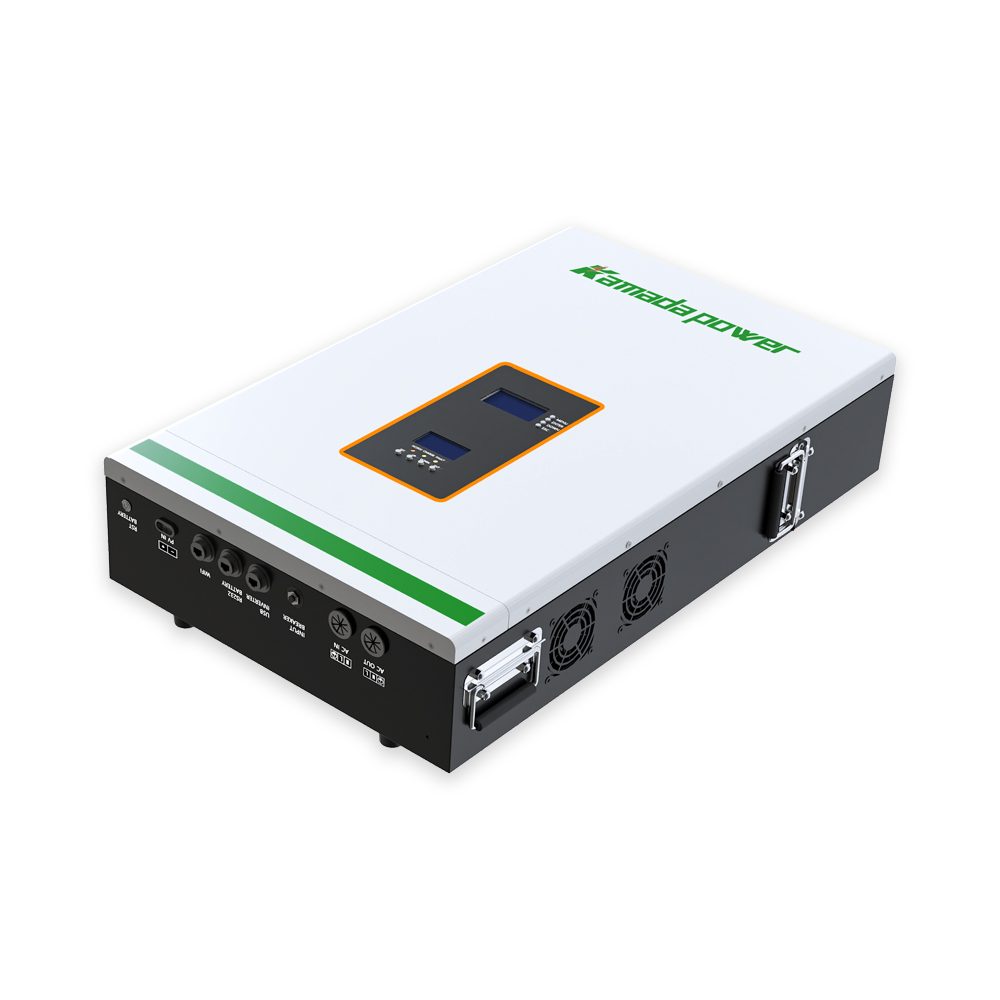
📷 Photo by kmdelectronic.com
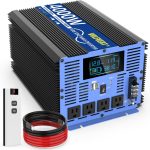
Proper configuration requires access to the inverter’s settings menu, often via a remote control panel, dip switches, or a mobile application. Follow these steps to ensure your system operates within safe parameters:
- Identify your specific battery manufacturer’s discharge specifications, as some cells are rated to 2.5V per cell while others require 2.8V.
- Ensure your inverter is connected to the battery with sufficiently sized cables to minimize voltage drop under load.
- Access the inverter configuration menu and locate the “Low Voltage Shutdown” or “LVC” setting.
- Set the shutdown threshold to 11.0V for a 12V system as a baseline, adjusting upward if you experience frequent premature shutdowns under heavy loads.
- Set the “Low Voltage Alarm” (if available) at least 0.5V to 1.0V higher than the shutdown threshold to provide a buffer for manual intervention.
- Perform a load test using a medium-sized appliance to verify that the inverter does not shut down prematurely when the appliance starts.
Common Mistakes and Risks
One of the most frequent errors is assuming that the BMS is the primary controller for the system. In reality, the BMS should be viewed as a “safety fuse” rather than an operational switch. Relying on the BMS to cut power every time the battery is empty puts unnecessary stress on the internal MOSFETs, which are designed to handle emergency disconnects, not daily cycling.
Another common mistake is ignoring the impact of temperature. LiFePO4 chemistry performs poorly in freezing conditions, and internal resistance increases significantly. During winter months, your battery voltage will sag faster under load. If your LVC is set too aggressively, you may find your inverter shutting down every time you turn on a coffee maker or microwave during the winter.
The Importance of Voltage Sag
Voltage sag is the temporary dip in voltage that occurs when a load is applied. If your inverter has a “delay” setting for LVC, use it. A 5-to-10-second delay allows the system to handle momentary spikes without shutting down the entire electrical grid of your vehicle or off-grid cabin. Without this delay, a simple motor startup—like a refrigerator compressor—could trip your low voltage protection unnecessarily.
Frequently Asked Questions
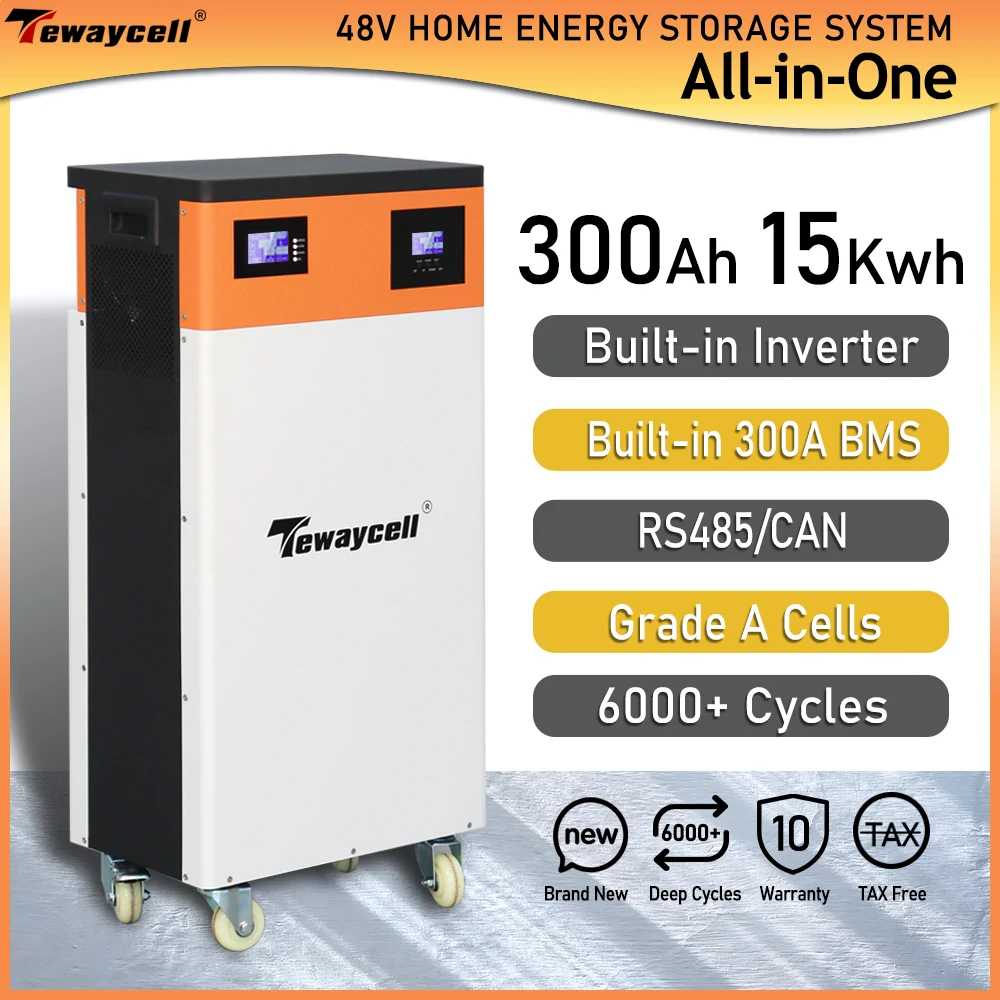
📷 Photo by aliexpress.com
Q: Why does my inverter shut down even when my battery monitor says I have 20 percent charge left?
A: This is usually caused by voltage sag under load. Your battery voltage is dipping below the inverter’s cutoff threshold due to the current draw, triggering a protection event even though the chemical state of charge is still sufficient.
Q: Should I set my LVC to the lowest possible value to get more runtime?
A: No. Setting the LVC too low risks hitting the BMS hard-disconnect point. If the BMS cuts off, the inverter may lose its ground reference or communication, which can cause damage to sensitive electronic equipment connected to the output.
Q: How do I know if my BMS is cutting off the power or my inverter is?
A: If the inverter displays an “Under Voltage” error code, the inverter is responsible. If the inverter simply turns off instantly with no warning lights or error codes, the BMS has likely tripped and disconnected the battery from the circuit entirely.
Regular maintenance of your LVC settings ensures that your investment in LiFePO4 technology lasts for its full rated cycle life. By keeping the inverter in control of the discharge process and providing a reasonable safety buffer, you avoid the complications of BMS resets and prolong the overall health of your battery bank.
📷 Photo by uk.eco-worthy.com