


Vanonpower.com – The most efficient solar panel layout for a limited campervan roof is a parallel configuration using high-efficiency monocrystalline panels combined with a flexible mounting system to maximize every square inch of available surface area. By prioritizing panel density and utilizing roof-rack extensions or tilting mounts, van dwellers can significantly increase their power harvest even with restricted footprints.
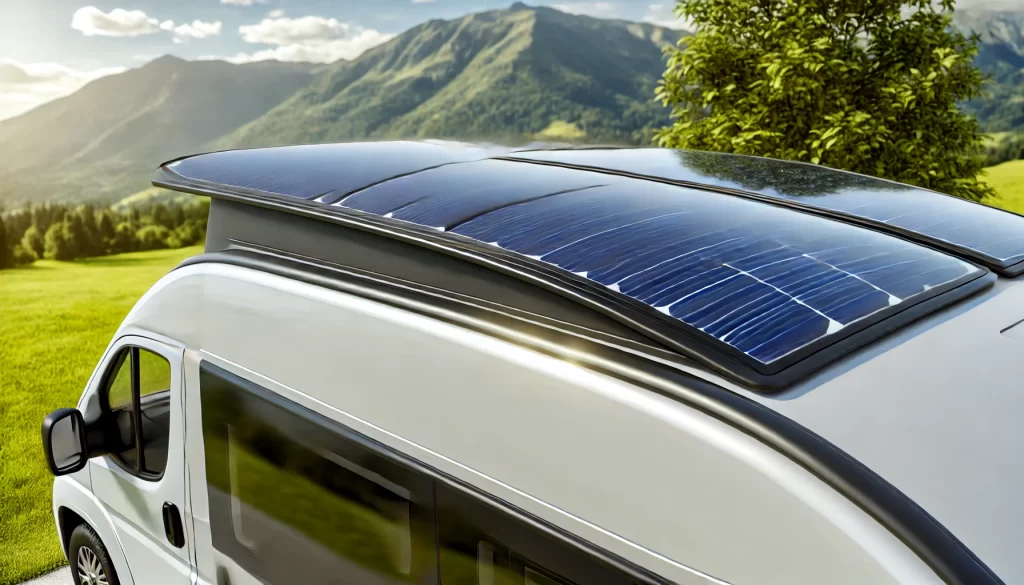
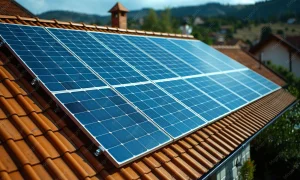
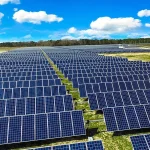
📷 Photo by geckosolarenergy.com
Maximizing Limited Roof Real Estate
When working with a small van roof, every inch matters. The primary challenge is not just the total square footage, but the physical obstructions like roof vents, skylights, air conditioners, and the curvature of the van roof itself. To get the best solar yield, you must first map out your roof precisely. Avoid the common mistake of buying panels before measuring your actual usable space, accounting for the “dead zones” around roof fixtures where shadows frequently fall.
High-efficiency monocrystalline panels are the gold standard for limited space. While they carry a higher price tag than polycrystalline options, their higher wattage-per-square-foot ratio allows you to generate more power from a smaller physical footprint. Look for panels that offer at least 20 percent efficiency or higher to ensure you are squeezing the maximum potential out of your limited solar array.
Strategic Layout Considerations
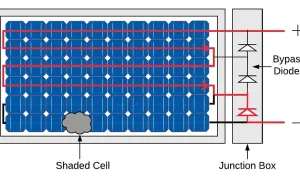
The arrangement of your panels dictates how much power you can realistically pull during peak hours. A common mistake is placing panels in a way that risks partial shading. Even a small portion of a panel being covered by a roof vent can disproportionately drop the output of the entire string if they are wired incorrectly. If your roof is prone to shading, consider using micro-inverters or solar optimizers, though for most 12V van systems, simply arranging panels to avoid shadow paths is more cost-effective.
Another crucial layout tactic is the use of “tiling” or “staggering.” Instead of standard rectangular layouts, you might find that fitting a mix of panel sizes allows you to fill awkward gaps. For example, placing a large 200W panel in the center and smaller 50W panels on the periphery can often utilize space that would otherwise be wasted by a uniform, rigid grid pattern.
Comparing Solar Configuration Options
| Configuration Type | Best Use Case | Space Efficiency | Pros |
|---|---|---|---|
| Series Wiring | High voltage systems | Moderate | Less cable loss, better performance in low light |
| Parallel Wiring | Small, shaded roofs | High | One shaded panel won’t kill the whole system |
| Flexible Panels | Curved or odd-shaped roofs | Very High | Lightweight, conforms to roof profile |
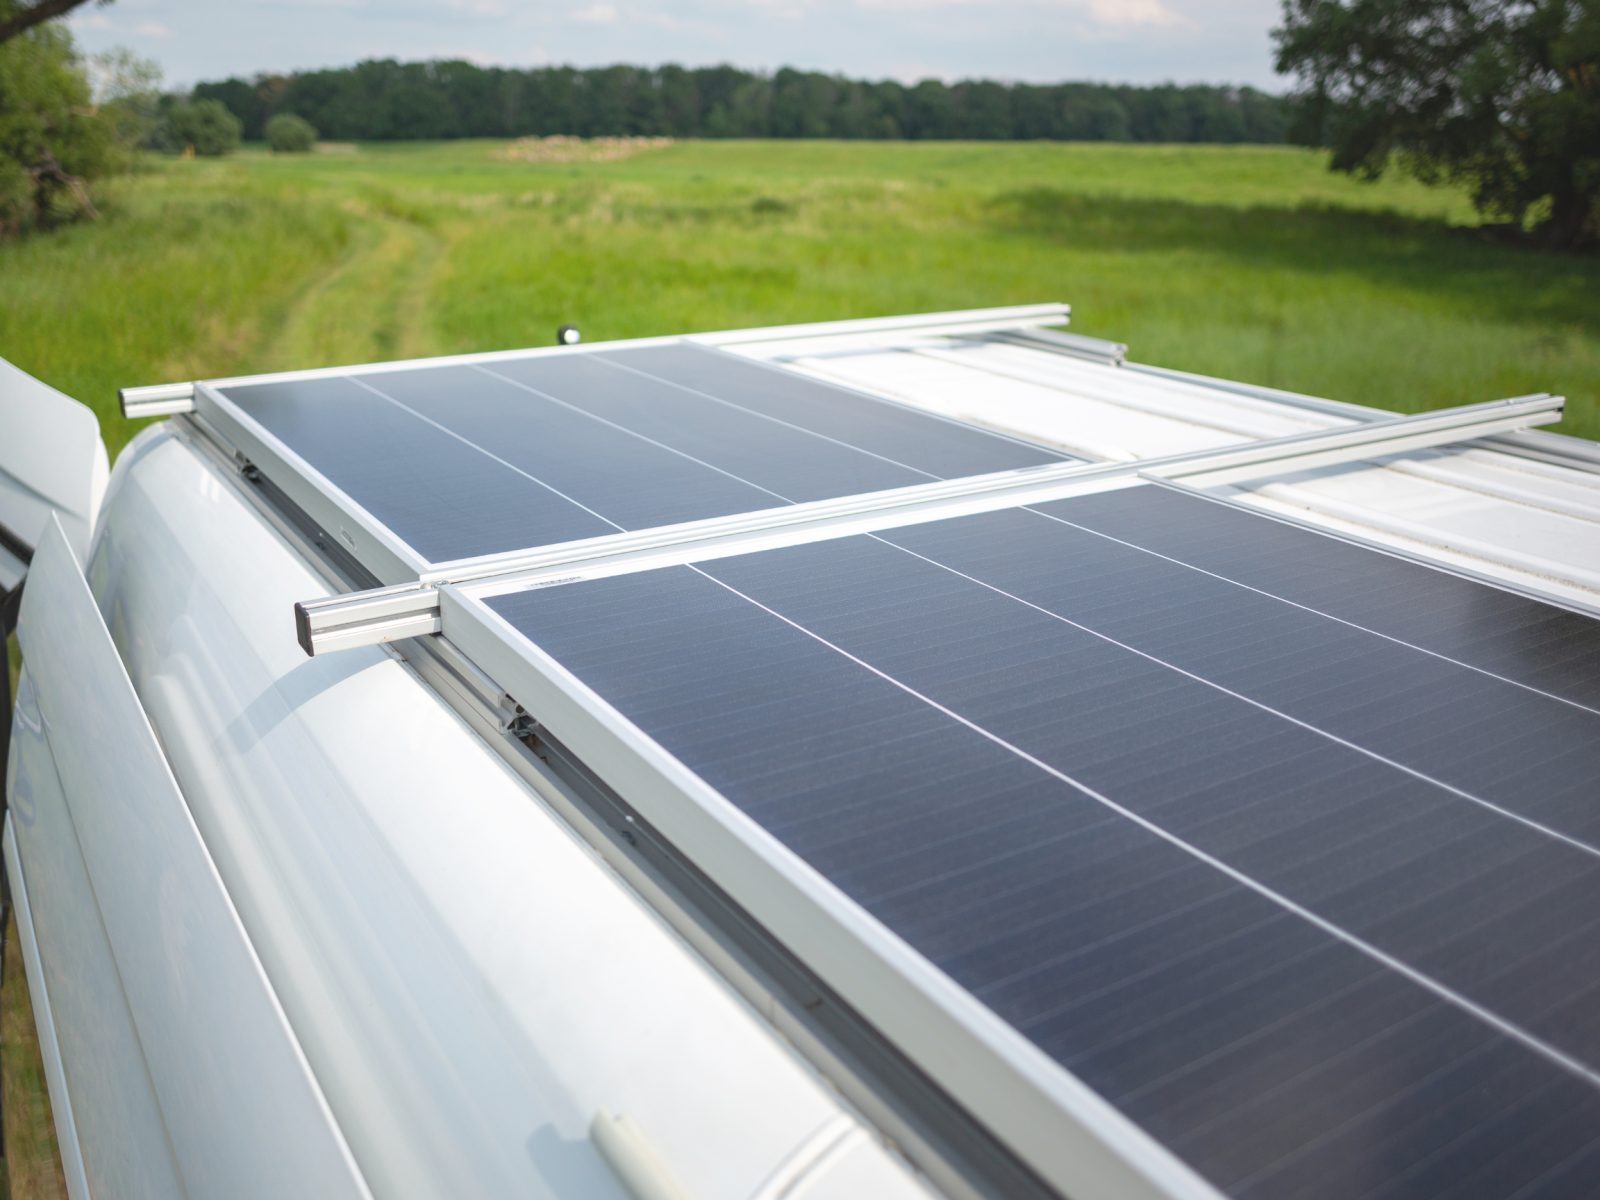
| Rigid Panels | Flat, stable roof racks | Moderate | More durable, better heat dissipation |
Step-by-Step Guide to Optimizing Your Solar Layout
- Clear your roof of all permanent fixtures and perform a detailed measurement. Use painter’s tape to mark out the exact boundaries of your planned array, ensuring you leave space for maintenance access.
- Identify potential shadow casters. Watch how shadows move across your roof at different times of the day. Avoid placing panels where your roof fan or chimney will cast a long shadow during the peak sun hours of 10:00 AM to 2:00 PM.
- Choose your panel type based on your mounting method. If you are drilling into the roof, rigid panels are ideal. If you are limited by weight or roof curvature, high-quality flexible panels are the better choice, provided they are properly ventilated underneath.
- Create a mock-up using cardboard cutouts. Place the cutouts on the roof to visualize the spacing. Ensure you have enough room for the wiring to run between panels without creating a tangled mess that traps heat.
- Install your mounting hardware. Use stainless steel hardware and high-quality sealants like butyl tape or Sikaflex to prevent leaks, especially since you are working in a tight, crowded space.
- Connect your wiring using a parallel or series-parallel configuration depending on your charge controller’s voltage limits. Always double-check your connections for polarity before final activation.
Common Pitfalls and Risks
One of the biggest risks in a tight solar layout is heat buildup. Solar panels lose efficiency as they get hotter. If you mount panels directly against the van roof without any air gap, the heat will conduct directly into the van’s interior and cause the panels to underperform. Always aim for at least a one-inch air gap beneath your panels to facilitate airflow, which acts as a natural cooling system.
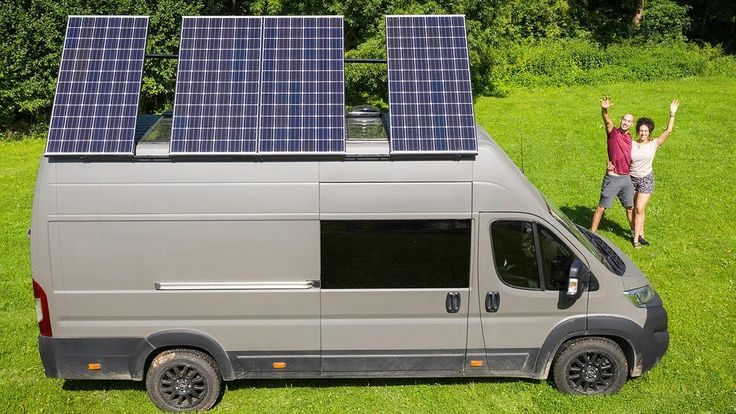
Another frequent error is neglecting the weight distribution. Adding a heavy array of panels to one side of the van can create handling issues, especially in high-wind conditions. Try to balance the weight of the panels across the center line of the vehicle to maintain stability and prevent uneven tire wear or suspension strain over time.
Frequently Asked Questions
Q: Can I mix and match different sizes of solar panels on the same roof?
A: Yes, but you must ensure they have similar voltage ratings. Connecting panels with vastly different voltages in parallel can cause the lower-voltage panel to act as a load rather than a source, which is inefficient and potentially damaging.
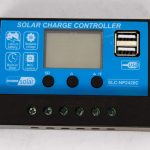
📷 Photo by explorevanx.com
Q: Is it better to use flexible or rigid panels for a small roof?
A: Rigid panels are generally more reliable and have a longer lifespan. Use flexible panels only if your roof has significant curves or if you have strict weight constraints that prevent the use of a metal mounting rack.
Q: How do I know if my solar layout is efficient enough?
A: Track your daily amp-hour production using a battery monitor. If your system consistently fails to reach the predicted output for your region, check for hidden shading or consider adding a tilting mount to angle your panels toward the sun during the winter months.
📷 Photo by pinterest.com
Ultimately, the best layout is one that balances your energy needs with the physical constraints of your vehicle. Don’t be afraid to experiment with different orientations during the planning phase. By focusing on high-efficiency components and proper thermal management, you can achieve a robust power system even on the smallest of campervan roofs.
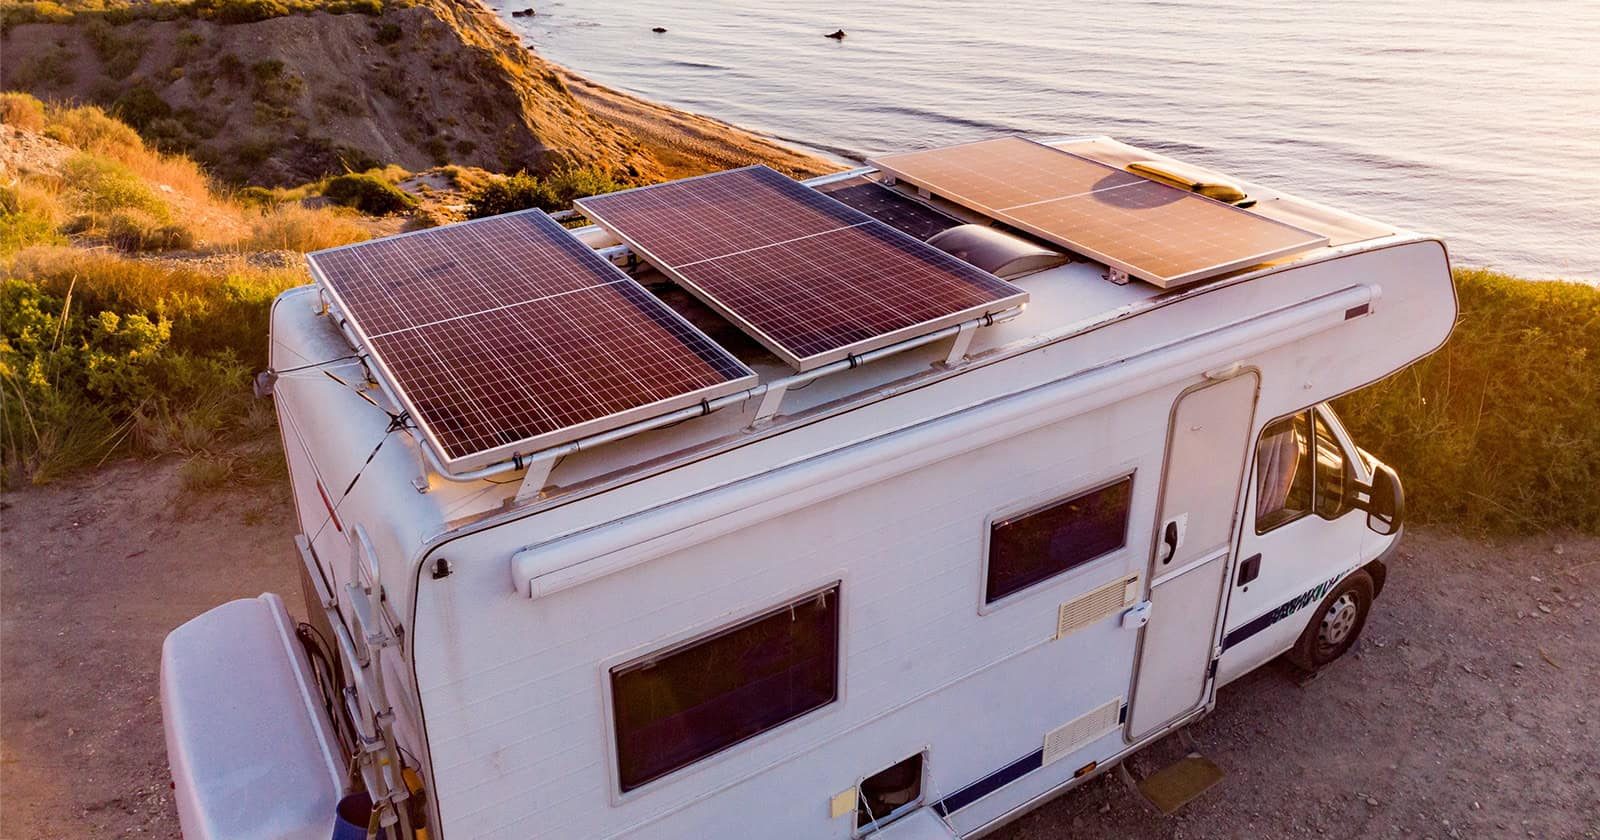
📷 Photo by campersmarts.com