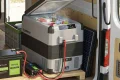


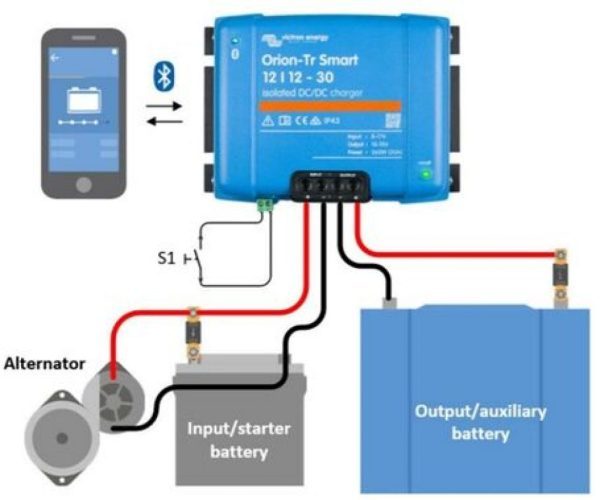
Vanonpower.com – Charging a LiFePO4 battery with an alternator requires a DC-to-DC charger to regulate voltage and current, preventing the alternator from overheating and protecting the battery from improper charging profiles.
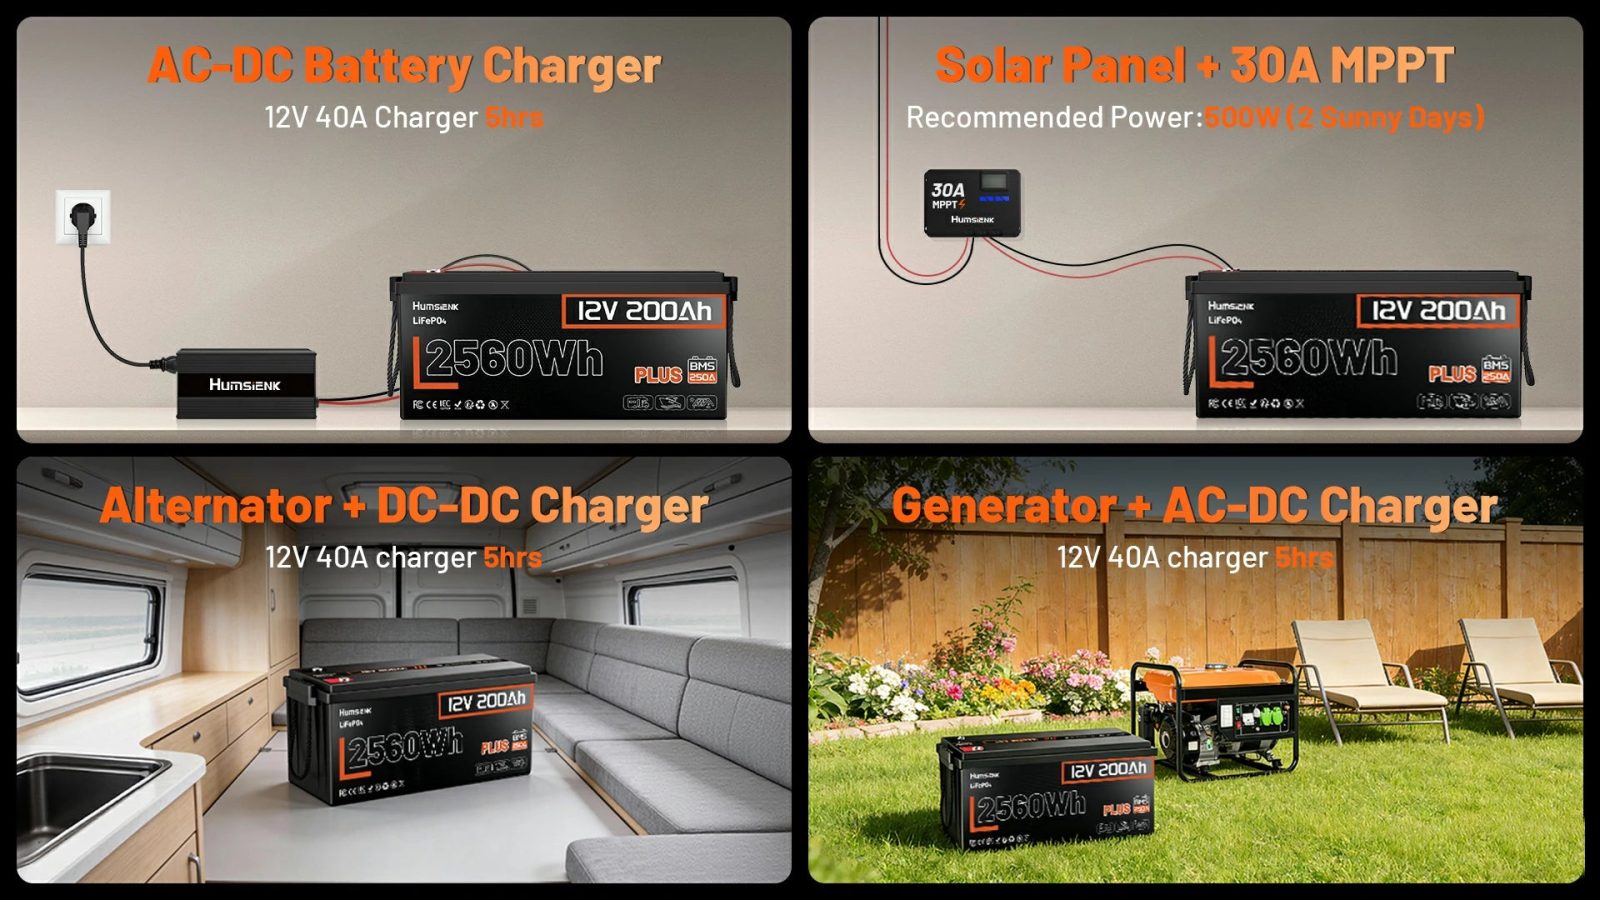
📷 Photo by humsienk.com
Connecting a lithium iron phosphate (LiFePO4) battery directly to your vehicle’s alternator is a common mistake that can lead to expensive equipment failure. Unlike lead-acid batteries, LiFePO4 batteries have a very low internal resistance, which allows them to draw massive amounts of current. This can cause the alternator to run at maximum capacity until it burns out, or trigger the battery’s internal Battery Management System (BMS) to disconnect due to an over-current event.
Why You Need a DC-to-DC Charger
The alternator in your vehicle is designed to charge a lead-acid starter battery, which has a different charging voltage requirement and internal impedance compared to lithium batteries. When you add a house bank of LiFePO4 batteries, the alternator sees this as an infinite load. Without a regulator, the alternator will work harder than it was engineered to, leading to premature failure.
📷 Photo by uccnet.org
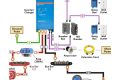
A DC-to-DC charger acts as a bridge. It draws power from your vehicle’s starting system and converts it into a stable, controlled charging profile specifically designed for lithium chemistry. This ensures your house battery reaches a full state of charge while keeping the alternator within its safe operational limits.
Read also: Series vs Parallel Battery Wiring: Voltage vs Capacity Explained
Key Components for a Safe Installation
Before beginning the installation, you must ensure you have the correct hardware. Using undersized cables or skipping fuses can create a significant fire hazard, especially given the high current potential of LiFePO4 systems.
| Component | Purpose | Recommendation |
|---|---|---|
| DC-to-DC Charger | Regulates voltage/current | Match to alternator capacity (e.g., 20A, 40A, 60A) |
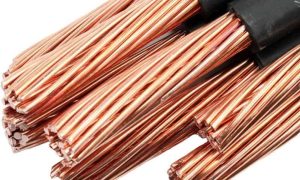
| Heavy-Gauge Cable | Carries current safely | 4 AWG or 2 AWG depending on distance |
| ANL Fuse | Over-current protection | Size according to charger input/output specs |
| Ignition Wire | Triggers charger activation | Connects to vehicle’s “switched” power |
Step-by-Step Installation Process
Follow these steps to integrate a DC-to-DC charger into your vehicle’s electrical system safely and effectively.
- Disconnect the negative terminals of both your starter battery and your house LiFePO4 battery to prevent accidental short circuits during installation.
- Mount the DC-to-DC charger in a well-ventilated area near your house battery bank, ensuring it is away from heat sources like the engine block or exhaust.
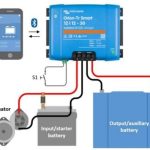
- Connect the input side of the charger to the positive and negative terminals of your vehicle’s starter battery, ensuring you install an appropriate fuse within 12 inches of the starter battery terminal.
- Connect the output side of the charger to the positive and negative terminals of your LiFePO4 house battery, again ensuring a fuse is placed close to the battery terminal.
- Locate a “switched” ignition source in your vehicle fuse box. Connect the ignition signal wire from the charger to this source; this ensures the charger only draws power when the engine is running.
- Double-check all connections for tightness and verify that the charger settings are configured for the “Lithium” or “LiFePO4” profile.
- Reconnect the negative terminals and start the engine to verify that the charger lights indicate power flow from the alternator to the house battery.
Common Mistakes to Avoid
One frequent error is relying on a simple voltage-sensitive relay (VSR) or battery isolator. While these work for lead-acid batteries, they do not manage the charging profile. They allow the LiFePO4 battery to pull as much current as possible, which often leads to the vehicle’s alternator blowing a diode or the battery’s BMS tripping repeatedly.
Another mistake is poor cable sizing. Because DC-to-DC chargers can draw significant amperage, using thin wire will cause a voltage drop. This drop forces the charger to work harder and reduces the overall charging efficiency. Always use the manufacturer’s recommended gauge based on the length of your wire run.
Risks of Improper Charging
If you force a LiFePO4 battery to charge using an unregulated alternator output, you risk several failures. Firstly, the alternator’s regulator may overheat, leading to a total loss of vehicle charging capability. Secondly, the BMS in the LiFePO4 battery might detect an over-voltage or over-current condition and shut down suddenly. If this happens while the alternator is under load, it can create a voltage spike that may damage other sensitive electronics in your vehicle, such as your engine control unit (ECU) or infotainment system.
FAQ
Q: Can I use a standard battery isolator instead of a DC-to-DC charger for LiFePO4?
A: It is strongly discouraged. Isolators do not limit current or regulate voltage, which risks damaging your alternator and may cause the LiFePO4 battery’s BMS to shut down prematurely to protect itself.
Q: Will a DC-to-DC charger drain my starter battery?
📷 Photo by walmart.com
A: No, provided it is wired correctly to an ignition-switched source. The charger will only activate when it senses that the engine is running, ensuring the starter battery remains isolated when the vehicle is parked.
Q: How do I know what size charger I need?
A: Check your vehicle’s alternator rating. Generally, you should not draw more than 50% of your alternator’s total capacity for the house battery to ensure you have enough power left for the vehicle’s own electrical needs.
By implementing a dedicated DC-to-DC charging system, you ensure the longevity of both your vehicle’s alternator and your expensive lithium battery investment. While the upfront cost of the charger and cabling is higher, it prevents catastrophic electrical failures and provides a reliable, automated charging process every time you hit the road.
📷 Photo by bravabatteries.com