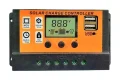


Vanonpower.com – To support a 400-watt solar array, you need a solar charge controller rated for at least 30 amps if using a 12V battery bank, or 15–20 amps for a 24V system, ensuring it can handle the short-circuit current of your panels.
Choosing the right size solar charge controller is a critical step in building a reliable off-grid power system. If you undersize the controller, it will overheat and potentially fail, or worse, cause a fire. If you oversize it, you are simply spending more money than necessary. The calculation revolves around the relationship between your total solar wattage and your battery bank voltage.
Understanding the Calculation Logic
The golden rule for sizing a charge controller is to divide the total wattage of your solar panels by the voltage of your battery bank. For example, if you have 400 watts of solar panels and a 12-volt battery system, you divide 400 by 12, which equals 33.3 amps. Since charge controllers should never run at 100% capacity for extended periods, it is standard practice to add a 25% safety margin, bringing your requirement to roughly 40 amps.
Comparison of Controller Capacity by Battery Voltage
| Solar Array Size | Battery Voltage | Minimum Amperage Needed | Recommended Controller Size |
|---|---|---|---|
| 400 Watts | 12V | 33.3 Amps | 40A |
| 400 Watts | 24V | 16.6 Amps | 20A |
| 400 Watts | 48V | 8.3 Amps | 10A |
MPPT vs. PWM: Which One to Choose?
There are two primary types of charge controllers: PWM (Pulse Width Modulation) and MPPT (Maximum Power Point Tracking). For a 400-watt system, the choice largely depends on your budget and your solar panel configuration. PWM controllers are cheaper but less efficient; they essentially act as a switch between your panels and batteries. They work best when the solar panel voltage is very close to the battery bank voltage.
MPPT controllers are more advanced and significantly more efficient. They convert the higher voltage of your solar panels down to the charging voltage of your batteries, effectively turning excess voltage into usable current. If you live in an area with less than perfect sunlight or cold temperatures where panels produce higher voltage, an MPPT controller is almost always the superior choice for a 400-watt array.
Common Mistakes to Avoid
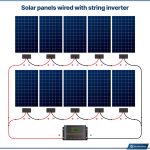
One of the most frequent errors beginners make is ignoring the maximum input voltage (VOC) of the charge controller. Even if you choose a 40-amp controller, you must ensure that the total open-circuit voltage (VOC) of your panels—especially if wired in series—does not exceed the controller’s maximum input voltage rating. Exceeding this limit will instantly fry the internal electronics of the controller.
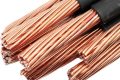
Another mistake is using undersized wiring between the panels and the controller. As current flows through wires, it encounters resistance, which generates heat and causes voltage drop. If your wires are too thin for the 30–40 amps your 400-watt system might produce, you will lose a significant portion of your energy before it even reaches the batteries.
Step-by-Step Installation Guide
- Connect your battery bank to the solar charge controller first. This allows the controller to detect the battery voltage and configure its internal logic correctly before it receives power from the panels.
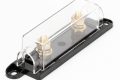
- Install a fuse or circuit breaker between the battery and the controller. This protects your system in the event of a short circuit.
- Connect your solar panels to the charge controller. Ensure the panels are covered or disconnected during this process to avoid sparking.
- Check the controller display to verify that it recognizes the battery voltage and is receiving input from the solar array.
- Secure all connections and ensure there is adequate ventilation around the controller to prevent overheating during peak sun hours.
The Importance of Environment
Temperature plays a massive role in solar performance. Solar panels are rated at “Standard Test Conditions,” which assume a temperature of 25 degrees Celsius. However, in the real world, panels often get much hotter. Heat reduces panel efficiency, but it also lowers the voltage. Conversely, in very cold weather, panels can produce a higher voltage than their rating. Always check the temperature coefficient of your panels and ensure your charge controller can handle the potential voltage spikes during cold mornings.
Maintenance is also key. Dust, pollen, and debris on your 400-watt array can significantly reduce output. If your controller shows lower-than-expected wattage, the first step is always to clean the panels. Additionally, check your battery terminals periodically for corrosion, as poor connections can trick the charge controller into thinking the batteries are fully charged when they are actually under-voltage.
Frequently Asked Questions
Q: Can I use a 60A controller for my 400W system?
A: Yes, you can. Using a larger controller than necessary will not hurt your batteries; it simply provides more overhead for future expansion, such as adding another 200 watts of solar later.
Q: Why does my charge controller get hot?
A: Charge controllers generate heat as a natural byproduct of converting voltage and regulating current. Ensure the unit is mounted in a well-ventilated, shaded area, away from direct sunlight and heat-trapping enclosures.
Q: Does wiring in series or parallel matter for the controller?
A: Yes. Wiring in series increases voltage, which is better for MPPT controllers. Wiring in parallel increases amperage, which keeps voltage low but requires thicker cables to prevent energy loss.
Choosing the right size is about finding the balance between safety, efficiency, and future-proofing. By calculating your amperage requirements based on battery voltage and ensuring your input voltage stays within the manufacturer’s limits, you will build a robust system that powers your needs for years to come.
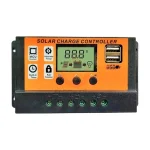
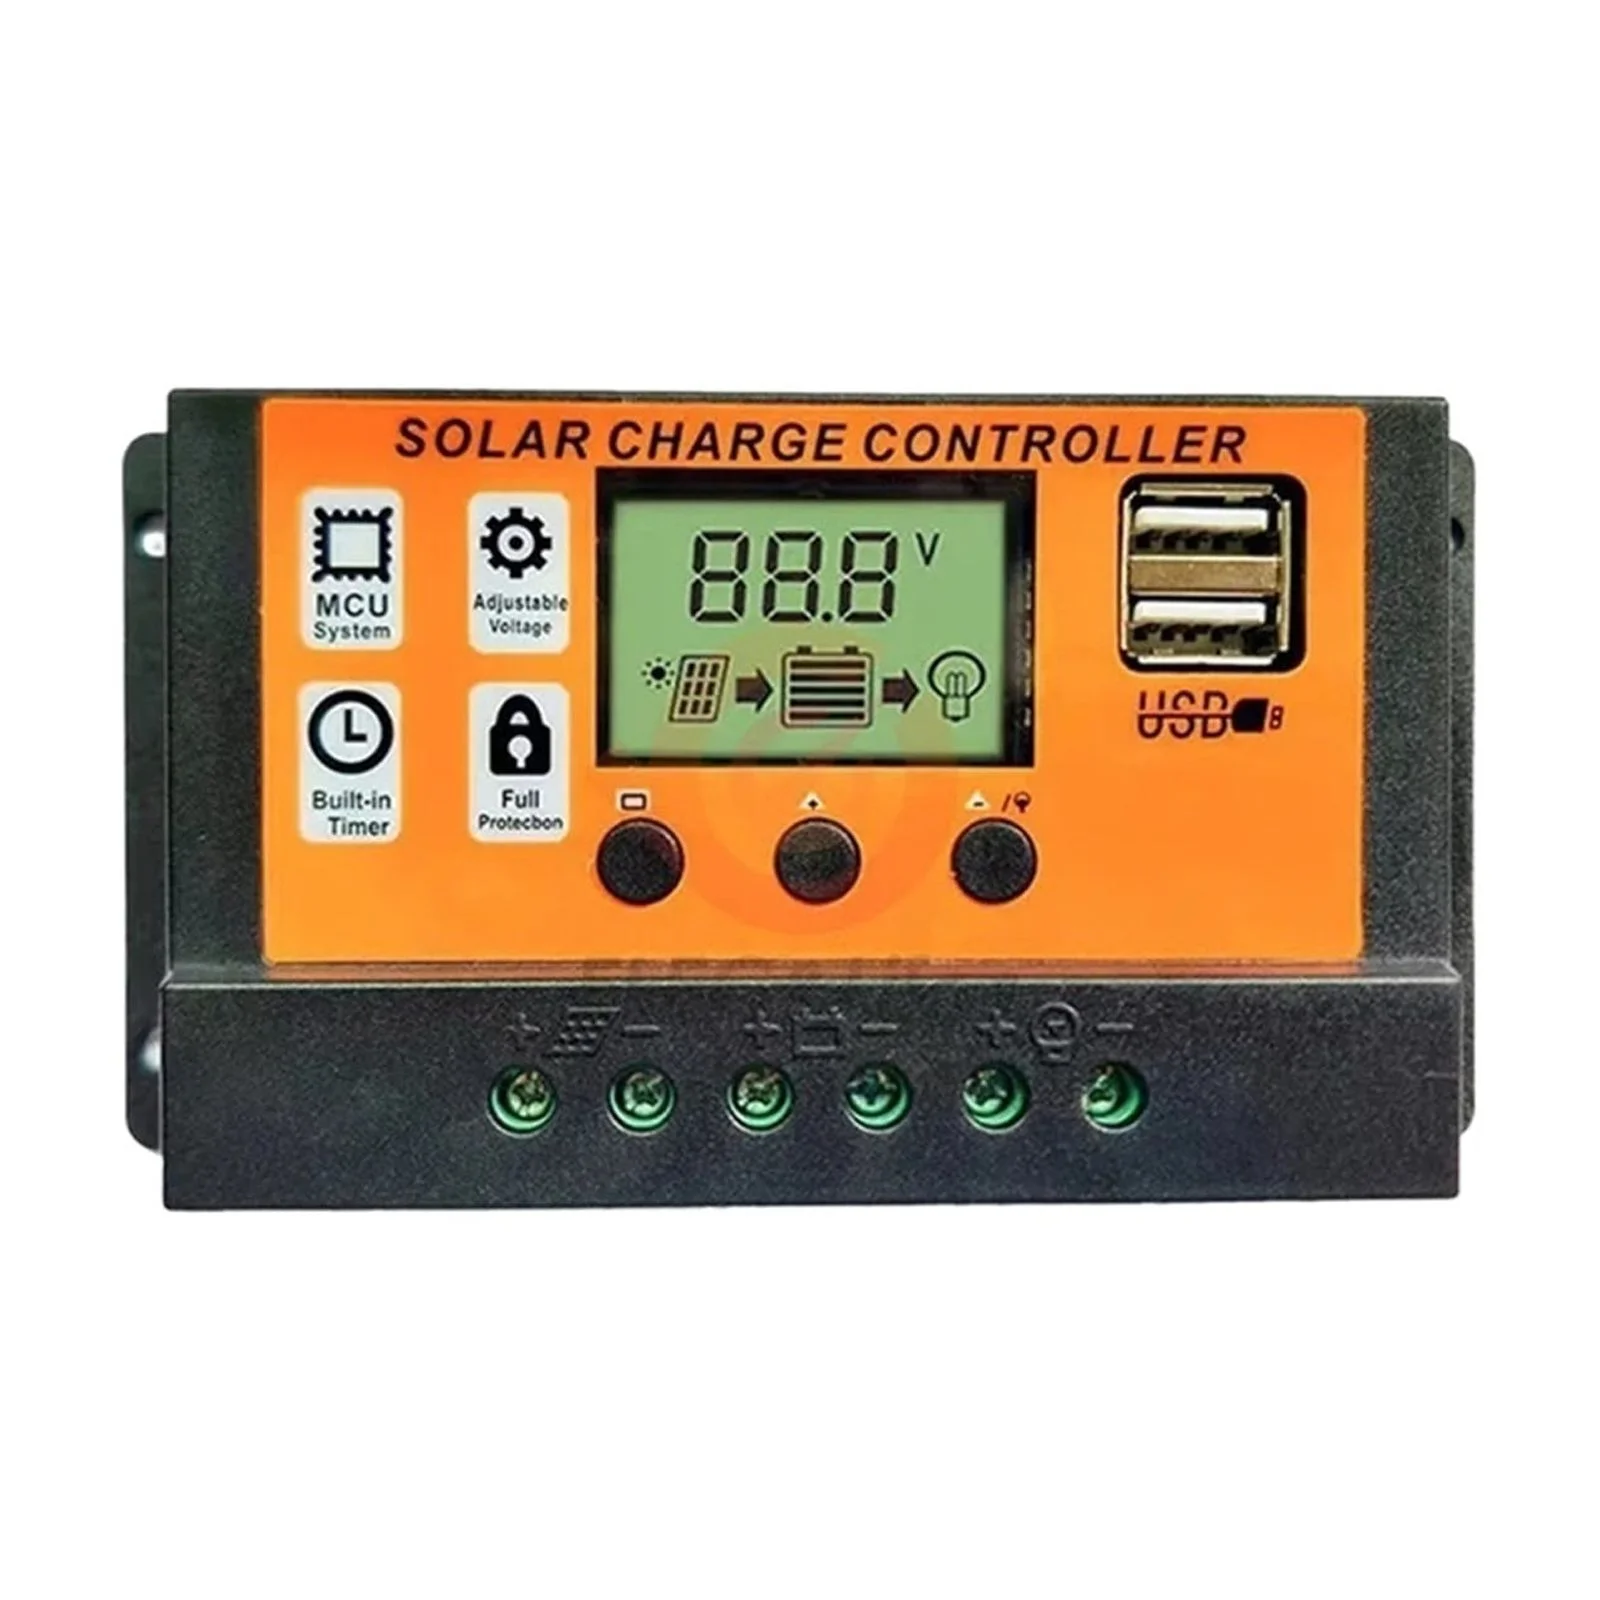
📷 Photo by walmart.com