

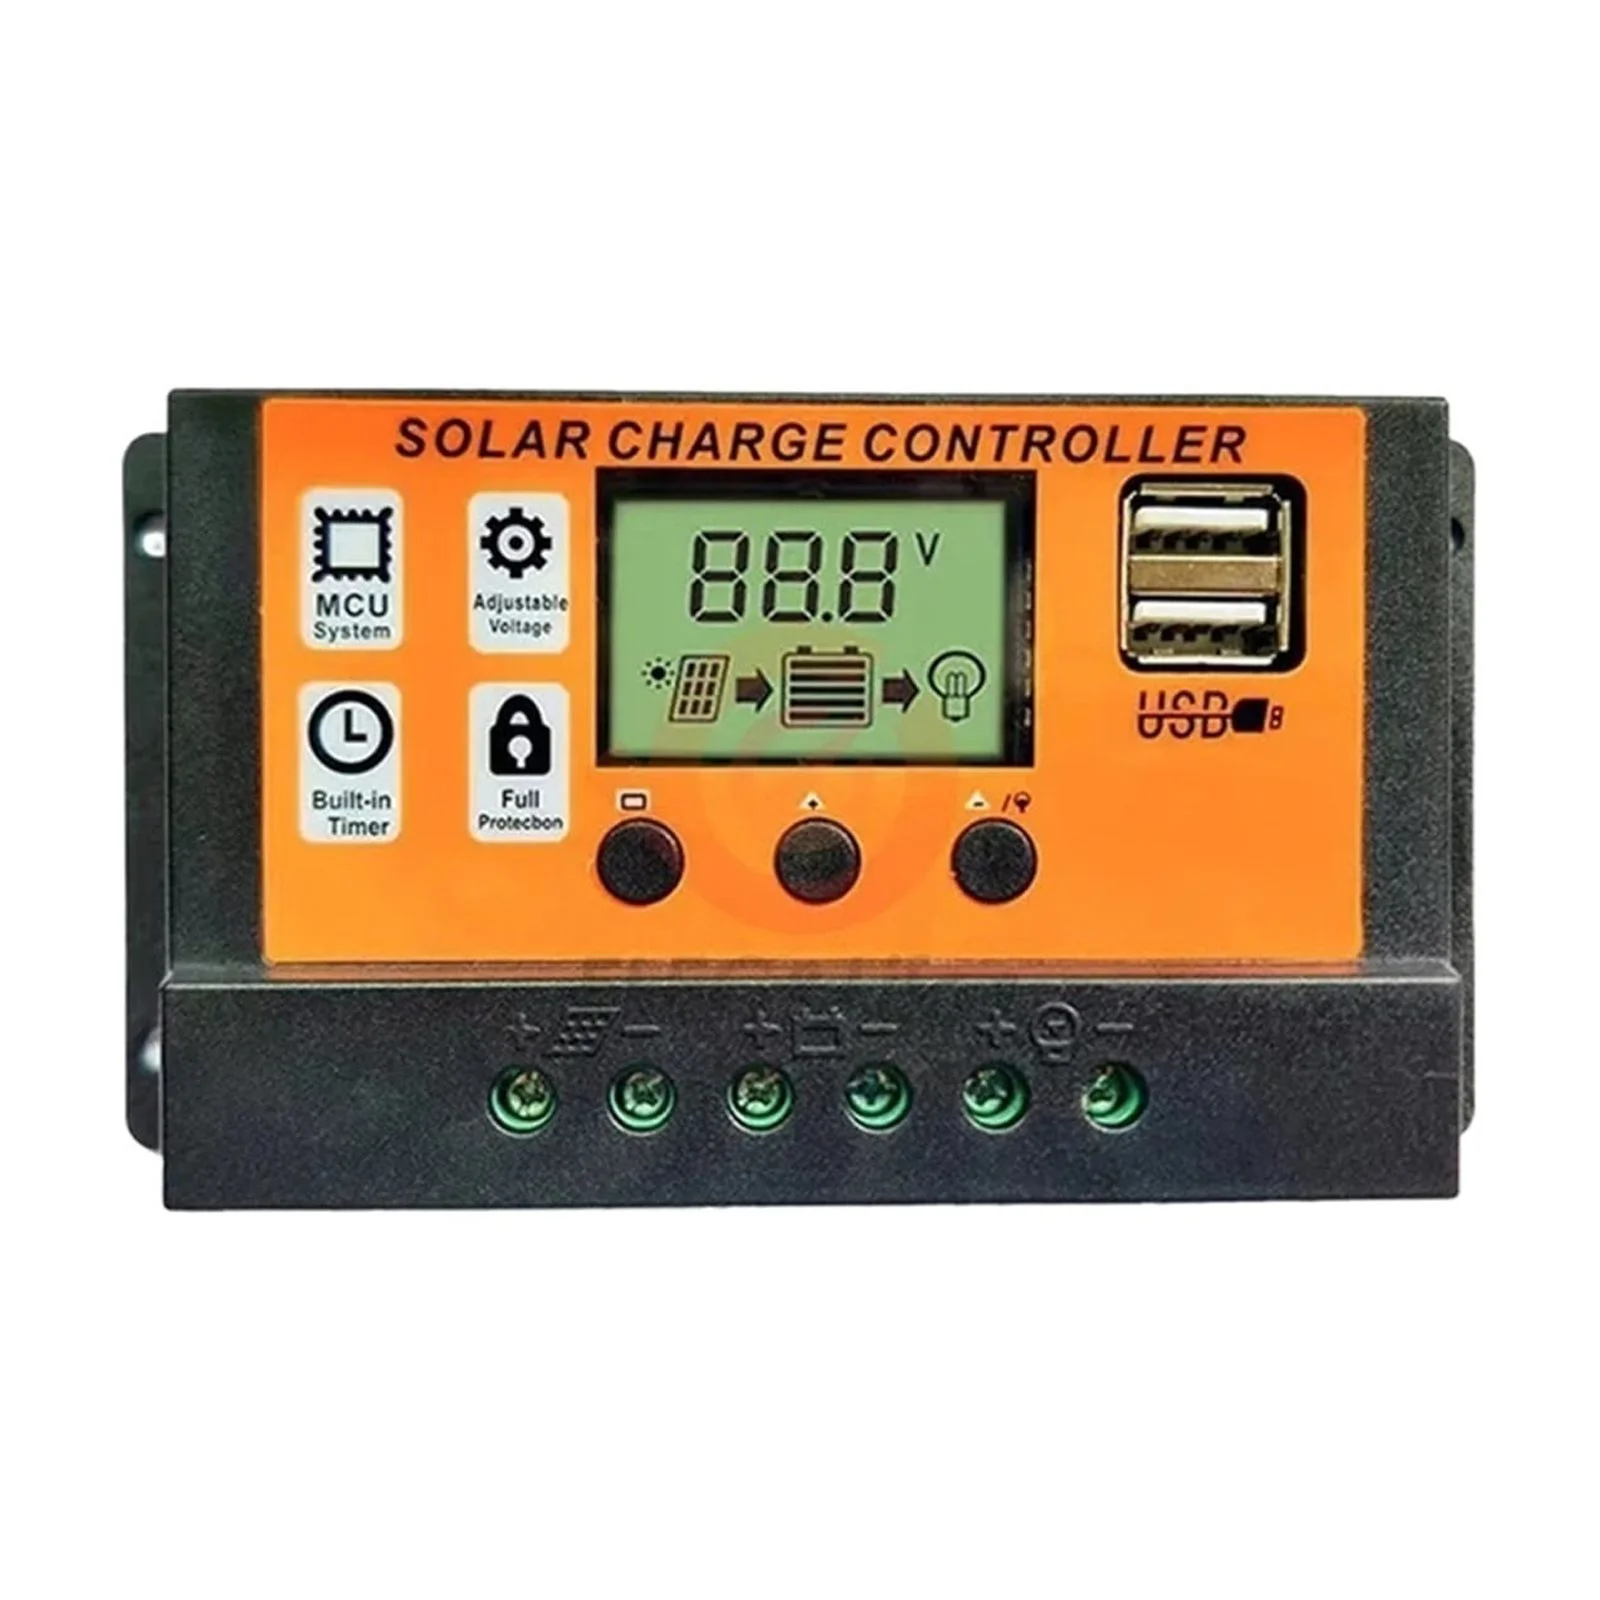
Vanonpower.com – Sizing an MPPT charge controller requires matching the solar array’s maximum power voltage (Vmp) and open-circuit voltage (Voc) to the controller’s input specifications while ensuring the output current does not exceed the battery bank’s charging capacity.
Selecting the right Maximum Power Point Tracking (MPPT) controller is the most critical decision for optimizing solar efficiency. Unlike basic PWM controllers, MPPT devices convert excess voltage into usable charging current, but they have strict voltage and current limits that, if ignored, can permanently damage the unit.
Understanding the Voltage Limit
The most common mistake when sizing an MPPT controller is ignoring temperature fluctuations. Solar panels produce higher voltage in cold weather. If you calculate your array voltage based on standard room temperature, you risk exceeding the controller’s maximum voltage input (Voc) on a cold winter morning, which will likely blow the internal electronics.
Always use the open-circuit voltage (Voc) of your panels multiplied by the number of panels in series. Then, apply a temperature correction factor. If your local climate experiences freezing temperatures, you must ensure that even at the coldest recorded temperature, the total string voltage remains below the controller’s maximum input voltage rating.
Calculating the Current (Amperage) Limit
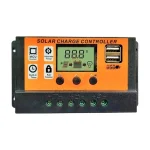
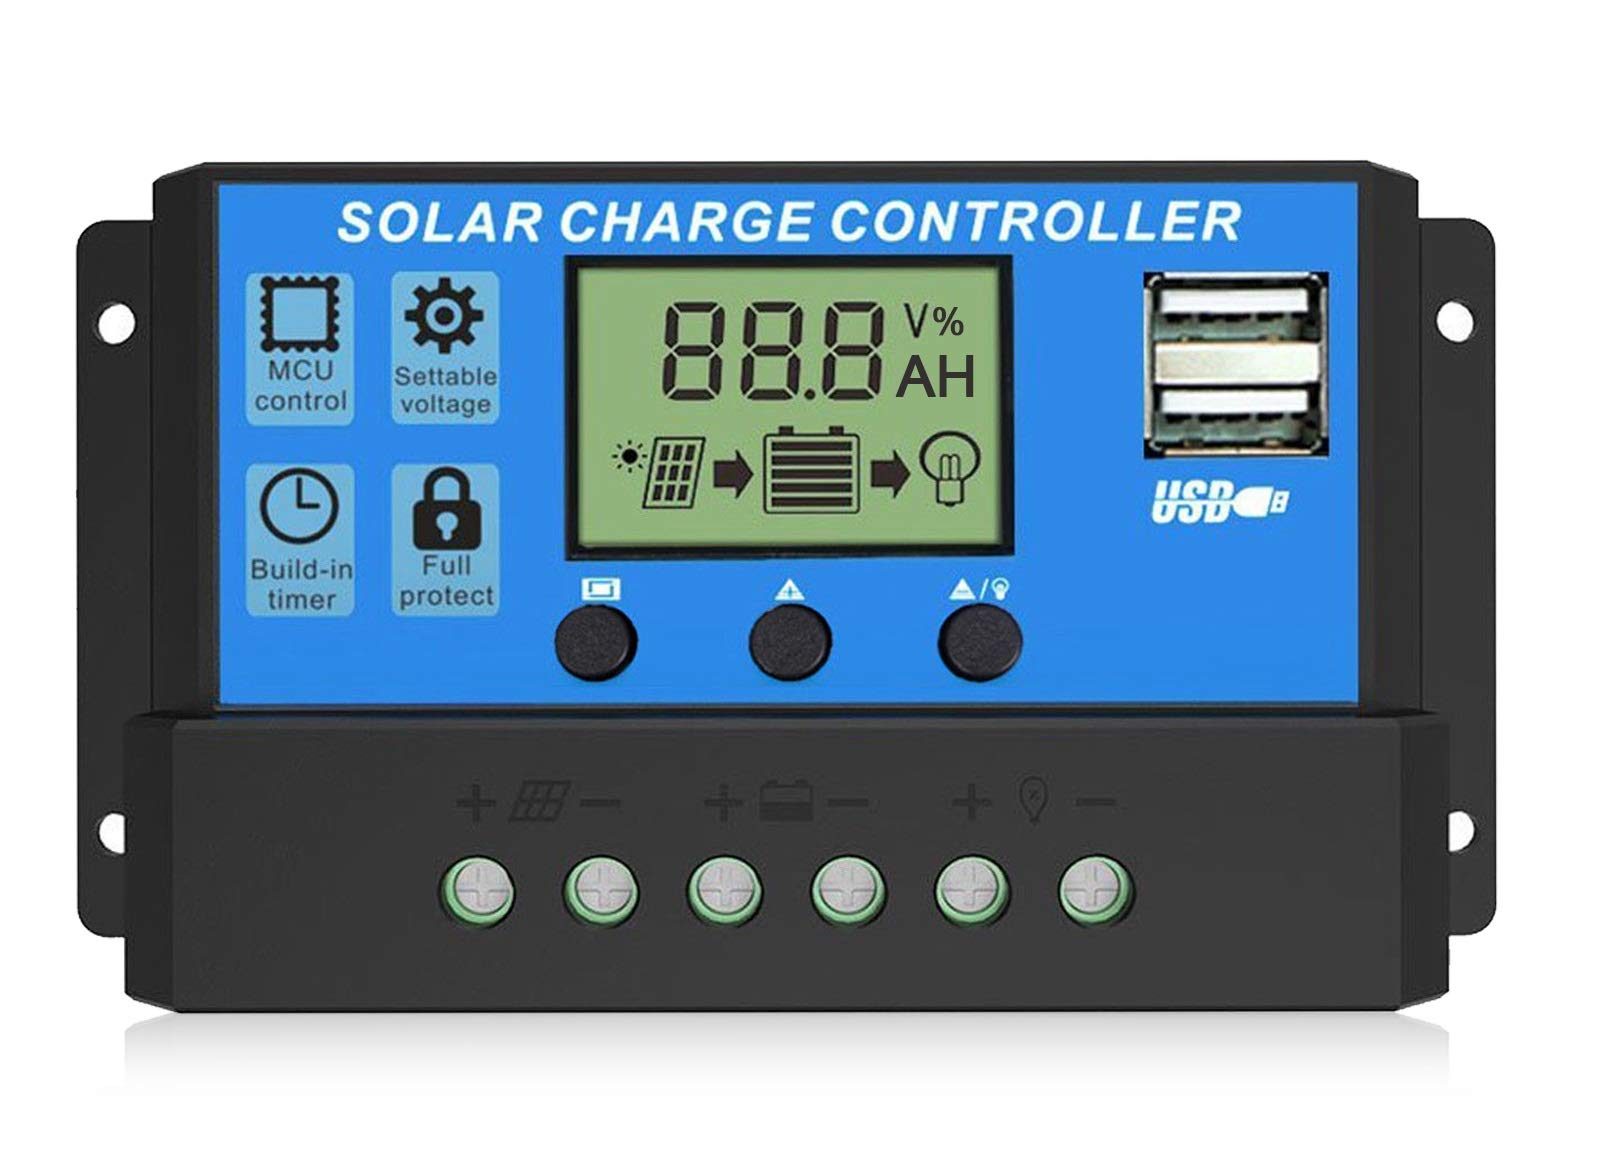
Once you have confirmed the voltage is safe, you must look at the output current. The charge controller is rated by its maximum output current (e.g., 40A, 60A, or 80A). This is the current flowing into your battery bank. To find the required rating, divide your total solar array wattage by your battery bank voltage.
📷 Photo by desertcart.co.za
For example, a 600W array charging a 12V battery bank results in 50 Amps (600W / 12V = 50A). In this scenario, a 60A controller is the appropriate choice to provide a safety margin, as running a controller at 100% capacity constantly can lead to thermal throttling and reduced lifespan.
Comparison of Charge Controller Parameters
| Parameter | Why It Matters | Safety Margin |
|---|---|---|
| Max Input Voltage (Voc) | Prevents internal circuit failure | Add 25% for cold temperature spikes |
| Max Output Current | Determines charging speed | Keep load under 80% of rated capacity |
| Max PV Input Power | Prevents overheating | Do not exceed manufacturer rating |
Step-by-Step Guide to Sizing Your Controller
- Determine your solar array’s total Voc by adding the Voc of all panels connected in series.
- Check the manufacturer’s data sheet for the lowest temperature in your area and calculate the cold-weather Voc to ensure it stays below the controller’s limit.
- Calculate the maximum output current by dividing the total array wattage by your system’s nominal battery voltage.
- Select a controller with an amperage rating at least 20% higher than your calculated current to account for peak sun hours and efficiency losses.
- Verify that the controller supports your specific battery chemistry, such as Lithium LiFePO4 or Lead-Acid, to ensure proper charging profiles.
Common Mistakes to Avoid
One frequent error is failing to account for the battery bank voltage. Many users buy a controller based on the panel wattage but forget that the output current changes significantly if they switch from a 12V system to a 24V or 48V system. Higher battery voltages actually allow you to use smaller, cheaper controllers for the same amount of solar power.
Another issue is “oversizing” the array far beyond the controller’s input power rating. While some MPPT controllers can handle a bit more power than their rating (clipping the excess), doing this excessively causes the controller to run hot. Overheating forces the unit to limit power output, effectively wasting the extra money you spent on those additional solar panels.
Risks of Improper Sizing
Under-sizing the controller regarding current will cause the unit to throttle, meaning you lose potential energy production during peak sunlight. Conversely, ignoring voltage limits is a critical safety risk. If the input voltage exceeds the controller’s limit, the internal MOSFETs can fail, potentially creating a short circuit that could lead to fire hazards or total system failure.
Always ensure your wiring gauge matches the amperage of the controller. Using thin wires for a high-amperage controller causes voltage drops and generates excess heat, which is a leading cause of system inefficiency and intermittent power failures in off-grid setups.
Frequently Asked Questions
Q: Can I connect more solar panels than the controller’s rated wattage?
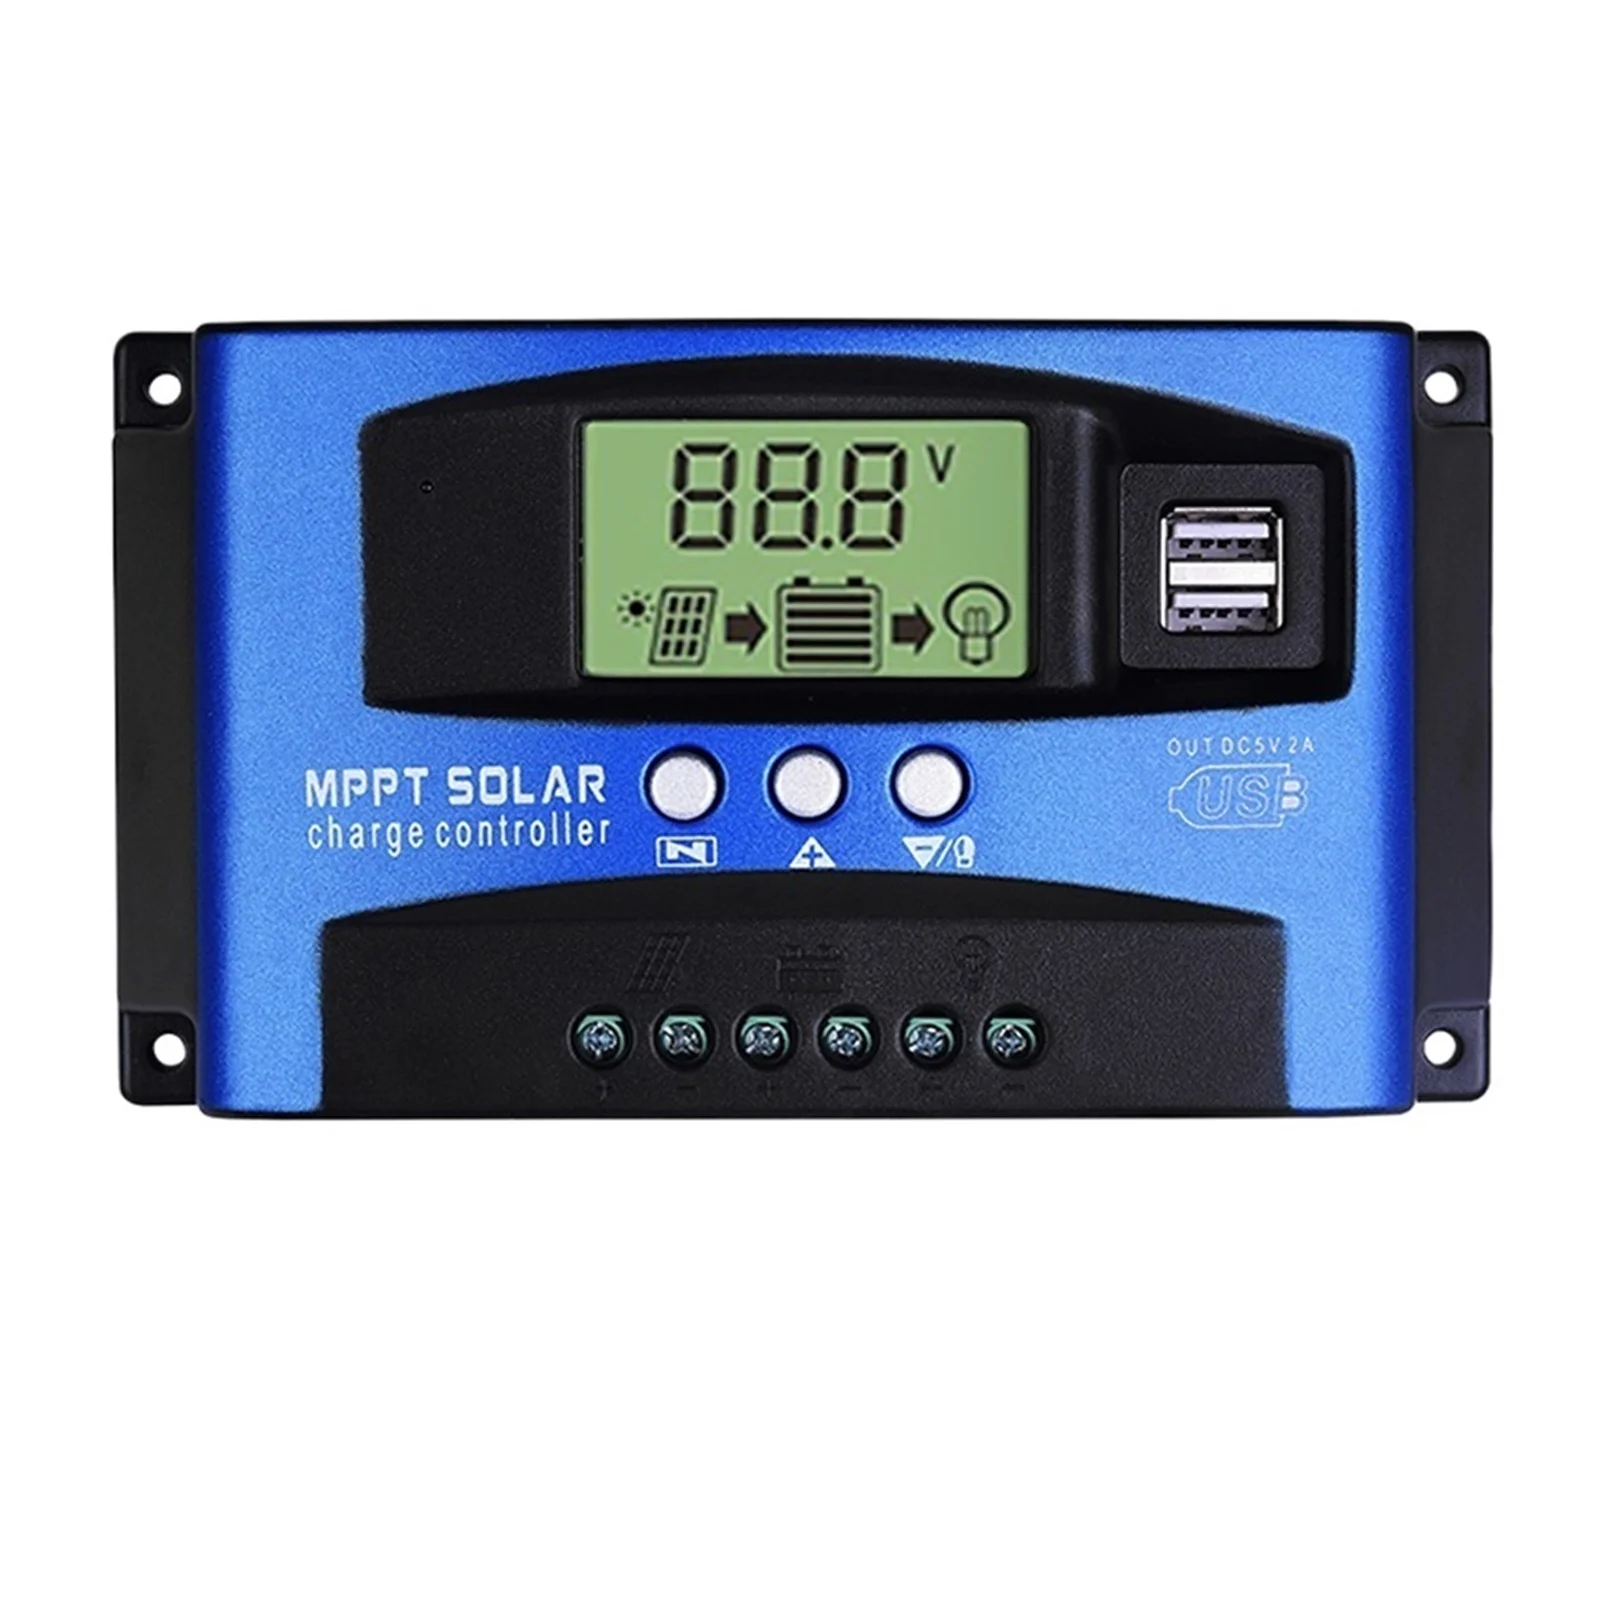
A: Most modern MPPT controllers allow for a degree of “oversizing” the PV array, where the controller simply limits the output current once it hits its maximum capacity. However, never exceed the maximum input voltage (Voc) rating, as this is a hard limit that will destroy the device.
Q: Does the battery bank size affect the choice of the charge controller?
📷 Photo by walmart.com
A: Yes, the battery bank should be large enough to handle the charge current provided by the controller. If your battery bank is too small, you risk overcharging and damaging the cells; always check the battery manufacturer’s recommended maximum charge current (C-rating).
Q: Why is my MPPT controller outputting less power than my panel rating?
A: This is often due to the “conversion factor.” Solar panels rarely reach their rated wattage due to angle, shading, temperature, and wiring losses. Additionally, if your batteries are near full capacity, the controller will naturally reduce the current to enter absorption or float mode.
📷 Photo by walmart.com