

Vanonpower.com – Connecting an inverter to a breaker box requires installing a transfer switch or an interlock kit to safely isolate the inverter output from the grid, preventing dangerous back-feeding. This process ensures that your home circuits are powered by the inverter during outages without risking damage to utility equipment or injury to line workers.
Understanding the Electrical Risks
The most significant danger when connecting an inverter to a home’s electrical system is the phenomenon known as back-feeding. If you connect an inverter output directly into a standard wall outlet or a breaker without a proper disconnect mechanism, you create a lethal hazard. When the grid power is restored, the electricity from the utility company will meet the electricity from your inverter, which can cause an explosion, fire, or severe damage to your inverter and home appliances.
Furthermore, back-feeding can energize the utility lines outside your home. If a repair crew is working on the local power lines assuming they are dead, your inverter could send high-voltage electricity through the transformer, potentially killing or injuring the workers. This is why local electrical codes strictly mandate the use of a transfer switch or a mechanical interlock.
Components Required for Installation
To perform this installation correctly, you must have the right hardware. A transfer switch acts as a gatekeeper, allowing you to manually or automatically toggle between grid power and inverter power. Alternatively, an interlock kit is a sliding metal plate that prevents you from turning on both the main utility breaker and the generator/inverter breaker at the same time.
| Component | Function | Safety Importance |
|---|---|---|
| Transfer Switch | Switches power source | Prevents grid and inverter overlap |
| Mechanical Interlock | Blocks breaker movement | Prevents simultaneous “On” state |
| Generator Breaker | Dedicated input breaker | Protects circuit from overcurrent |
| Inlet Box | External connection point | Allows safe plug-in of the inverter |
Step-by-Step Installation Guide
Before beginning, ensure the main power to your home is completely shut off. If you are not comfortable working with high-voltage electrical panels, hire a licensed electrician to avoid fatal shocks or code violations.
- Mount the power inlet box on the exterior wall of your home near the electrical panel.
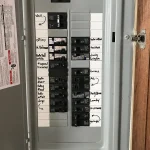
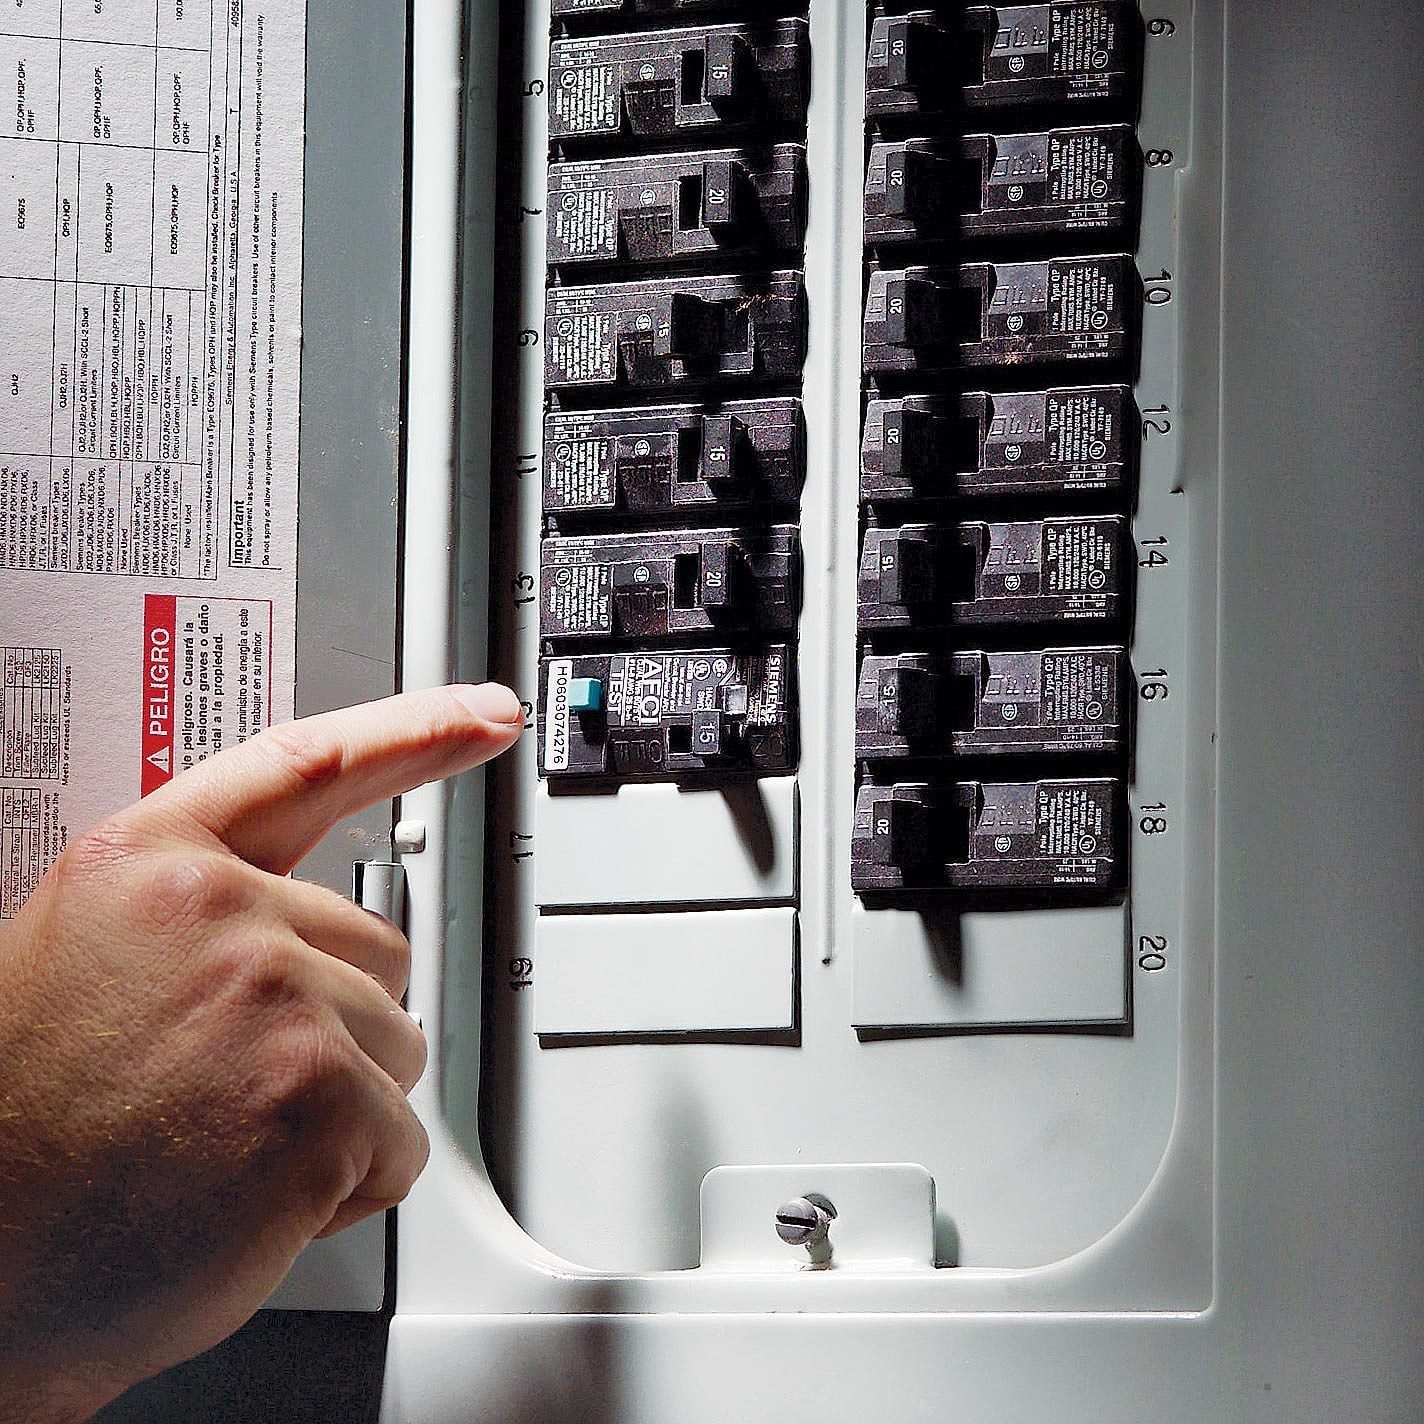
- Install a dedicated double-pole breaker in your main breaker box that matches the amperage output of your inverter.
- Install the mechanical interlock kit according to the manufacturer’s instructions, ensuring it physically blocks the main breaker when the inverter breaker is engaged.
- Run high-quality, gauge-appropriate electrical wire from the exterior inlet box to the new dedicated breaker inside the panel.
- Connect the black (hot) wires to the breaker, the white (neutral) wire to the neutral bus bar, and the green (ground) wire to the ground bus bar.
- Test the system by turning off the main utility breaker, sliding the interlock into the “Inverter” position, and turning on the inverter breaker.
Common Mistakes to Avoid
One of the most frequent errors is using a “suicide cord,” which is a male-to-male extension cable used to back-feed power into a house. Never use this method. It leaves live electrical prongs exposed, posing an immediate electrocution risk to anyone who touches the cable while it is plugged into the inverter.
Another common mistake is failing to account for the neutral-ground bond. Most inverters come with a floating neutral, but some house panels require a bonded neutral. If your inverter and your panel both attempt to bond the neutral and ground, you may trigger ground fault circuit interrupters (GFCIs) or create unwanted current loops. Always check your inverter manual and local building codes regarding bonding requirements for your specific setup.
Sizing Your Inverter and Circuits
When connecting to a sub-panel or main panel, you must be aware of your inverter’s capacity. If you connect an inverter to a 50-amp breaker but the inverter can only output 20 amps, you are not necessarily in danger, but you may experience nuisance tripping if you overload the inverter. Conversely, if you connect a high-output inverter to a small breaker, the breaker will trip immediately upon load. Always match the inverter’s continuous wattage rating to the total load of the circuits you intend to power.
Consider creating a “critical loads” sub-panel. Instead of trying to power your entire house, which might exceed your inverter’s capabilities, move essential circuits—like the refrigerator, furnace blower, and lighting—into a separate sub-panel. This allows you to switch only the necessary items to battery power, extending the runtime of your system significantly.
Maintenance and Inspection
Read also: What Size Inverter Do You Need for a Starlink Mini Setup?
Once the system is installed, it is not a “set it and forget it” situation. Inspect the wiring connections annually to ensure that thermal expansion and contraction haven’t loosened any screw terminals. Loose connections create resistance, which leads to heat buildup and can eventually cause arcing or fire inside your electrical panel.
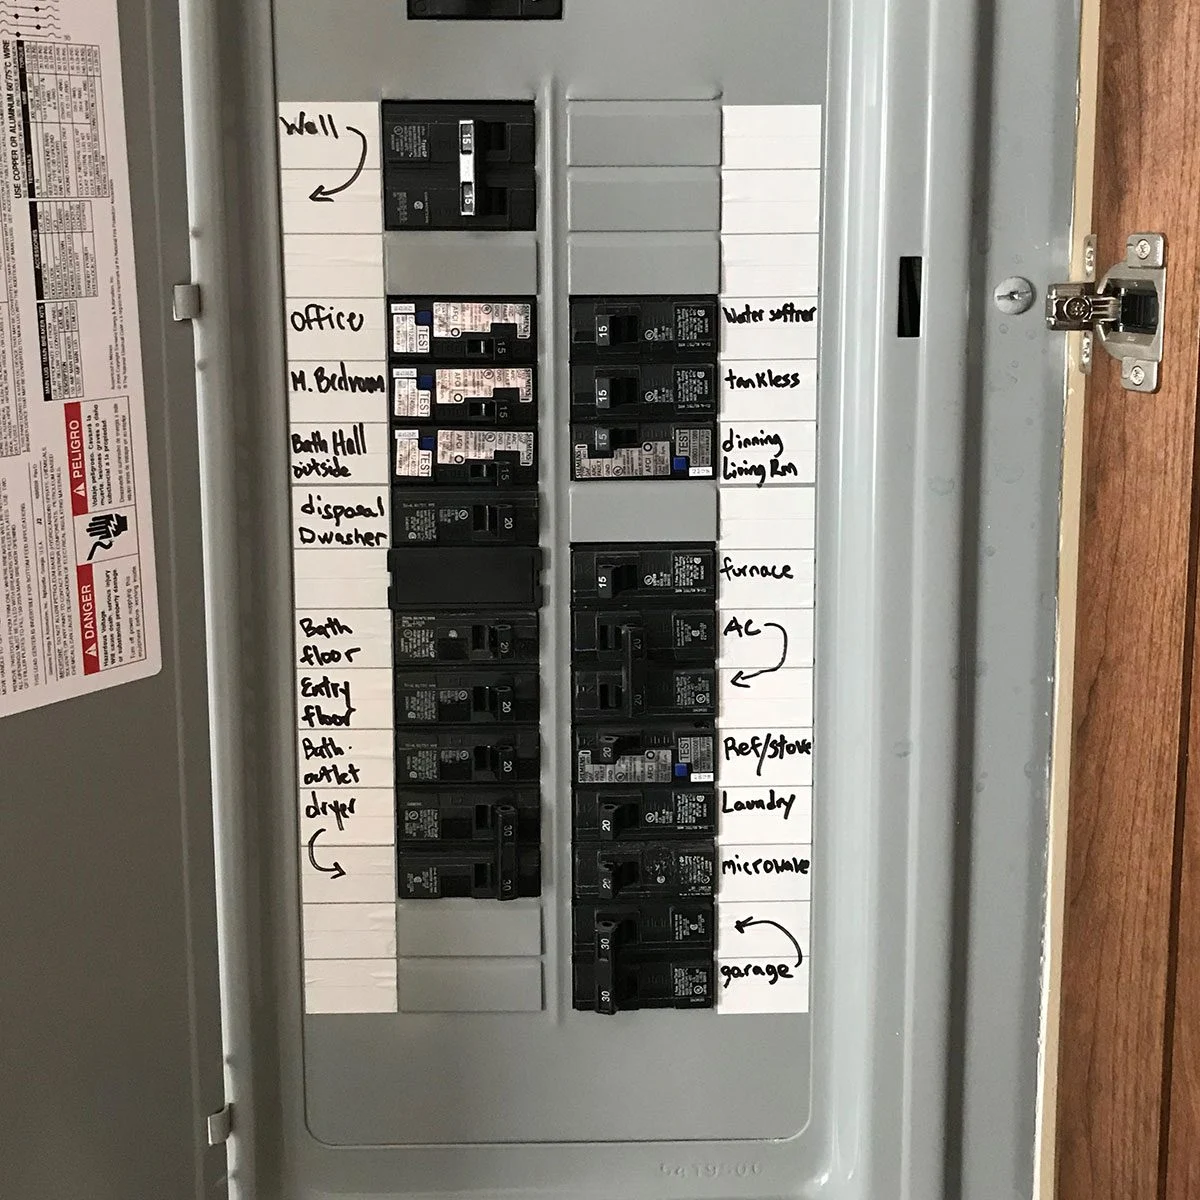
Always keep a clear list of which circuits are powered by the inverter. During an emergency, you do not want to accidentally turn on high-draw appliances like electric water heaters, dryers, or central air conditioning units, as these will likely drain your battery bank or overload the inverter instantly.
Frequently Asked Questions
📷 Photo by storage.googleapis.com
Q: Can I connect my inverter directly to my main breaker panel without a switch?
A: No, it is illegal and extremely dangerous. You must use a transfer switch or a mechanical interlock to prevent back-feeding the utility grid.
Q: What gauge wire should I use for my inverter connection?
A: The wire gauge depends on the amperage of the breaker you are using. For a standard 30-amp circuit, you typically need 10-gauge wire, while a 50-amp circuit requires 6-gauge wire. Always verify this with your local electrical code.
Q: Does the inverter need to be grounded separately?
A: Yes, the inverter chassis should be connected to your home’s grounding system to ensure safety and prevent electrical noise or static buildup.
Final Considerations for Safety
Safety should always be the priority when dealing with electricity. If you notice any flickering lights, humming sounds from the panel, or the smell of burning plastic after connecting your inverter, shut the system down immediately. These are signs of a poor connection or an overloaded circuit. Always verify your installation with a multimeter before finalizing the connection to ensure that the voltage is stable and the polarity is correct.
📷 Photo by surveylabel.blogspot.com