


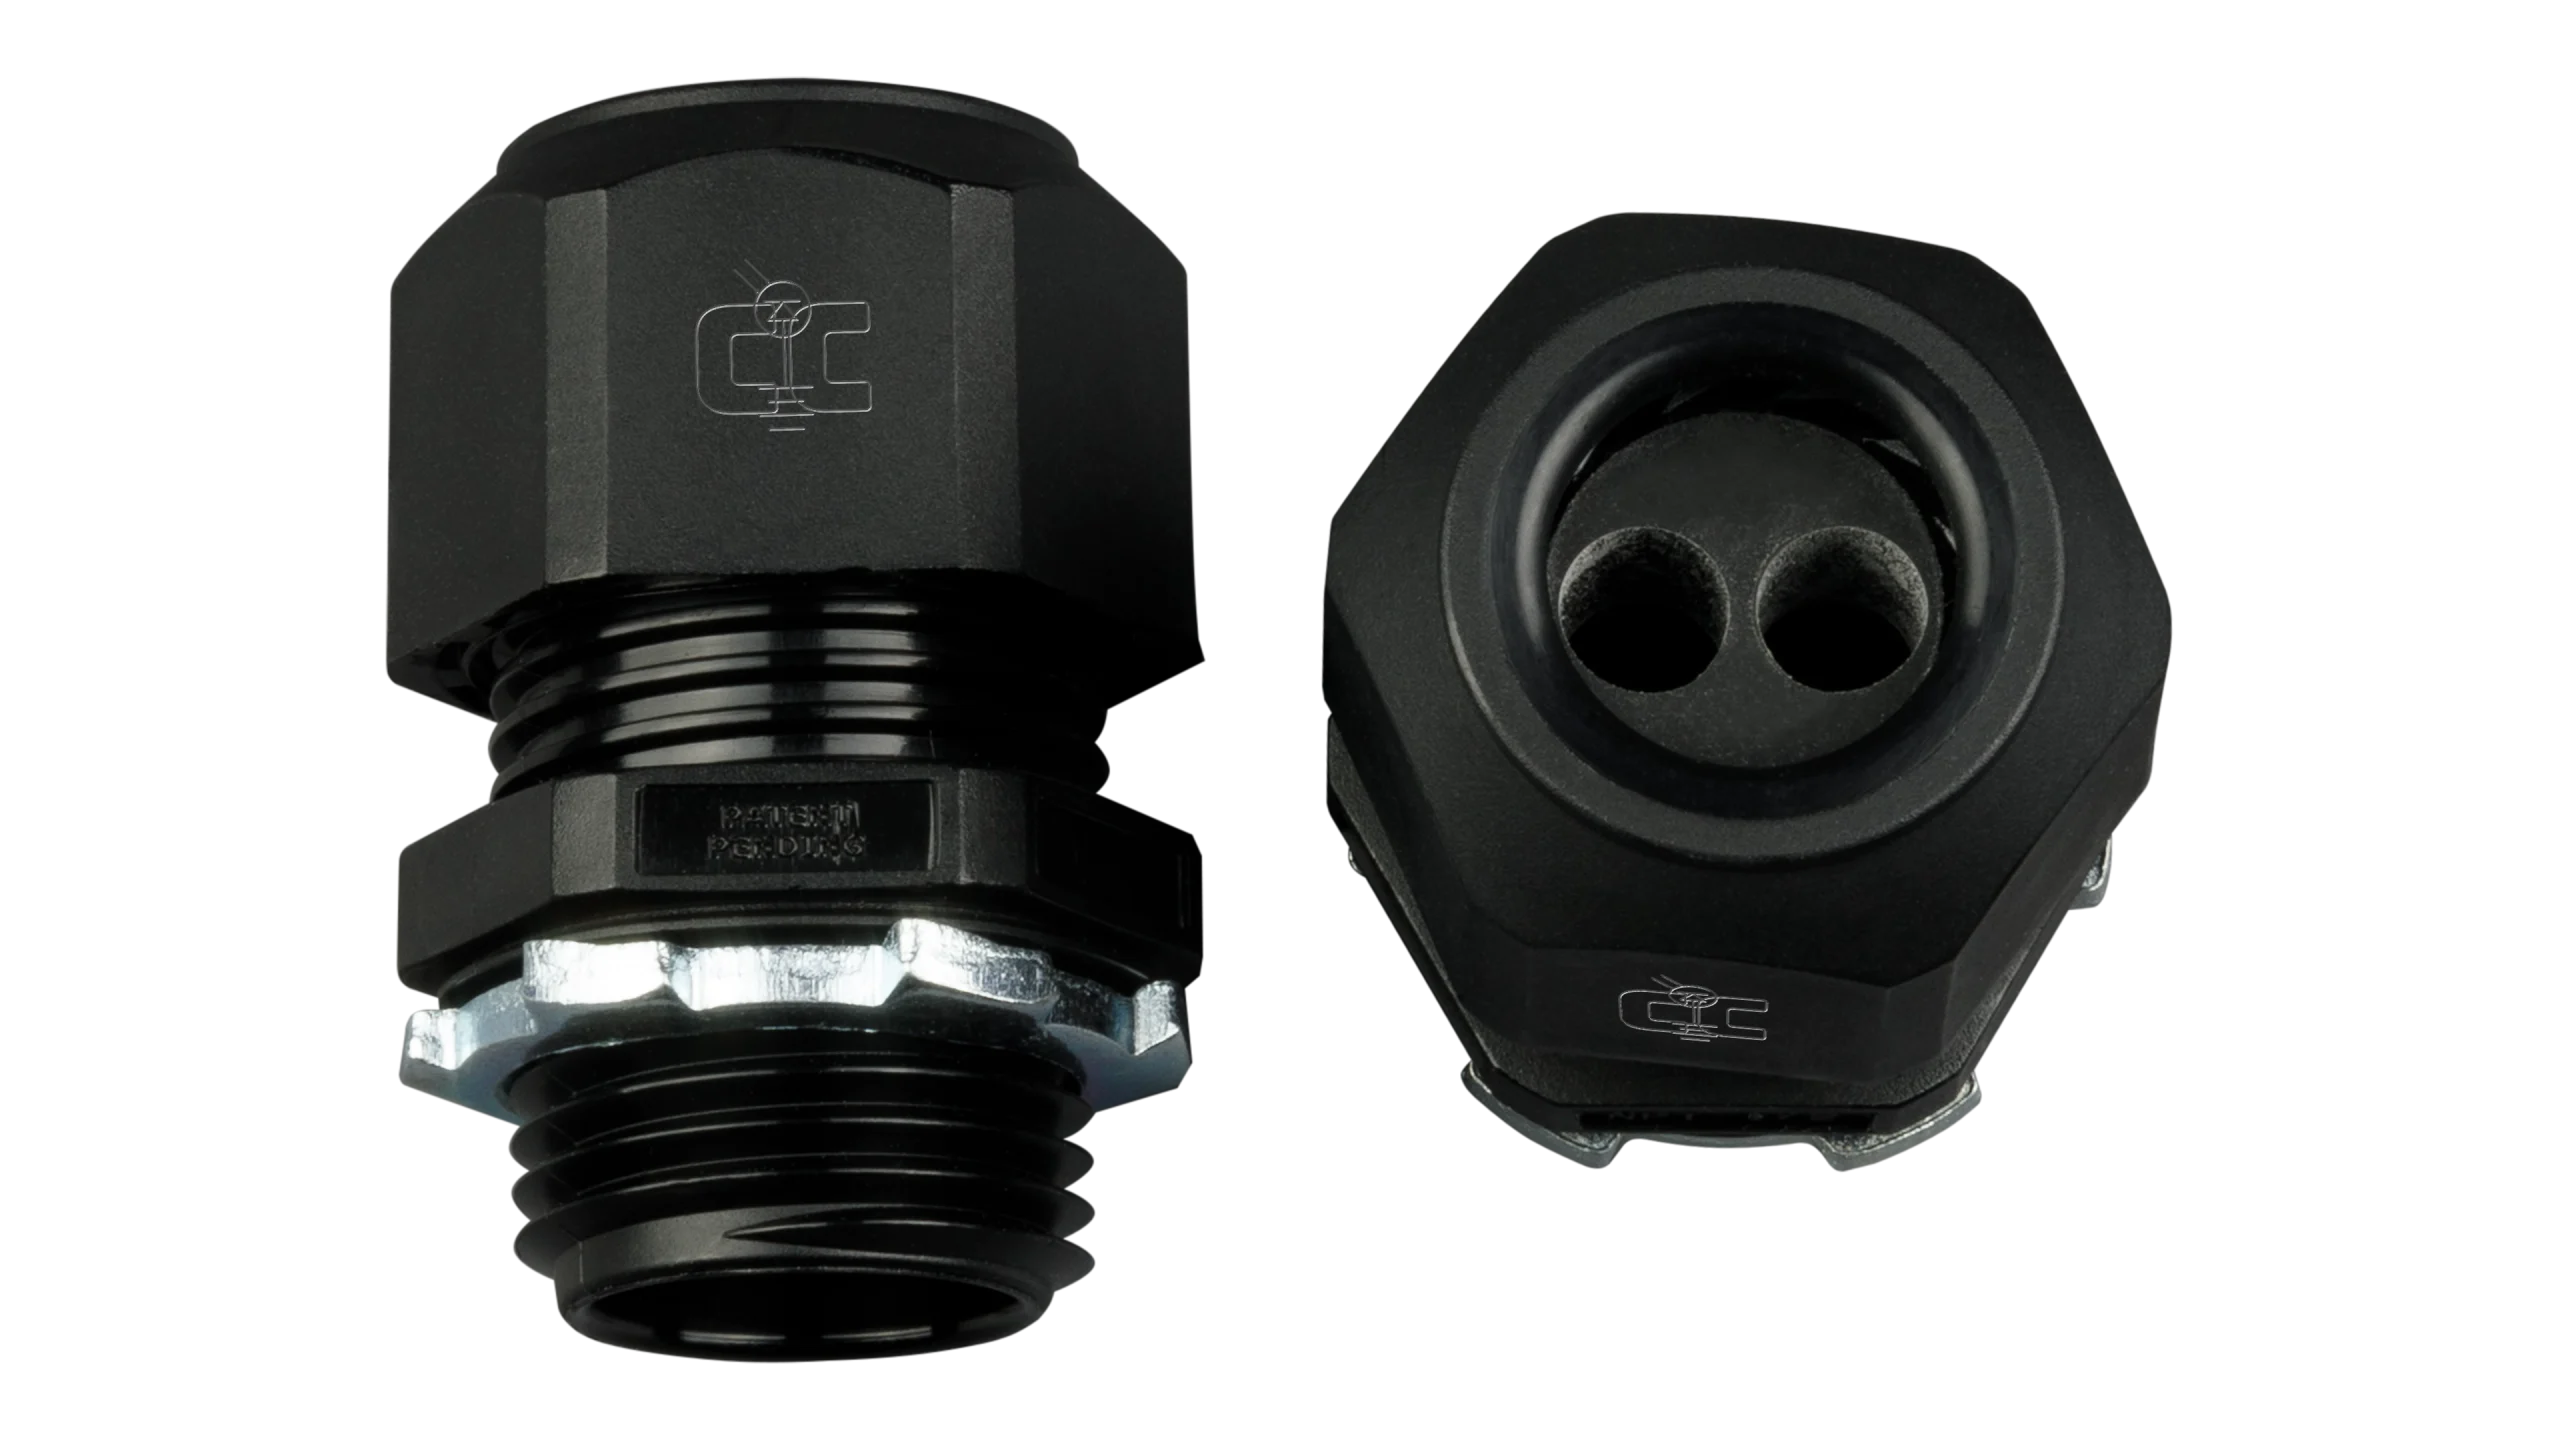
Vanonpower.com – The most reliable way to route solar cables through a van roof without leaks is by using a dedicated UV-resistant cable entry gland sealed with high-quality automotive-grade polyurethane sealant like 3M 5200 or Sikaflex 252.
Achieving a waterproof seal on a van roof is the most critical step in a solar installation. A single poorly sealed hole can lead to water pooling inside your ceiling, causing rust, mold, and damage to your electrical components. Many DIYers fail because they rely on standard silicone, which lacks the structural adhesion required for the vibration and thermal expansion experienced by a moving vehicle.
Why Standard Silicone Fails in Van Conversions
Most hardware store silicone sealants are designed for static home environments. Vans, however, are dynamic structures. They flex while driving, expand significantly under direct sunlight, and contract during cold nights. Standard silicone often loses its bond with metal over time, leading to micro-cracks where water can seep in. Always opt for polyurethane-based adhesives or specifically formulated marine-grade sealants that remain flexible once cured.
Essential Tools and Materials
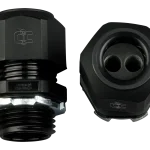
Before starting the penetration, ensure you have the right equipment. Using a standard drill bit can leave jagged edges that are difficult to seal. Instead, use a step drill bit to create a clean, burr-free hole. You will also need a cable entry housing, which provides a physical barrier and an additional layer of protection against the elements.
Comparison of Cable Routing Methods
| Method | Waterproof Rating | Ease of Installation | Durability |
|---|---|---|---|
| Cable Entry Gland | Excellent | High | Long-term |
| Rubber Grommet Only | Poor | Medium | Low |
| Standard Silicone Bead | Very Low | Easy | Short-term |
Step-by-Step Guide to a Leak-Proof Installation
- Select the optimal location on your roof. Ensure it is away from natural water channels or valleys where rain tends to pool.
- Clean the surface area thoroughly using isopropyl alcohol to remove all wax, grease, and dirt. A clean surface is mandatory for the sealant to bond.
- Drill the hole using a step drill bit to match the diameter of your cable gland. Immediately deburr the edges with a metal file to prevent the sharp metal from cutting into your cable insulation.
- Apply a generous, continuous bead of polyurethane sealant to the bottom flange of the cable entry housing. Ensure there are no gaps in the sealant ring.
- Press the housing firmly onto the roof and secure it with stainless steel self-tapping screws. The sealant should squeeze out slightly from under the edges, indicating a complete seal.
- Apply a final layer of sealant over the screw heads and around the entire perimeter of the housing. This creates a secondary barrier against water intrusion.
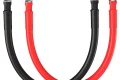
- Thread the solar cables through the gland, tighten the compression nut to seal the cable entry, and verify that the connection is snug.
Common Mistakes to Avoid
One of the most frequent errors is failing to prepare the metal surface correctly. If you apply sealant over paint that is peeling or dusty, the bond will inevitably fail. Always scuff the paint slightly with fine-grit sandpaper to give the sealant a better surface to grip. Another mistake is overtightening the screws, which can push all the sealant out from under the housing, leaving the joint starved of the very material meant to protect it.
Managing Thermal Expansion
Solar cables can get extremely hot in the summer. If your cable is pulled too tight between the solar panel and the entry gland, the expansion of the roof and the cable itself can put stress on the seal. Always leave a small amount of “service loop” or slack in the cable. This slack allows the system to move slightly without pulling against the entry gland seal, preserving the integrity of the connection over many years of travel.
The Importance of Cable Management
Securing the cables on the roof is just as important as the entry point itself. Use VHB tape or cable tie mounts to secure the wires to the roof panels. If the wires are left flapping in the wind while you drive, the constant tugging force will eventually work the entry gland loose, regardless of how well it was sealed initially. Keep the cables as flush to the roof as possible.
Maintenance and Inspection
Check your seals at least once a year. Look for signs of cracking, peeling, or discoloration in the sealant. If you notice any small gaps, you do not necessarily need to remove the entire housing. You can often clean the area and apply a fresh layer of sealant over the top, provided the base bond remains strong. Prevention is significantly easier than repairing water damage inside your van walls.
Q: Can I use regular indoor silicone for my van roof?
A: No. Indoor silicone is not UV-resistant and will degrade quickly under the sun. It also lacks the structural strength to withstand the vibration of a moving vehicle.
Q: Do I need to use screws, or is adhesive enough?
A: While high-end structural adhesives like 3M 5200 are incredibly strong, using stainless steel screws provides a mechanical backup that ensures the housing stays in place even if the adhesive bond is tested by extreme temperature changes.
Q: What if I need to remove the gland later?
A: If you use a permanent adhesive like 3M 5200, it is very difficult to remove. If you anticipate needing to change your solar setup, consider using a slightly less aggressive, yet still high-quality, polyurethane sealant like Sikaflex 221 or a dedicated removable sealant designed for automotive use.
By following these steps, you create a robust, weather-tight seal that protects your investment and your van’s structure. Taking the extra time to clean the surface, use the right sealant, and provide strain relief for your cables will save you from the headache of future leaks and interior damage.
📷 Photo by currentconnected.com