





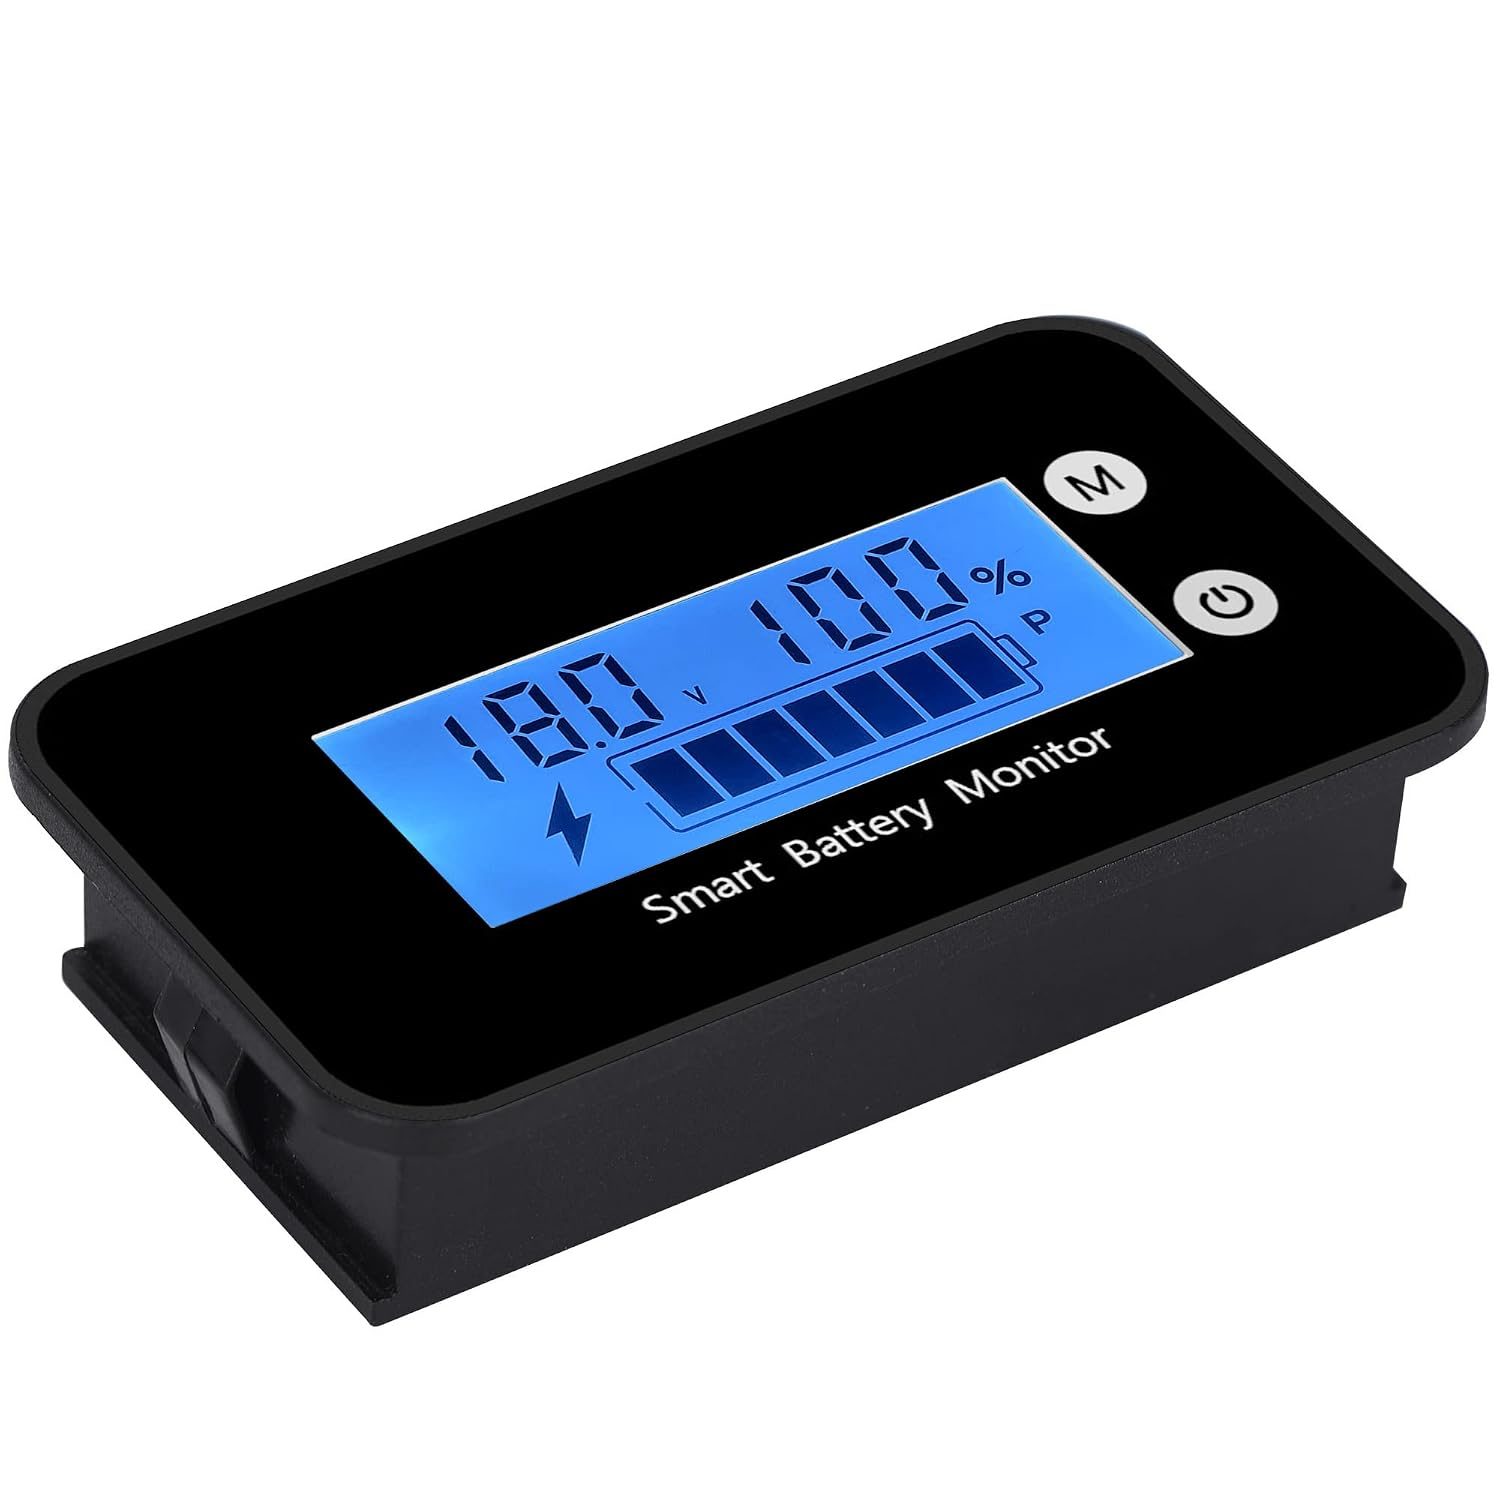
Vanonpower.com – Accurate state of charge (SoC) tracking relies on configuring your battery monitor’s capacity, Peukert exponent, and charge efficiency factor to match your specific battery chemistry and aging profile. Precise monitoring prevents deep discharge damage and ensures you always know your true remaining energy.
Understanding the Fundamentals of Battery Monitoring
Most modern battery monitors function as “coulomb counters,” tracking the flow of current in and out of the battery. However, simply installing the unit is not enough. Without correct calibration, the monitor will accumulate “drift”—a discrepancy between the displayed SoC and the actual capacity—leading to inaccurate readings that could leave you stranded or shorten your battery’s lifespan.
The most critical setting is the battery capacity (Ah). If your monitor believes you have a 200Ah battery but you actually have a 100Ah battery, your SoC percentage will be fundamentally incorrect from the start. Always input the manufacturer’s specified capacity at the 20-hour (C20) rate, which is the industry standard for most deep-cycle systems.
Critical Settings for Precision Tracking
To achieve high-accuracy tracking, you must adjust parameters beyond basic capacity. The Peukert exponent is a vital setting for lead-acid batteries, as it accounts for the loss of capacity during high-current discharges. For Lithium Iron Phosphate (LiFePO4) batteries, this value is typically set to 1.05, while AGM or flooded batteries usually range between 1.10 and 1.25.
The Charge Efficiency Factor (CEF) is another often-overlooked setting. It compensates for the energy lost as heat during the charging process. Lead-acid batteries are less efficient and typically require a setting around 85% to 90%, whereas LiFePO4 batteries are highly efficient, often requiring settings between 98% and 99%.
| Setting | LiFePO4 Recommendation | Lead-Acid (AGM/Gel) |
|---|---|---|
| Peukert Exponent | 1.05 | 1.10 – 1.25 |
| Charge Efficiency | 98% – 99% | 85% – 90% |
| Tail Current | 1% – 2% | 4% |
| Charged Voltage | 13.5V – 13.8V | 13.2V – 13.4V |
Step-by-Step Calibration Process
Calibration is the process of resetting the monitor to match the physical state of the battery. Follow these steps to ensure your monitor starts from a known baseline.
- Fully charge your battery bank until the current drops below the programmed tail current threshold.
- Once the battery is fully charged, verify that the monitor displays 100% SoC. If it does not, manually synchronize the monitor to 100%.
- Check your “Charged Voltage” setting. Ensure this is set slightly below your charger’s float voltage to ensure the monitor recognizes a full charge when the charger enters the final stage.
- Perform a deep discharge cycle (down to about 50%) and observe if the monitor’s percentage aligns with the expected voltage-to-SoC chart for your specific battery type.
- If the discrepancy remains, adjust the capacity setting in small increments—if the monitor shows empty too soon, increase the capacity setting slightly; if it shows capacity remaining when the battery is dead, decrease the capacity.
The Role of Tail Current and Syncing
The “Tail Current” setting is the primary trigger for the monitor to “sync” to 100%. As a battery nears full, the acceptance rate drops. If you set your tail current too low, the monitor may never reach the state required to reset to 100%. If you set it too high, it might reset prematurely before the battery is actually full.
A common mistake is ignoring the impact of battery aging. As a battery loses capacity over years of use, the original 200Ah capacity is no longer accurate. Professionals recommend re-evaluating your battery’s actual capacity every six months. If you notice the monitor consistently reaches 100% while the battery voltage is still rising rapidly, your current capacity setting is likely higher than the actual available capacity.
Risks of Incorrect Configuration
Read also: How Many Amps Can a 100Ah LiFePO4 Battery Deliver Continuously?
The primary risk of poor configuration is “false confidence.” If your monitor displays 30% remaining, but your battery is actually at 5%, you risk dropping below the critical voltage threshold. For lead-acid batteries, this leads to sulfation and rapid degradation. For LiFePO4 batteries, while they handle deep discharge better, dropping below the BMS cutoff voltage can cause system shutdowns that are difficult to recover from without specialized equipment.
Always ensure that your monitor’s voltage sense wire is connected directly to the battery terminal, not the common busbar. Voltage drop across cables can lead to inaccurate readings, causing the monitor to think the battery is full when it is actually experiencing a voltage sag due to high load.
Frequently Asked Questions
Q: Why does my monitor jump to 100% while my battery is still charging?
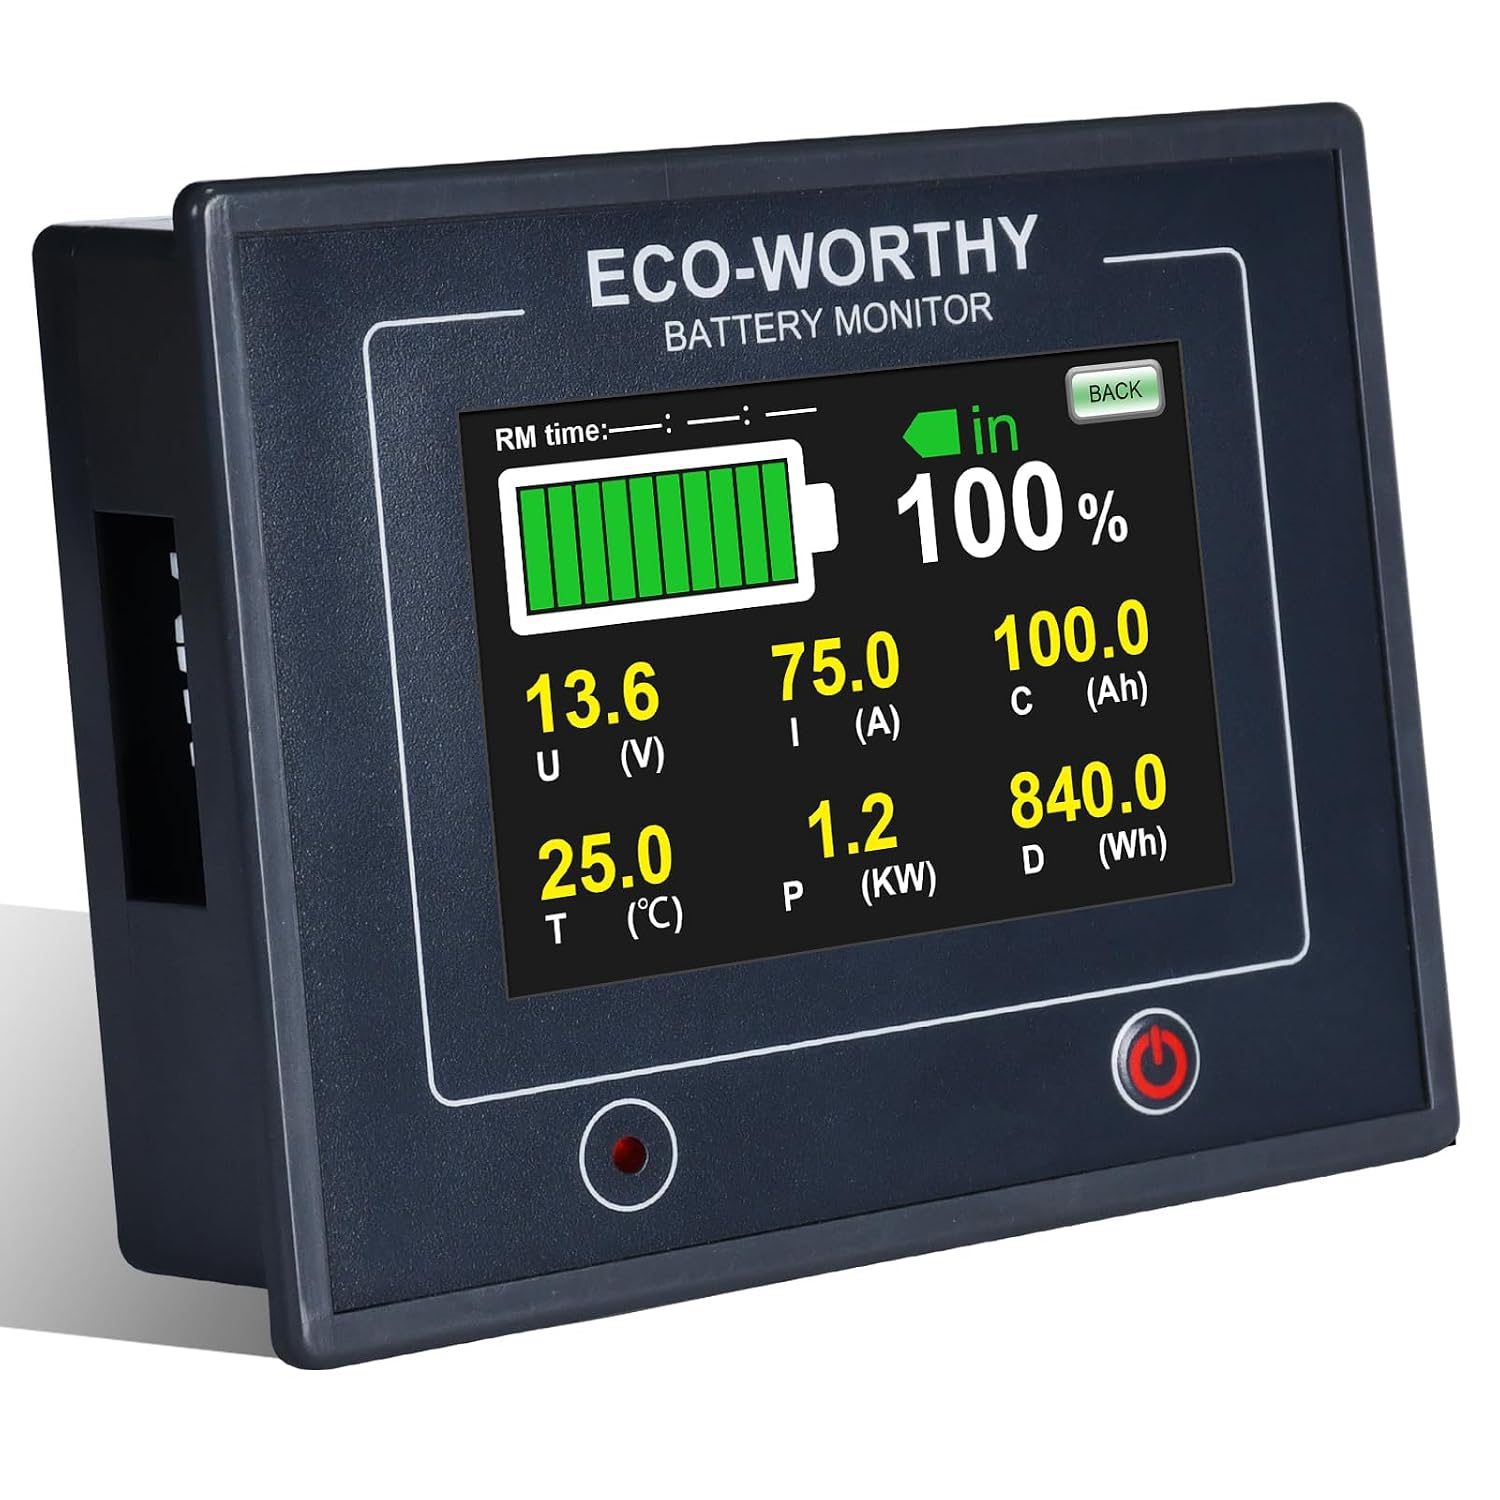
📷 Photo by manuals.plus
A: This usually happens because the “Charged Voltage” setting is too low or the “Tail Current” is set too high. The monitor detects a full state before the battery has actually absorbed all the necessary energy to reach a true 100% capacity.
Q: Should I change my settings as my battery gets older?
A: Yes. As batteries age, their total capacity decreases. You should periodically perform a capacity test and update the Ah setting in your monitor to reflect the current health of the battery bank, ensuring the percentage readout remains accurate.
Q: Can I use the same settings for different battery brands?
A: While chemistry (LiFePO4 vs. AGM) is the main factor, always refer to the specific datasheet provided by your battery manufacturer. Different internal resistance levels and chemical compositions can necessitate slight adjustments to the Peukert and Efficiency settings for optimal performance.
📷 Photo by manuals.plus