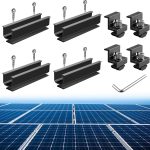


Vanonpower.com – The best roof mounting brackets for solar panels on campervans are Z-brackets made of anodized aluminum or heavy-duty stainless steel, which provide the optimal balance of wind resistance, structural integrity, and ventilation space for panel cooling.
Selecting the right mounting hardware is a critical decision when building a campervan solar system. The roof of a vehicle is subject to extreme vibration, varying wind speeds, and thermal expansion, making standard residential mounting kits unsuitable for mobile applications. Using subpar hardware can lead to panel detachment or significant damage to your van’s roof skin, which is why choosing purpose-built campervan brackets is essential.
📷 Photo by amazon.com
Why Z-Brackets Remain the Industry Standard
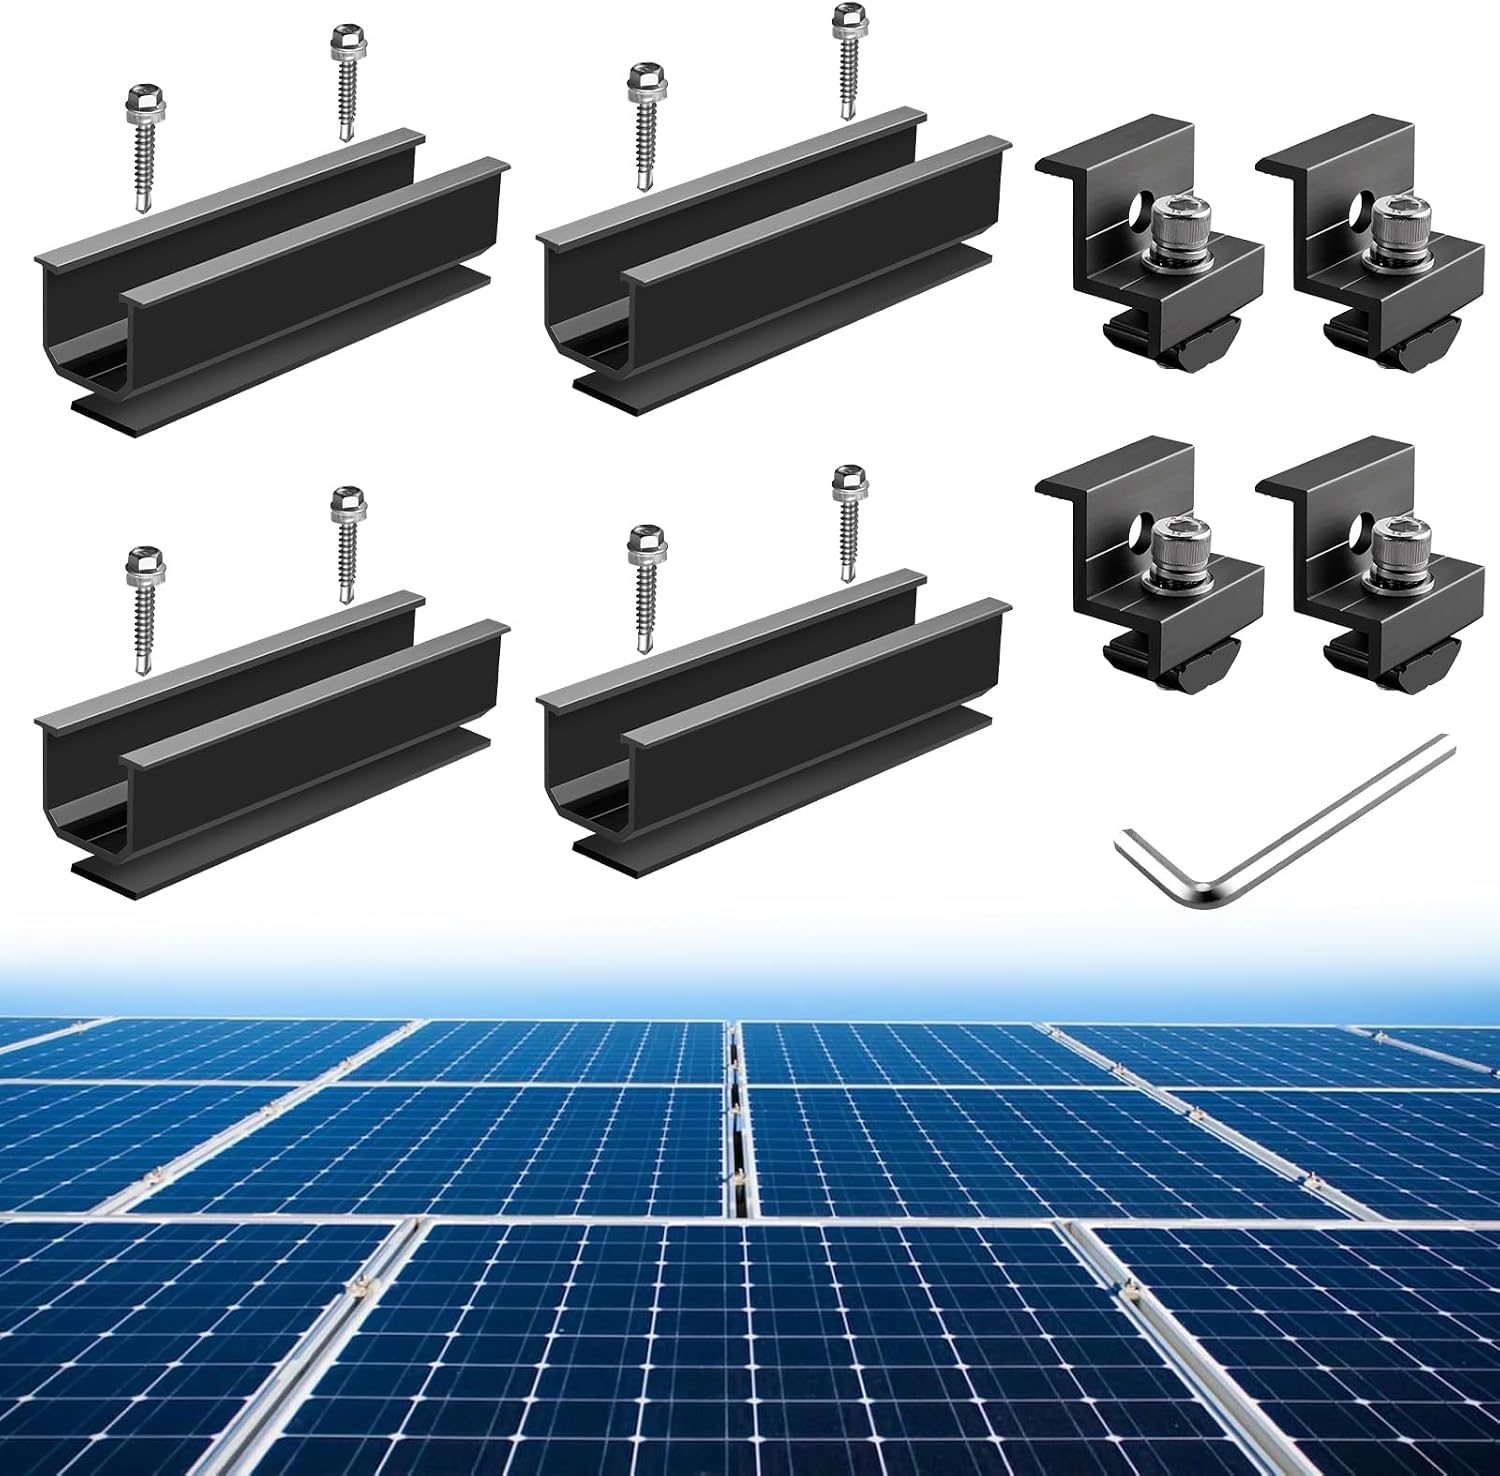
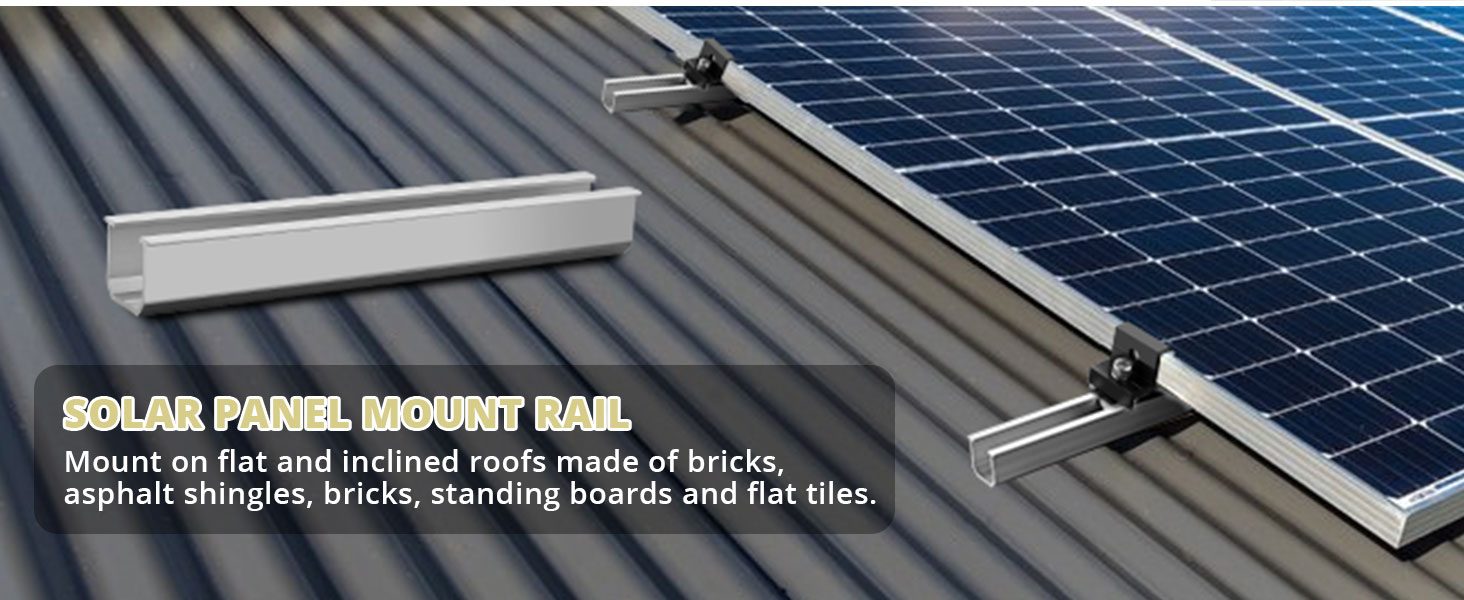
Z-brackets are the most popular choice for DIY and professional campervan builds because they are lightweight, inexpensive, and incredibly effective. Their design allows for a small gap between the solar panel and the roof, which is vital for airflow. Solar panels lose efficiency as they get hotter; by allowing air to circulate beneath the panel, you keep the cells cooler and improve overall energy harvest throughout the day.
When shopping for these brackets, prioritize anodized aluminum. This material is resistant to corrosion from rain, road salt, and UV exposure. If you are drilling into the roof, always use high-quality butyl tape or structural adhesive like 3M 5200 to seal the holes, as water intrusion is the primary cause of roof rust in campervan conversions.
Comparing Mounting Solutions for Van Roofs
Choosing between different mounting styles depends on your roof type—whether it is flat, curved, or has existing roof rails. The following table outlines the common options available for mobile solar setups.
| Mounting Type | Best For | Pros | Cons |
|---|---|---|---|
| Z-Brackets | Flat roofs, DIY builds | Affordable, promotes airflow | Requires drilling holes |
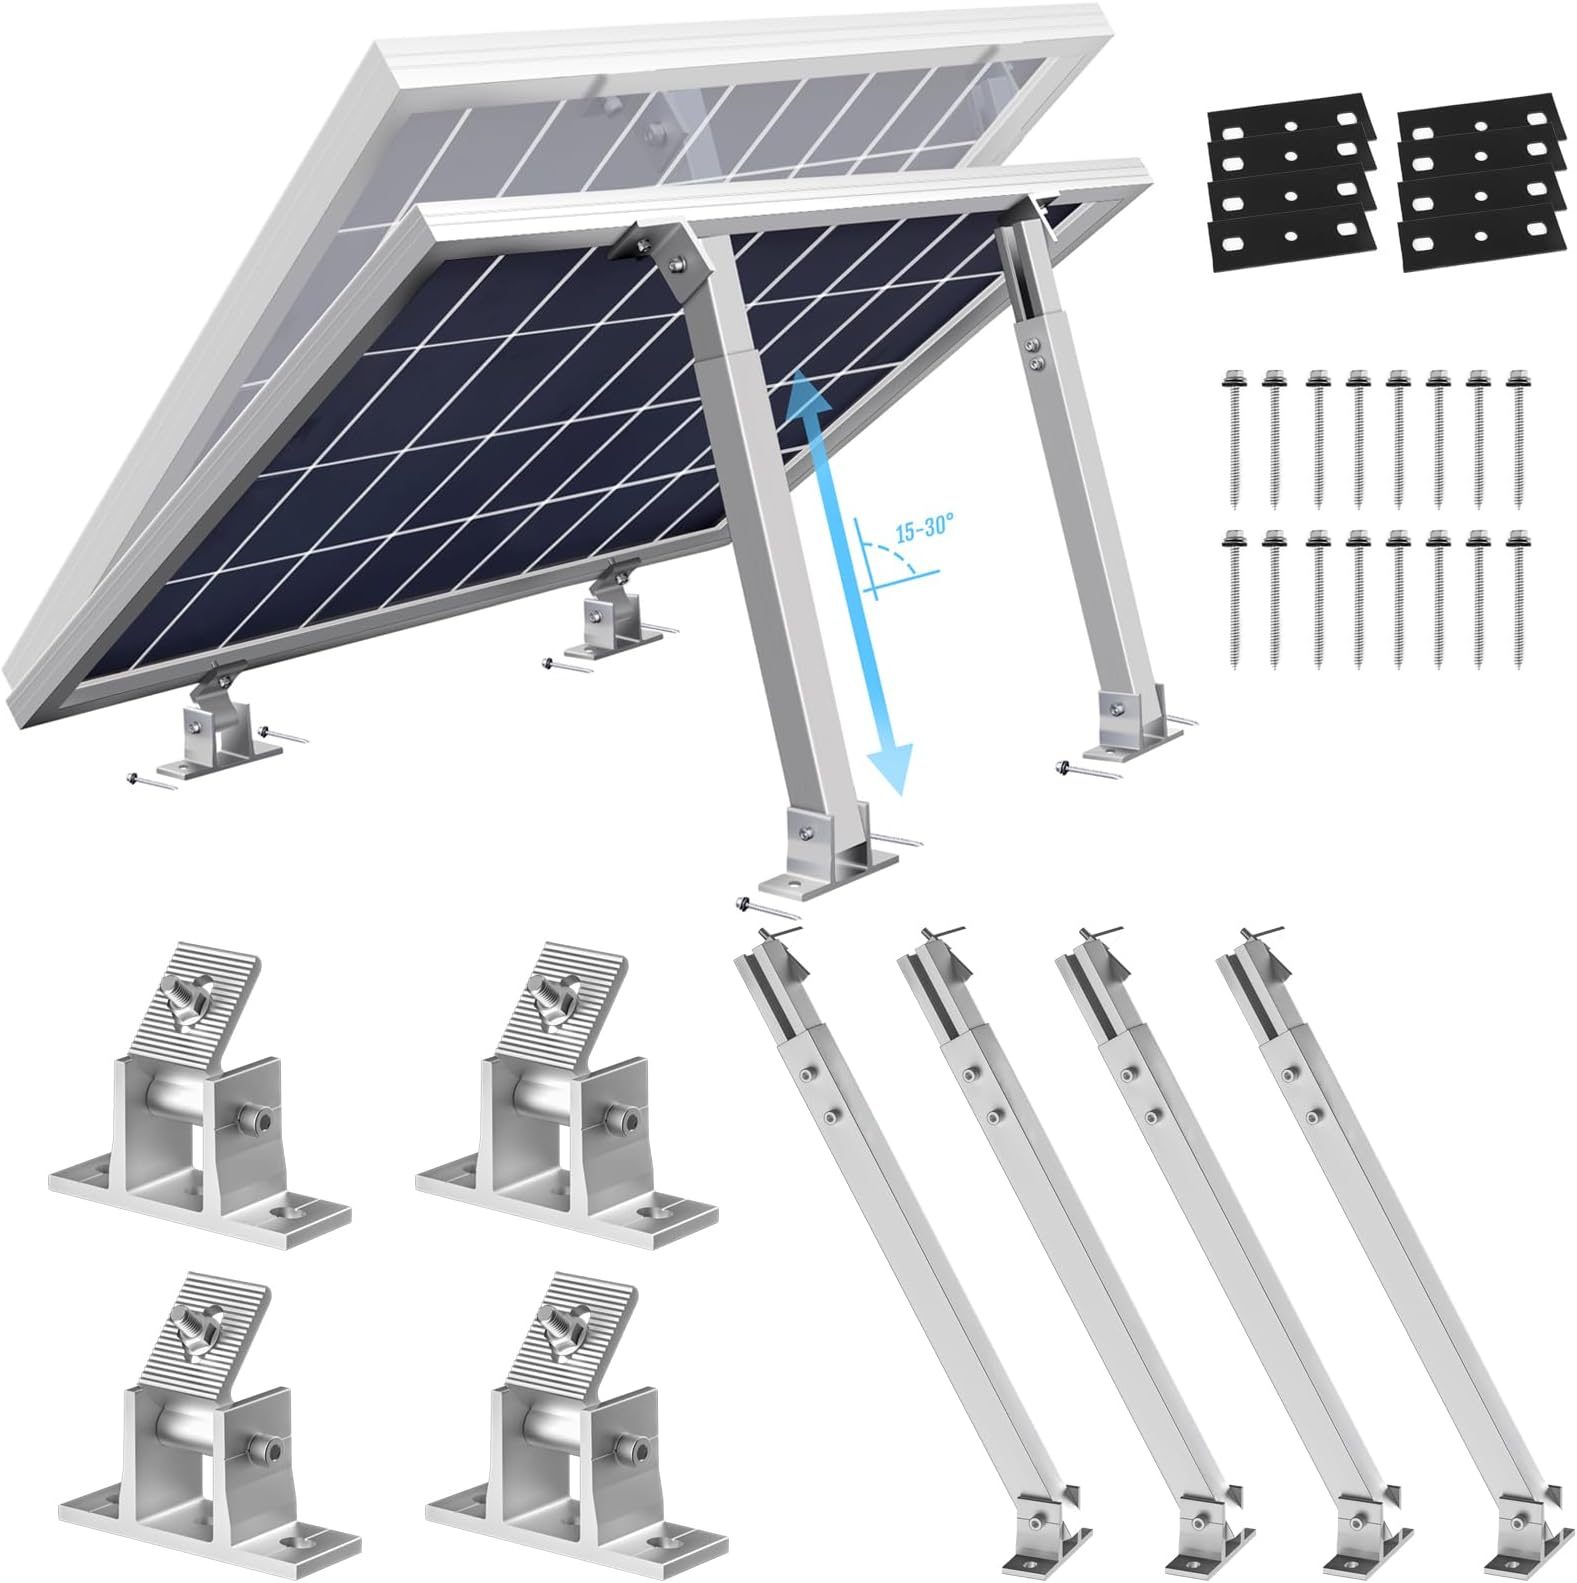
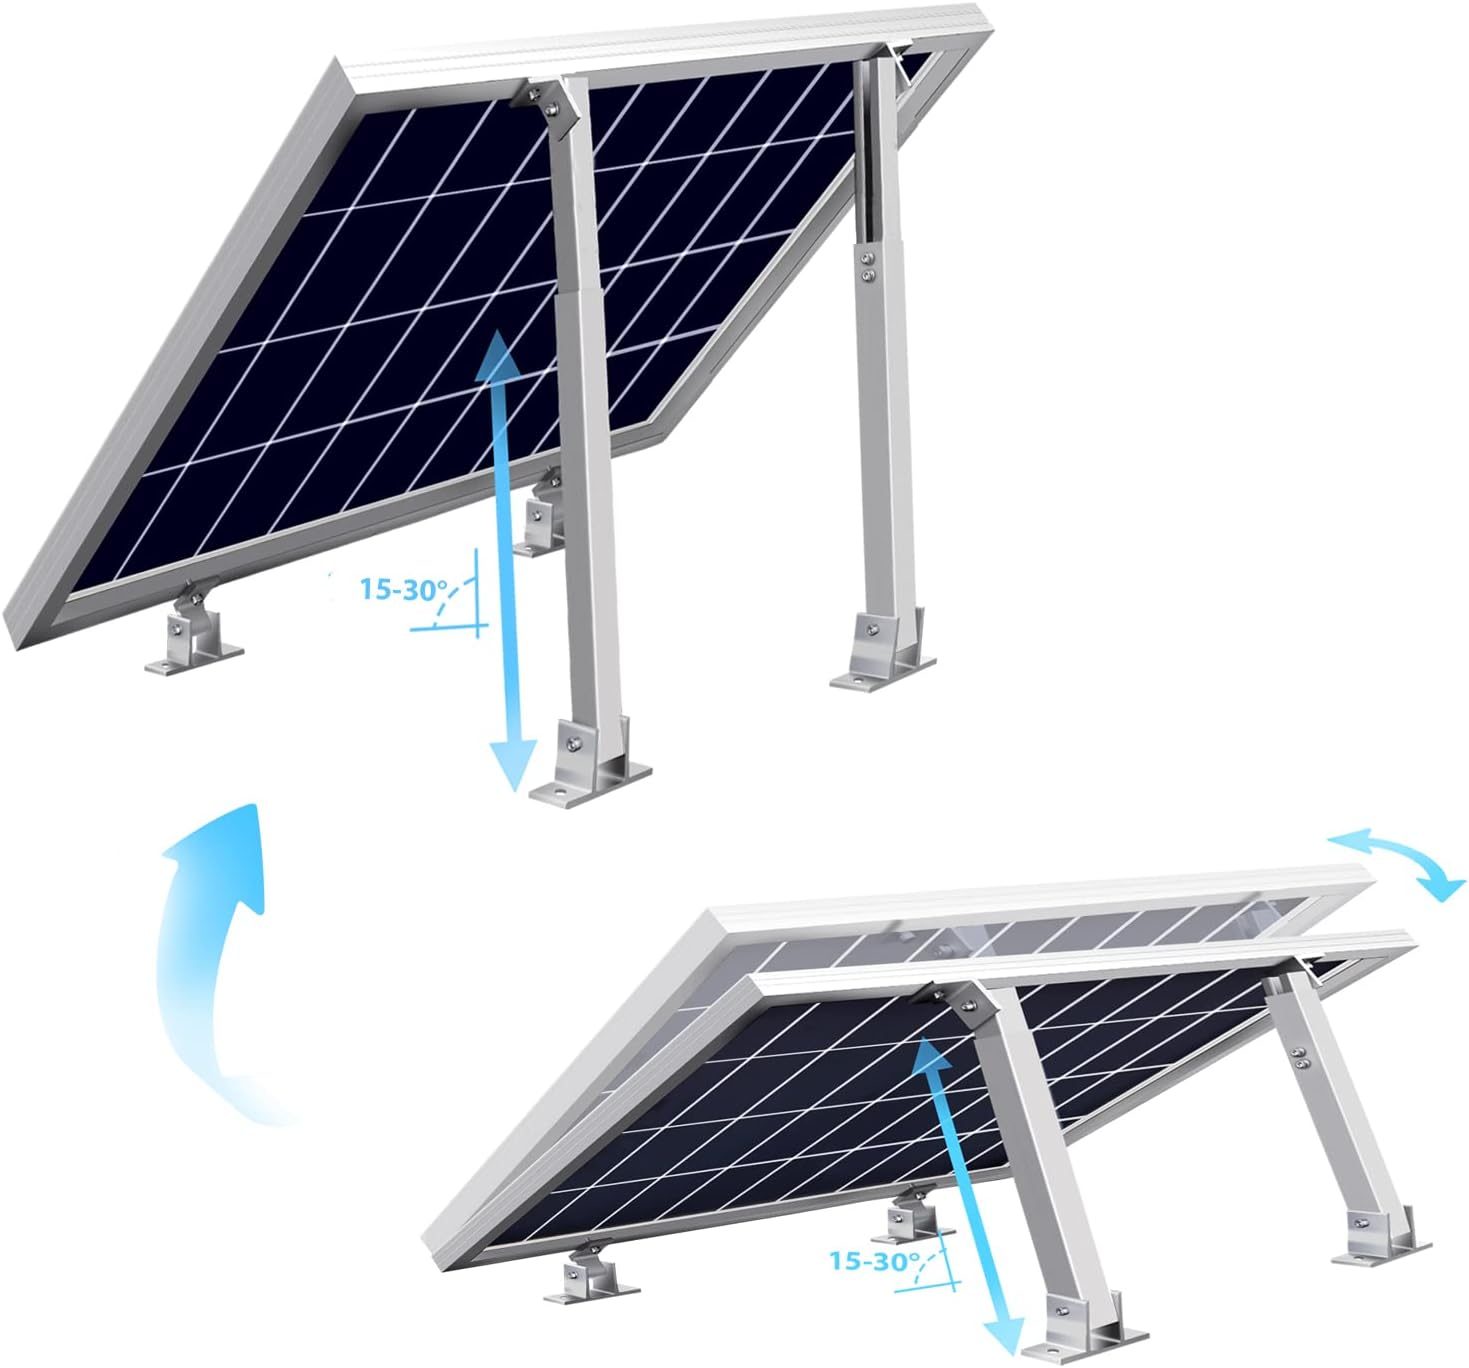
| Tilt Mounts | Off-grid, stationary use | Adjustable for sun angle | Higher wind profile, heavier |
| Roof Rails | Professional builds | Versatile, no roof drilling | Expensive, adds significant weight |
| Adhesive Mounts | Fiberglass/composite roofs | No drilling required | Risk of detachment in high heat |
Installation Guide: Securing Your Solar Panels
Installing solar panels is a permanent modification that requires precision. Follow these steps to ensure your mounting brackets are secure and watertight.
📷 Photo by amazon.com
- Layout your panels on the roof to determine the ideal position, ensuring they are clear of roof fans, vents, and shadow-casting objects.
- Clean the mounting surface thoroughly with isopropyl alcohol to remove wax, dirt, and debris that could interfere with sealant adhesion.
- Attach the Z-brackets to the solar panel frame first, ensuring all bolts are tightened with washers to prevent loosening due to road vibration.
- Place the panel on the roof, mark the hole locations, and drill pilot holes carefully to avoid hitting internal ceiling supports.
- Apply a generous amount of marine-grade sealant, such as Dicor or Sikaflex, around the screw holes and underneath the bracket base.
- Secure the brackets to the roof using stainless steel self-tapping screws and apply a final layer of sealant over the screw heads to create a waterproof seal.
Common Mistakes to Avoid
One of the most frequent errors in campervan solar mounting is failing to account for thermal expansion. As the metal roof and the aluminum brackets heat up and cool down, they expand and contract at different rates. If your mounting hardware is tightened to the point of restriction without any flexibility, you risk cracking the roof or stripping the screws. Always use lock washers or nylon-insert nuts to keep connections tight without over-torquing.
Another common oversight is ignoring aerodynamics. If your van frequently travels on highways, the wind force against a solar panel is significant. Ensure that the leading edge of your solar array is as low-profile as possible. If you notice your panels whistling at high speeds, you may need to install a wind deflector in front of the leading panel to break the airflow.
Maintenance and Long-Term Durability
Even the best brackets require periodic inspection. Because a van is constantly moving, vibrations act like a slow-motion wrench, potentially loosening hardware over thousands of miles. Make it a habit to check your mountings every time you change your oil or perform seasonal maintenance. Look for signs of sealant degradation, such as cracking or peeling, and re-apply sealant as necessary to maintain a watertight barrier.
If you are using adhesive-only mounts, be aware that extreme heat cycles can eventually weaken the bond. Always supplement adhesive mounts with mechanical fasteners if the structural integrity of your roof allows for it. For those with fiberglass high-tops, specialized structural inserts may be required to prevent the screws from pulling out over time.
Frequently Asked Questions
Q: Can I use double-sided tape instead of screws for my solar brackets?
📷 Photo by inverterreview.com
A: While high-strength VHB tape is excellent for auxiliary support, it is generally not recommended as the sole method for securing solar panels to a campervan roof due to the extreme wind loads and vibration encountered at highway speeds.
Q: Why do my solar panels make a rattling noise while driving?
A: Rattling usually indicates loose hardware or a lack of tension in the mounting brackets. Check all bolt connections and ensure the brackets are flush against the roof surface; if the gap is too large, it can cause the panel to oscillate in the wind.
Q: Should I use stainless steel or galvanized hardware?
A: Always choose stainless steel (304 or 316 grade) for your bolts, nuts, and washers. Galvanized hardware will eventually rust when exposed to road salt and moisture, which can lead to unsightly streaks on your van roof and structural failure of the mount.
Investing in high-quality mounting brackets is the cheapest insurance policy you can buy for your solar setup. By taking the time to install them correctly, using the right sealants, and performing regular inspections, you ensure that your power system remains reliable for years of travel.
📷 Photo by amazon.co.uk