





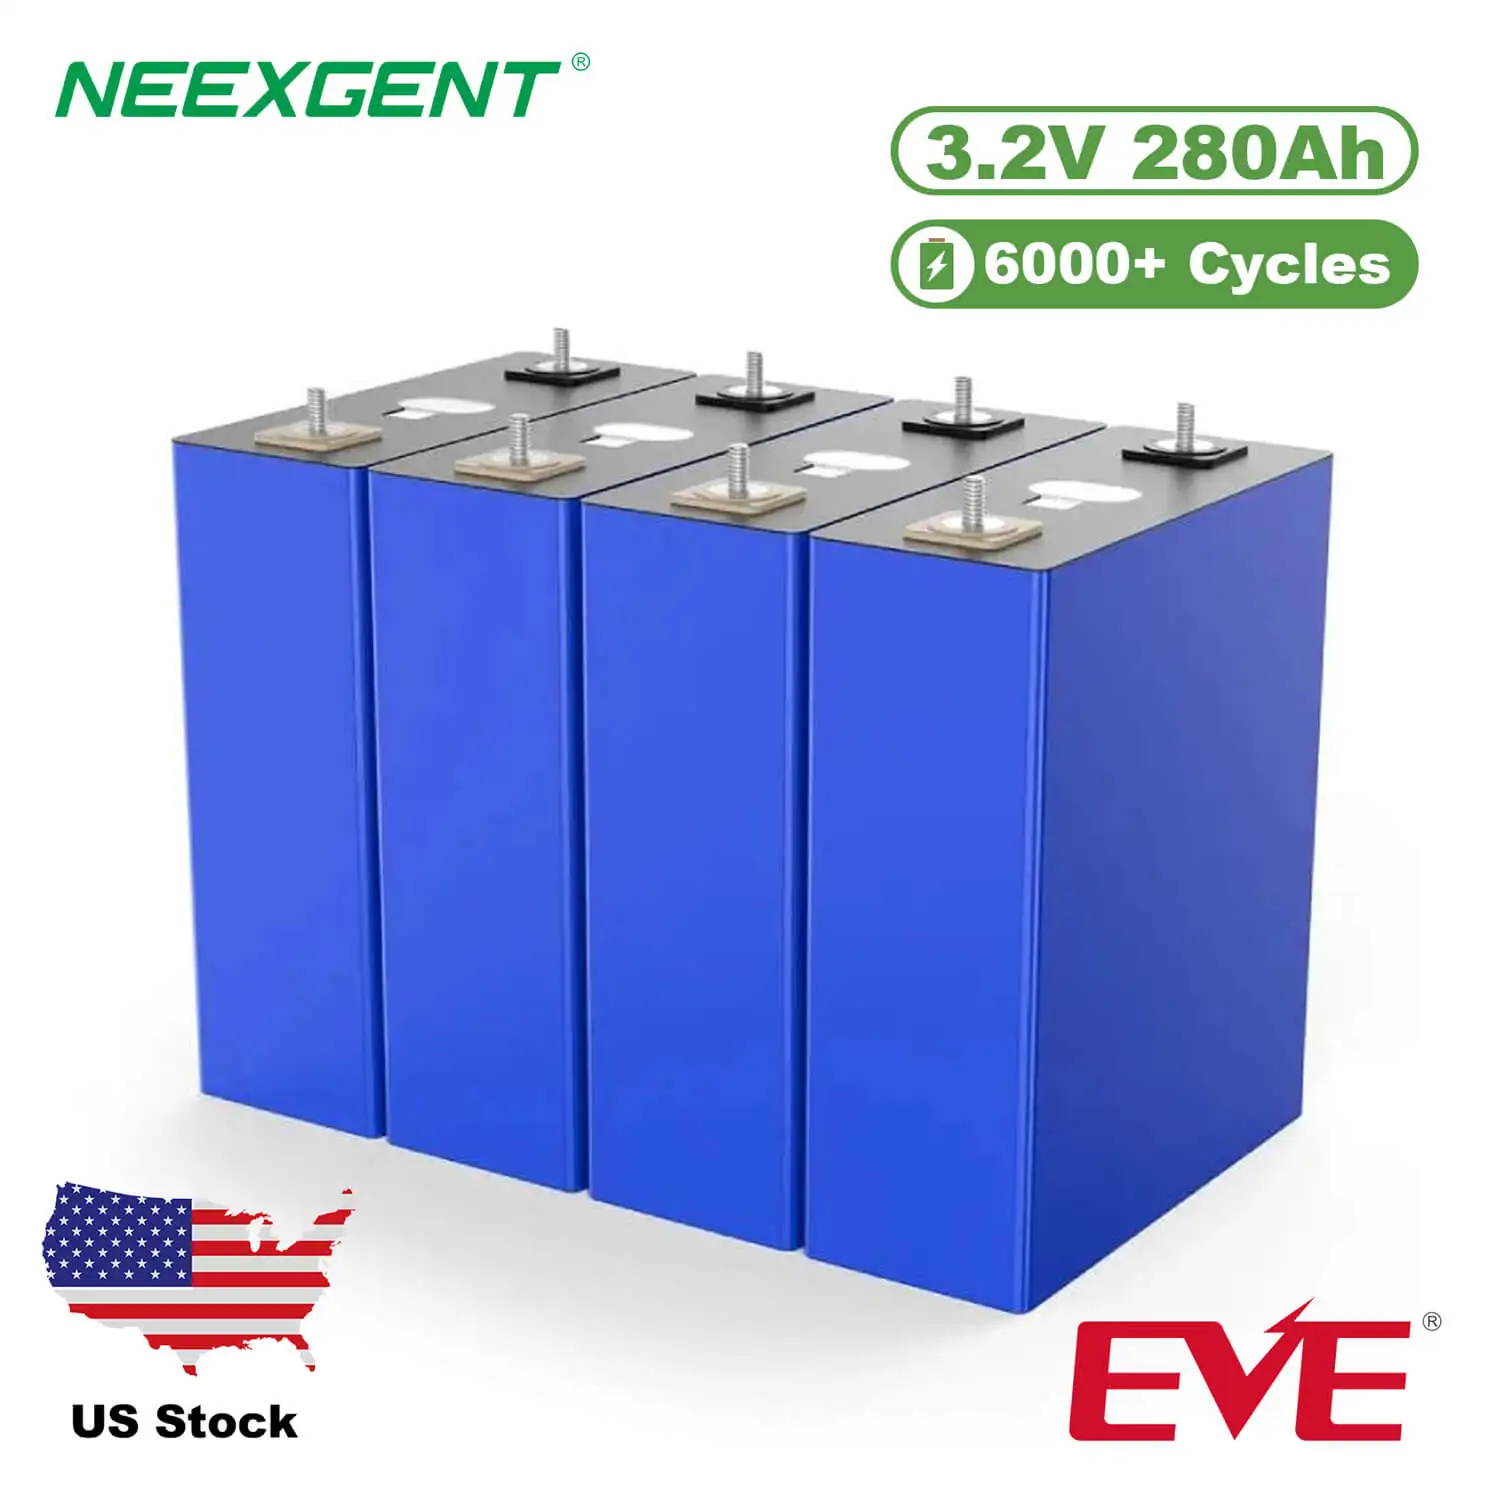
Vanonpower.com – Compressing LiFePO4 prismatic cells is essential because it prevents internal delamination and electrode degradation, which significantly extends the cycle life of your battery pack. Proper mounting involves applying uniform pressure between 12 psi and 16 psi while utilizing rigid end plates and threaded rods to maintain cell structural integrity during charge and discharge cycles.
Understanding the Necessity of Compression
LiFePO4 prismatic cells are prone to physical expansion during their operational lifespan. As lithium ions move between the anode and cathode, the layers within the cell can experience microscopic swelling. Without external mechanical constraints, this expansion leads to gas buildup, layer separation, and increased internal resistance. Over time, this results in a drastic loss of capacity and potential thermal instability.
Compression is not merely about holding the cells together; it is about providing a consistent, uniform force that keeps the internal chemistry in contact with the current collectors. When cells are allowed to “breathe” or bulge, the electrical path is interrupted, causing localized hotspots. By applying a steady, calculated pressure, you ensure that the internal stack remains tightly packed, thereby maintaining low impedance and high performance for thousands of cycles.
Technical Requirements for Pressure
The ideal pressure range for standard prismatic LiFePO4 cells typically falls between 12 and 16 psi (pounds per square inch). Applying too little pressure fails to prevent swelling, while excessive pressure can crush the cell casing and damage the internal electrode structure. It is a common misconception that “the tighter, the better.” In reality, precision is the key to longevity.
| Parameter | Recommended Value | Notes |
|---|---|---|
| Pressure Range | 12 – 16 psi | Calculate based on cell surface area. |
| End Plate Material | FR4 or Thick Aluminum | Must be rigid and non-conductive. |
| Compression Medium | Silicone Foam Pad | Allows for slight expansion/contraction. |
| Fastener Torque | Moderate (Hand Tightened) | Avoid over-tensioning rods. |
Step-by-Step Guide to Mounting Your Battery Pack
Building a robust battery pack requires a systematic approach to assembly. Follow these steps to ensure your cells are properly secured and safe for long-term use.
- Clean the surfaces of the cells and the end plates to remove any debris or oils that could cause uneven pressure distribution.
- Apply a high-quality silicone foam pad between each cell and between the outer cells and the end plates to absorb minor expansion.
- Align the cells perfectly square, ensuring terminals are facing the correct orientation for your busbar configuration.
- Place your rigid end plates on both sides of the cell stack, ensuring they cover the entire surface area of the cells.
- Insert the threaded rods through the end plate holes, keeping them parallel to the sides of the battery pack.
- Tighten the nuts gradually in a cross-pattern, similar to tightening lug nuts on a car wheel, until you reach the desired tension.
- Use a torque wrench or a spring-loaded scale to verify that the pressure is uniform across the entire surface of the end plates.
Common Mistakes and Risks
One of the most frequent errors in DIY battery building is using thin, flexible materials for end plates. If the end plate bows under pressure, the center of the cell remains uncompressed while the edges are squeezed too hard. This leads to uneven wear and internal shorts. Always use rigid materials like FR4 fiberglass or thick aluminum sheets.
Another dangerous practice is ignoring the electrical insulation between the cells. Even with compression, you must ensure that no conductive material touches the cell casings. LiFePO4 prismatic cells often have aluminum casings that are electrically live. If your compression rods or end plates make contact with these casings, you invite a short circuit that could lead to a fire.
Finally, avoid using rigid foam or non-compressible materials as spacers. The cells need a medium that can accommodate the small, natural fluctuations in volume that occur during the charge/discharge cycle. A high-quality silicone foam pad provides the right balance of resistance and compliance.
Practical Maintenance Tips
Once your pack is mounted, the work is not entirely over. Perform a visual inspection every six months to ensure that the nuts have not loosened due to vibration or thermal cycling. Listen for any “clicking” sounds, which can indicate that the internal stack is shifting or the casing is deforming. If you notice any bulging at the center of the cells, it is a sign that your compression setup is insufficient or the cells have reached the end of their life.
Always keep your battery pack in a temperature-controlled environment. Extreme heat accelerates the expansion of the electrolyte, putting unnecessary stress on your compression system. By keeping the cells cool and under constant, uniform pressure, you maximize your investment and ensure a safe, reliable power source for your off-grid or automotive applications.
FAQ
Q: Can I use wood for the end plates?
A: It is not recommended. Wood is prone to warping, moisture absorption, and inconsistent thickness, which prevents the uniform pressure required for prismatic cells; always opt for rigid, non-conductive materials like FR4.
Q: How do I know if I have applied enough pressure?
A: You can use a bathroom scale or a specialized load cell during the tightening process to measure the force, or use a torque wrench on the threaded rods if you have calculated the required torque based on your rod pitch and plate thickness.
Q: Do all LiFePO4 cells require compression?
A: Yes, all prismatic LiFePO4 cells benefit from compression to maintain internal contact, though the specific pressure requirements may vary slightly between manufacturers; always check the datasheet for your specific cell model.
Read also: What Size Battery Do I Need to Run an Electric Kettle?
📷 Photo by neexgent.com