



Vanonpower.com – A bench test ensures your inverter functions correctly under controlled conditions before you commit to the labor-intensive process of installing it in your van, preventing potential electrical hazards and saving hours of troubleshooting.
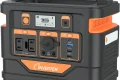
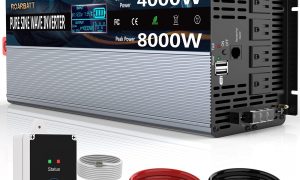
📷 Photo by walmart.com
Why Bench Testing is Non-Negotiable
Installing an inverter inside a van is a complex task involving heavy-gauge wiring, crimping, and tight-space maneuvering. If you discover the unit is “dead on arrival” only after it is bolted to the floor and wired into your battery bank, you face a nightmare scenario of disassembly. Testing on a bench allows you to verify the unit’s cooling fan operation, pure sine wave output, and low-voltage disconnect features without the interference of a complex van electrical system.
Essential Tools for Your Bench Test
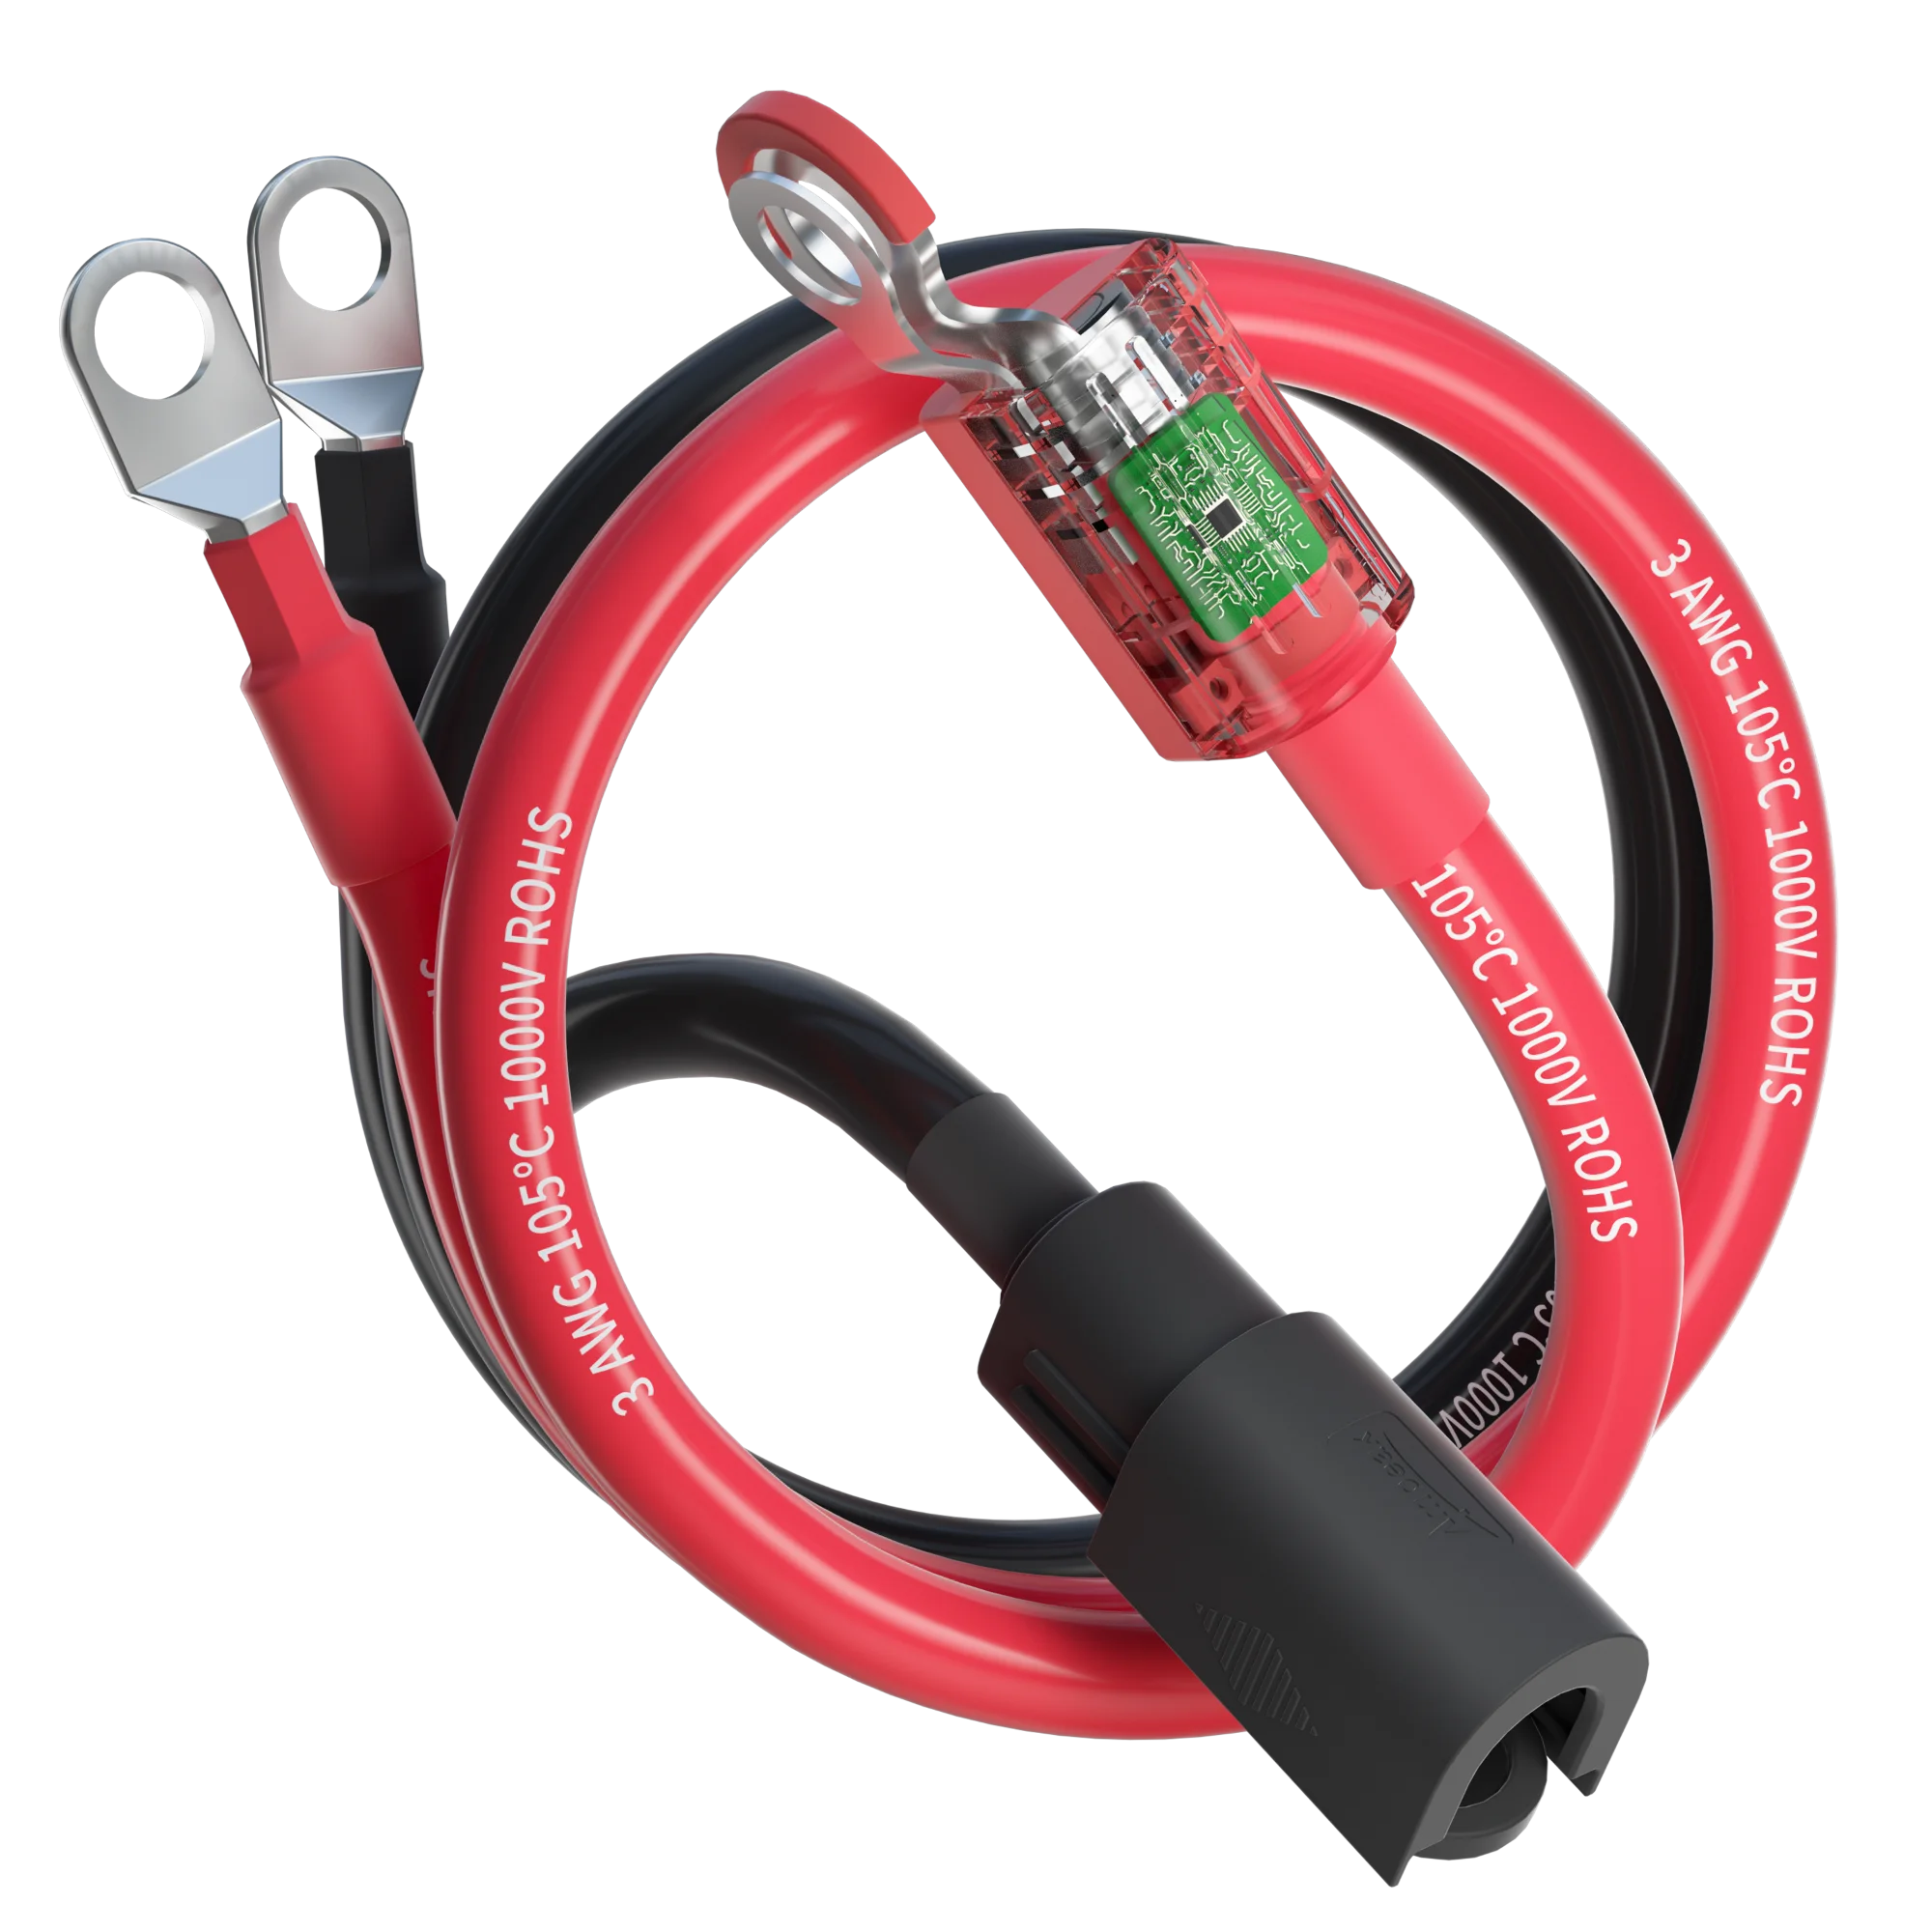
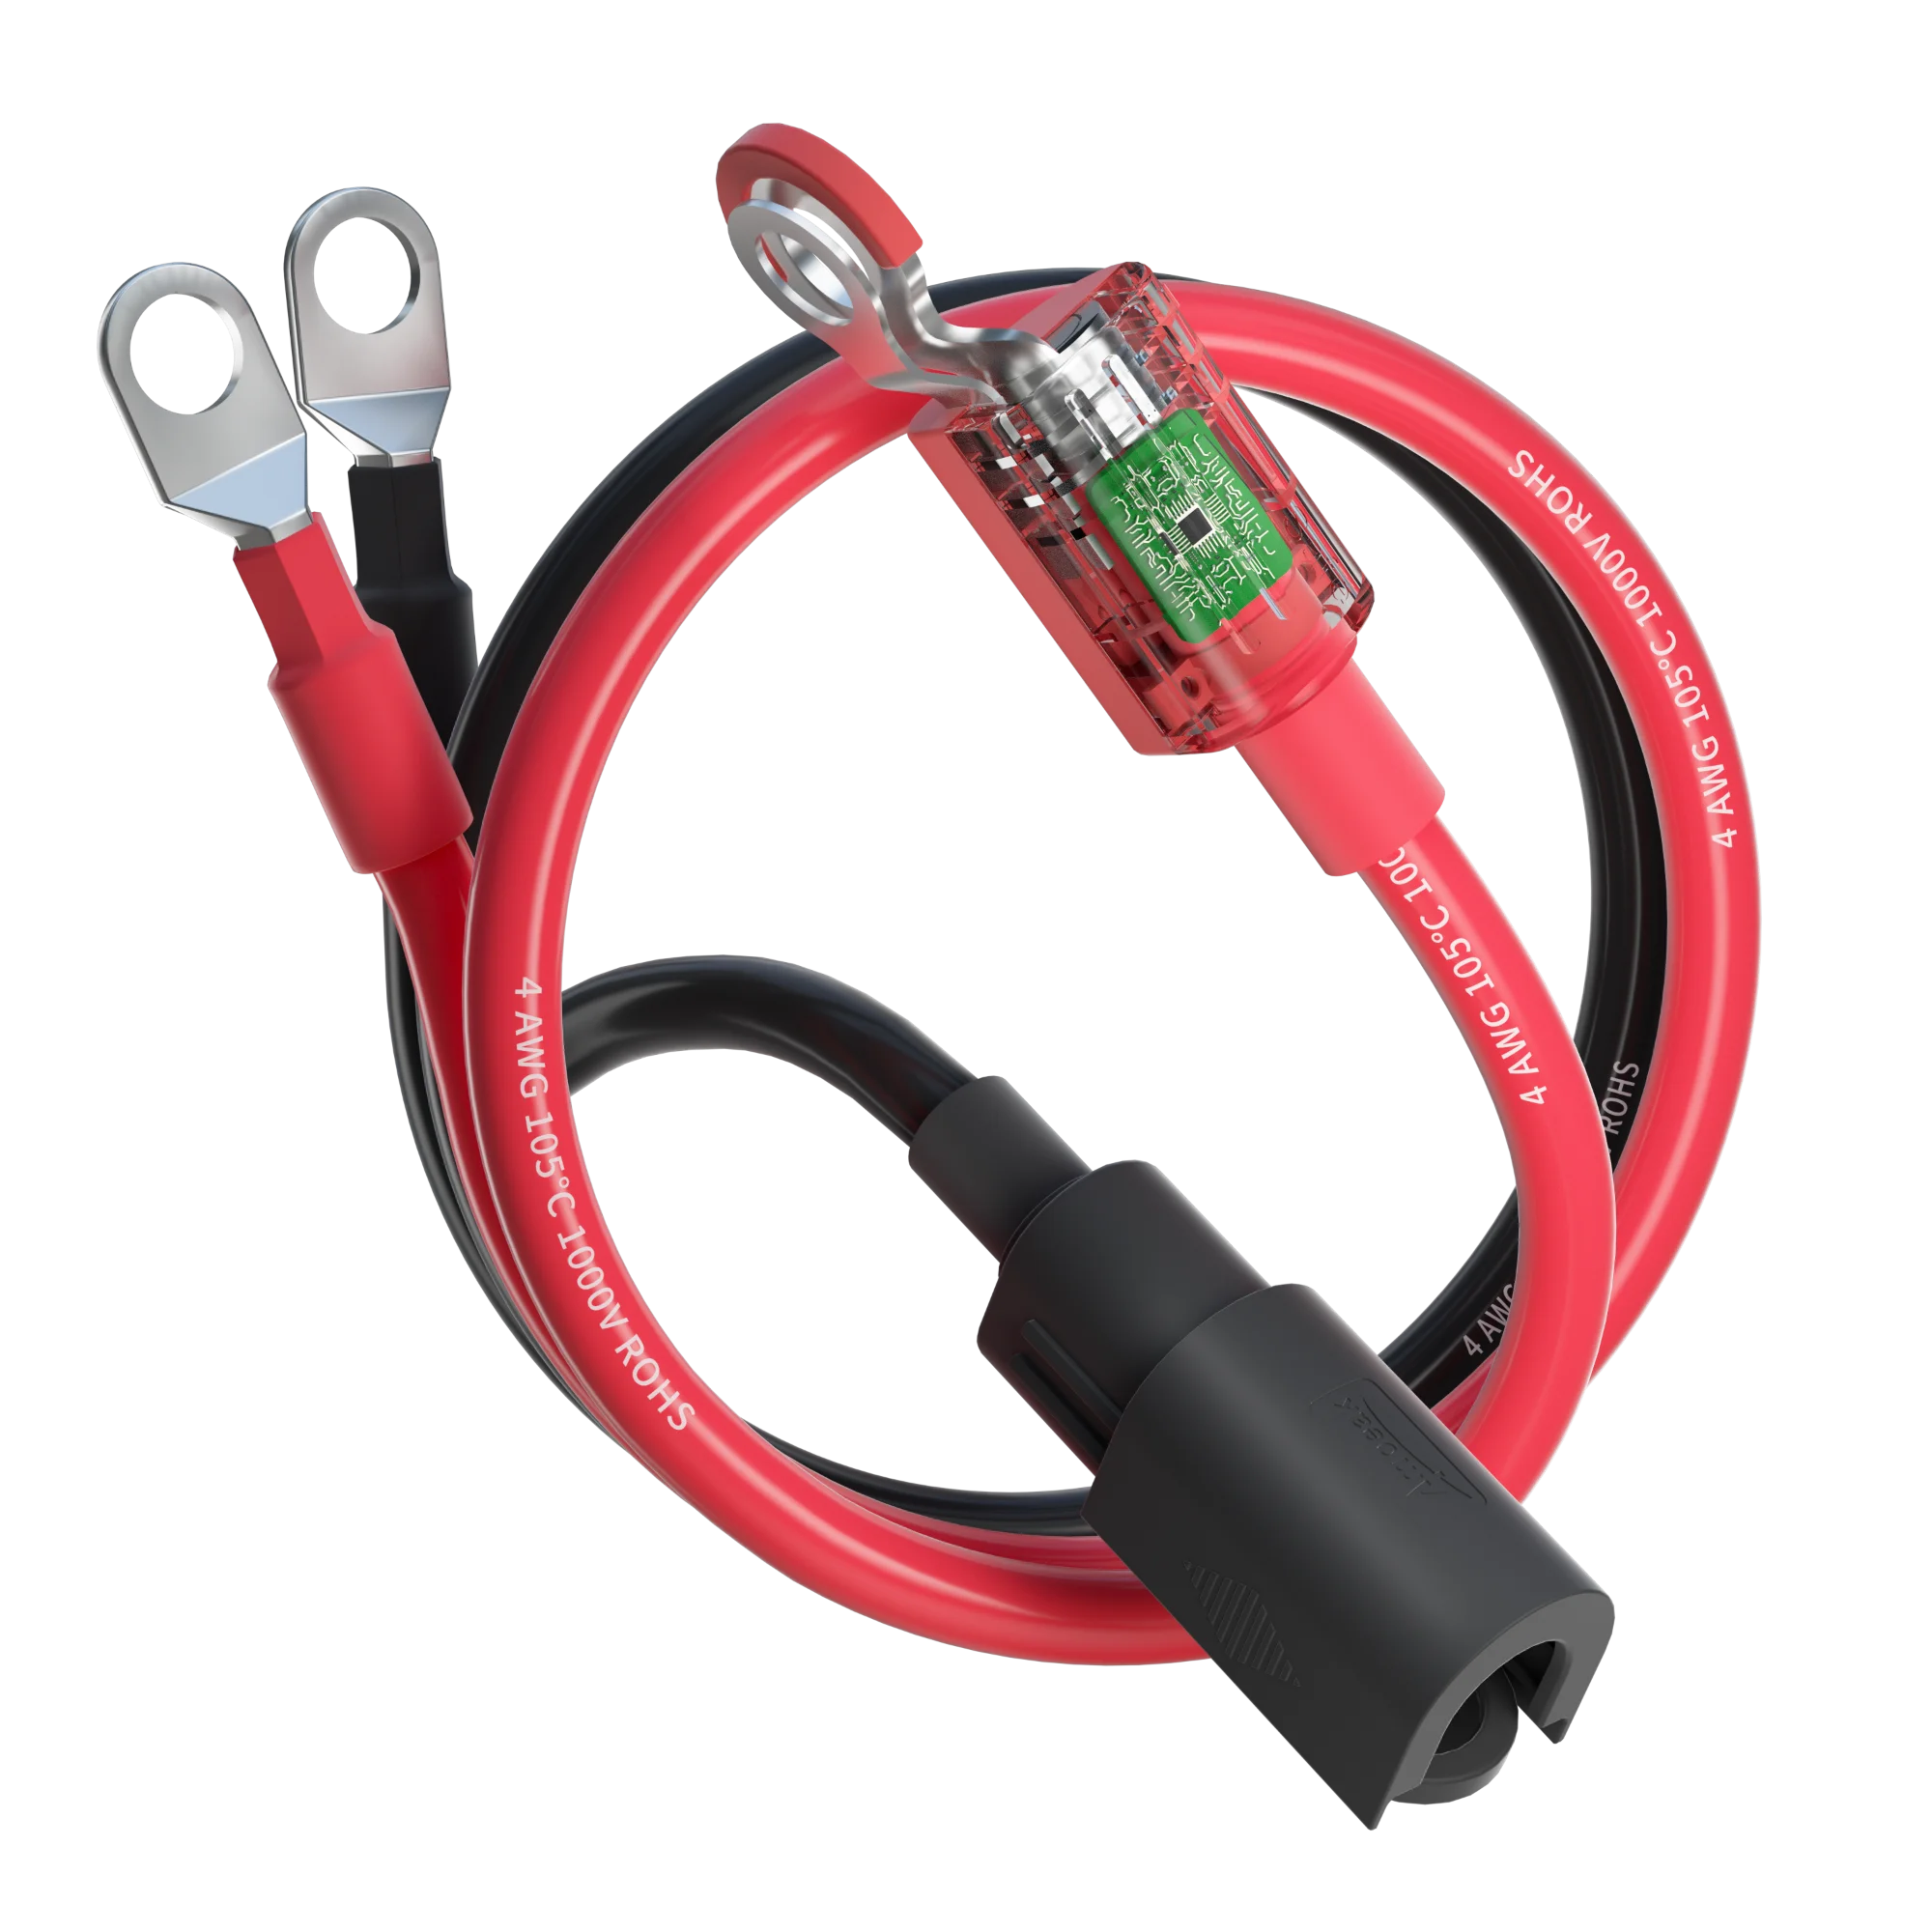
Before beginning, gather the necessary equipment to ensure a safe and accurate assessment. You do not need a full van setup, but you do need stable power. A fully charged 12V lead-acid or LiFePO4 battery is ideal. You will also need a multimeter for voltage readings, a heavy-duty test load—such as a small space heater or a high-wattage lamp—and appropriate battery cables with proper terminal lugs.
| Equipment | Purpose |
|---|---|
| Multimeter | Verifying DC input and AC output voltage levels. |
| 12V Battery | Providing a stable power source for the inverter. |
| Test Load (500W+) | Confirming the inverter can handle a real-world load. |
| Battery Cables | Ensuring safe, low-resistance power delivery. |
| Infrared Thermometer | Monitoring temperature rise during operation. |
Step-by-Step Bench Test Procedure
Follow these steps to safely verify your inverter’s health before it becomes a permanent fixture in your mobile build.
- Inspect the inverter for any physical damage, loose screws, or debris inside the cooling vents that may have occurred during shipping.
- Place the inverter on a non-conductive, stable surface like a wooden workbench, ensuring at least six inches of clearance around the cooling fans.
- Connect the DC input cables to the battery terminals first, then connect them to the inverter, ensuring the unit’s power switch is in the “OFF” position.
- Turn on the inverter and observe the indicator lights; a solid green light typically indicates normal operation, while red indicates a fault.
- Set your multimeter to AC voltage mode and probe the output outlet to confirm it reads between 110V and 120V (or 220V-240V depending on your region).
- Plug in your test load—such as a 500W heater—and observe the inverter’s fan behavior and the stability of the AC output voltage under load.
- Turn off the test load, switch off the inverter, and disconnect the DC cables, starting with the inverter side to prevent accidental shorting.
Common Mistakes and Safety Warnings
One of the most frequent errors during bench testing is using undersized jumper wires. Even for a short test, the inverter needs thick cables to handle the amperage. If the wires are too thin, you will experience significant voltage drop, which may trigger the inverter’s “Low Voltage Alarm” prematurely, leading you to believe the unit is faulty when it is actually just starved for power.
Always verify polarity before connecting. Accidentally reversing positive and negative terminals can instantly blow the internal fuses or destroy the inverter’s MOSFETs. Double-check your connections against the manual’s diagram. Furthermore, never perform these tests near flammable materials or in a damp environment, as inverters can produce internal sparks if a fault occurs during the initial startup.
Monitoring Performance Trends
During your test, pay close attention to the audible cues. A healthy inverter should produce a consistent hum, but the cooling fans should only ramp up to high speed as the unit warms up under load. If the fans sound like they are grinding, or if the unit emits a “magic smoke” smell immediately upon power-up, discontinue the test immediately. These are clear indicators of internal manufacturing defects that would have been devastating to discover once the unit was buried behind your van’s cabinetry.
Practical Tips for Long-Term Success
Document your test results, specifically the voltage drop between the battery and the inverter under load. This baseline data is invaluable later. If you experience power issues once the inverter is installed in the van, you can compare the new readings to your bench test numbers. If the bench test was perfect but the installed system is struggling, you know the problem lies in your van’s wiring or battery bank, not the inverter itself.
FAQ: Quick Answers
Q: My inverter makes a high-pitched whining noise. Is it broken?
A: Some electronic noise is normal, especially under high load, as capacitors and inductors vibrate. However, if the noise is extremely loud or accompanied by a burning smell, it indicates an internal fault.
Q: Can I test the inverter using a power supply instead of a battery?
A: Only if the power supply can handle the high amperage draw of the inverter. Most standard bench power supplies will shut down immediately when an inverter attempts to draw startup current; a battery is always the safest and most reliable testing source.
Q: How long should the bench test last?
A: Run the inverter under a moderate load for at least 15 to 20 minutes. This allows the unit to reach operating temperature and confirms that the thermal protection and cooling fans are functioning correctly under sustained demand.
By investing this time upfront, you remove the guesswork from your build. A bench test provides the confidence that your power system’s heart is beating strong before you hide it away in the dark, cramped spaces of your van conversion.
Read also: What Size Inverter Do I Need to Charge an E-Bike Battery?
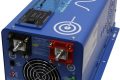
📷 Photo by walmart.com