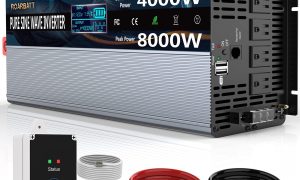
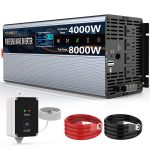


Vanonpower.com – For a 2000W inverter, you must use at least 2 AWG (American Wire Gauge) copper cable for a 12V system to ensure safe operation and prevent excessive voltage drop over short distances. Using undersized cables leads to overheating, fire hazards, and significant power loss that prevents your inverter from running at full capacity.
Understanding the Relationship Between Power and Cable Gauge
Selecting the correct cable size is not just about power capacity; it is about safety and efficiency. A 2000W inverter drawing from a 12V battery bank creates a massive current flow. Specifically, 2000 watts divided by 12 volts equals approximately 166.6 amps. When you factor in the efficiency loss of the inverter (usually around 85-90 percent), your inverter could pull upwards of 180 to 200 amps at full load. If your cable is too thin, it acts like a resistor, heating up rapidly and potentially melting its insulation.
Voltage drop is the hidden enemy in electrical installations. If your cable run is too long or the gauge is too small, the voltage reaching the inverter will be significantly lower than the battery voltage. Most modern inverters have a low-voltage cutoff feature. If your cables are too thin, the inverter will sense a “low voltage” state under heavy load and shut down, even if your batteries are technically fully charged.
Recommended Cable Sizing Chart
The following table provides a general guideline for cable sizes based on a 12V system. Note that these recommendations assume a total cable run length (positive and negative combined) of under 10 feet.
| Inverter Load | System Voltage | Minimum Cable Gauge (AWG) | Max Current (Approx) |
|---|---|---|---|
| 2000W | 12V | 2 AWG | 200A |
| 2000W | 24V | 6 AWG | 100A |
| 2000W | 48V | 10 AWG | 50A |
Critical Factors for Selection
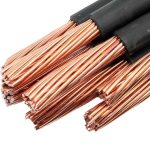
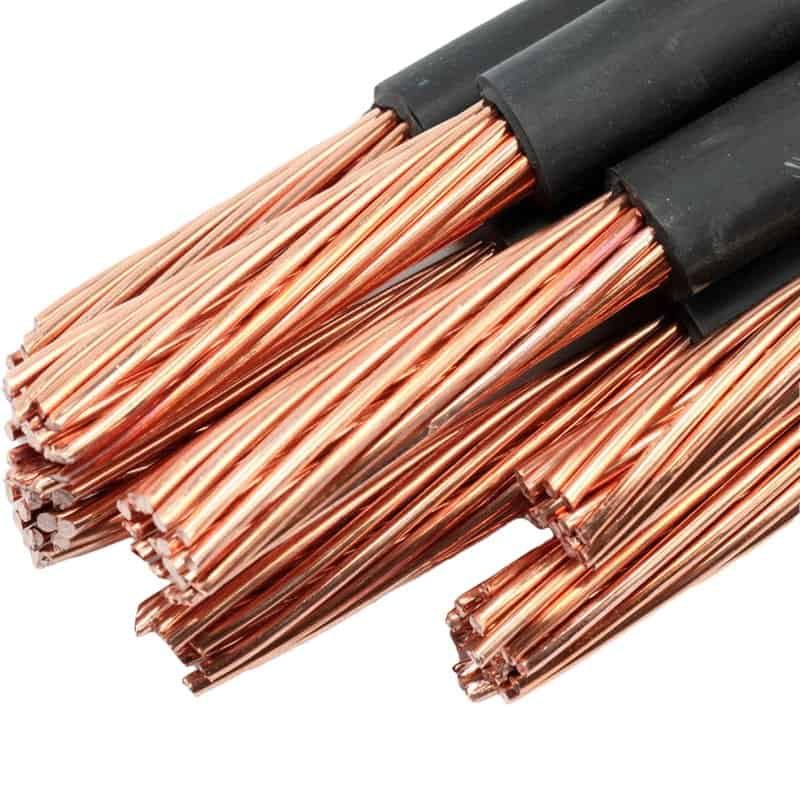
The distance between your battery and the inverter is the most overlooked variable. As the length of the cable increases, so does the resistance. If you have to place your inverter more than 10 feet away from the battery bank, you must step up to a thicker cable (a lower gauge number) to compensate for the distance. Never compromise on cable quality; always use stranded copper welding cable, which offers better flexibility and conductivity compared to solid-core wire.
Another crucial factor is the temperature rating of the cable insulation. High-amperage environments generate heat. Ensure that your cables are rated for at least 105 degrees Celsius (221 degrees Fahrenheit). Using standard household electrical wire is strictly prohibited for inverter installations, as it lacks the required flexibility and heat resistance for mobile or high-vibration environments.
Step-by-Step Guide to Installing Inverter Cables
Proper installation is just as important as choosing the right size. Follow these steps to ensure a professional and safe connection:
- Turn off the inverter and disconnect all AC loads to ensure there is no residual current flowing through the system.
- Measure the distance between the battery terminal and the inverter input terminal precisely, adding an extra 10 percent for slack and routing.
- Strip the ends of the cables using a proper wire stripper, ensuring you do not cut into the copper strands.
- Crimp heavy-duty copper lugs onto the ends of the cables using a hydraulic or heavy-duty manual crimping tool; do not rely on soldering alone.
- Apply heat-shrink tubing over the crimped area to seal the connection and prevent corrosion.
- Install an appropriately sized ANL or Class-T fuse within 18 inches of the battery positive terminal to protect against short circuits.
- Connect the negative cable first, then the positive cable, ensuring all connections are tight and free of debris.
Common Mistakes to Avoid
One of the most frequent mistakes is failing to fuse the circuit correctly. Some users believe the inverter’s internal protection is enough; however, the fuse is meant to protect the cable itself from melting in the event of a short circuit. If your cable shorts out directly at the battery terminal, the battery’s raw energy can cause a fire in seconds without a fuse.
Another common error is using mixed metals. Always use copper lugs on copper cables. Mixing aluminum lugs with copper wire can lead to galvanic corrosion, which increases resistance over time, eventually causing the connection to heat up and fail. Finally, avoid running your inverter cables near fuel lines or sharp metal edges without proper protective conduit or rubber grommets.
Practical Tips for Long-Term Reliability
Periodically inspect your connections. Vibrations from vehicles or boats can loosen terminal nuts over time. A loose connection creates high resistance, which leads to heat buildup and can eventually melt the inverter terminal block. Tighten these connections annually as part of your maintenance routine.
If you find that your cable size is getting excessively large (for example, 00 or 0000 AWG), consider moving your battery bank closer to the inverter. It is much cheaper and more efficient to have a shorter run of thick cable than a long run of expensive, heavy-duty wiring.
Frequently Asked Questions
Q: Can I use two thinner cables instead of one thick cable?
A: Yes, you can use two parallel cables (e.g., two 6 AWG cables) to achieve the required current capacity, provided they are the exact same length to ensure equal current distribution.
Q: Why does my inverter alarm sound when I turn on a microwave?
A: This is likely due to a voltage drop caused by undersized cables. The high surge current of the microwave causes the voltage at the inverter to dip below the threshold, triggering the low-voltage alarm.
Q: Does the brand of cable matter?
A: Yes, stick to reputable brands that provide pure copper (OFC) cables. Cheap “copper-clad aluminum” (CCA) cables have higher resistance and are not suitable for high-power inverter applications.
Choosing the right cable is an investment in the longevity of your entire power system. By prioritizing the correct gauge, using high-quality copper components, and ensuring a solid installation, you prevent the most common causes of inverter failure and keep your system running safely for years to come.
📷 Photo by storage.googleapis.com