

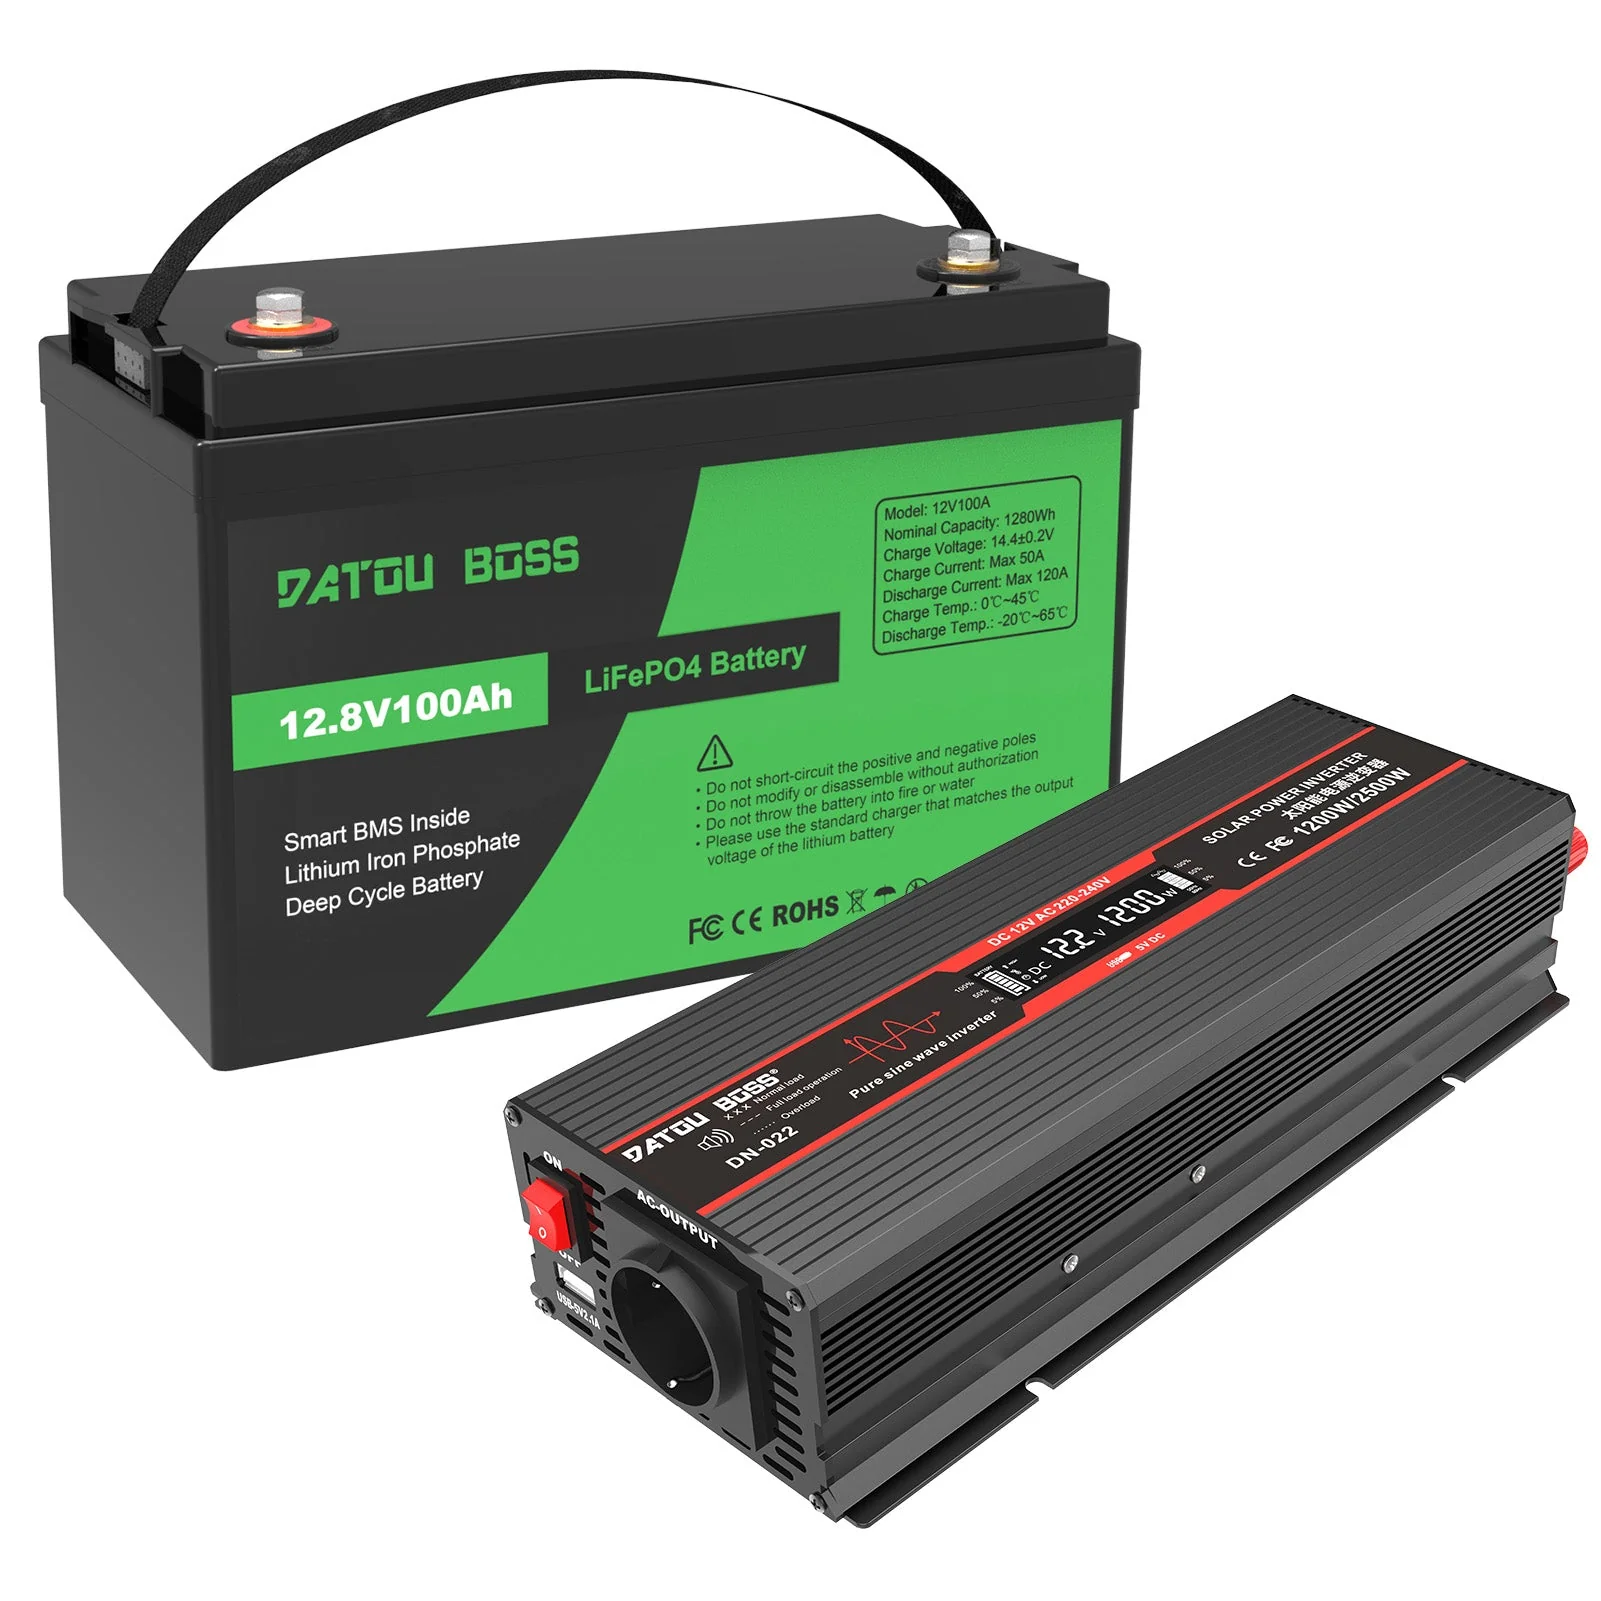
Vanonpower.com – Wiring an inverter to a LiFePO4 battery requires connecting the positive and negative terminals using appropriately sized, high-strand copper cables while ensuring a robust fuse is placed on the positive line to prevent fire hazards and equipment damage.
Understanding the Fundamentals of the LiFePO4 Connection
Lithium Iron Phosphate (LiFePO4) batteries are the gold standard for off-grid power systems due to their long cycle life and flat discharge curve. However, they are sensitive to high-current surges and short circuits. When wiring an inverter, you are essentially creating a high-amperage bridge between a power source and a load. If the connections are loose or the wire gauge is insufficient, the resistance will generate heat, potentially melting insulation or causing the Battery Management System (BMS) to trip repeatedly.
Before beginning, you must calculate the required cable size. An inverter drawing 2000 watts at 12 volts pulls over 160 amps. Using thin wires for this load is a common mistake that leads to voltage drop and system failure. Always prioritize pure copper cables with high-temperature insulation ratings.
Essential Tools and Materials Checklist
Having the right components is as critical as the installation itself. Never cut corners on the connection hardware, as this is where most electrical fires originate.
| Component | Purpose | Recommendation |
|---|---|---|
| Inverter Cables | Conducts power from battery to inverter | 2 AWG or 0 AWG pure copper |
| Inline Fuse | Protects against short circuits | Class T or ANL fuse rated for max current |
| Lug Crimper | Secures cable ends | Hydraulic or heavy-duty manual crimper |
| Battery Switch | Allows manual power disconnection | High-amperage master disconnect switch |
Step-by-Step Installation Guide
Follow these steps to ensure a secure and electrically sound connection between your LiFePO4 battery bank and your inverter.
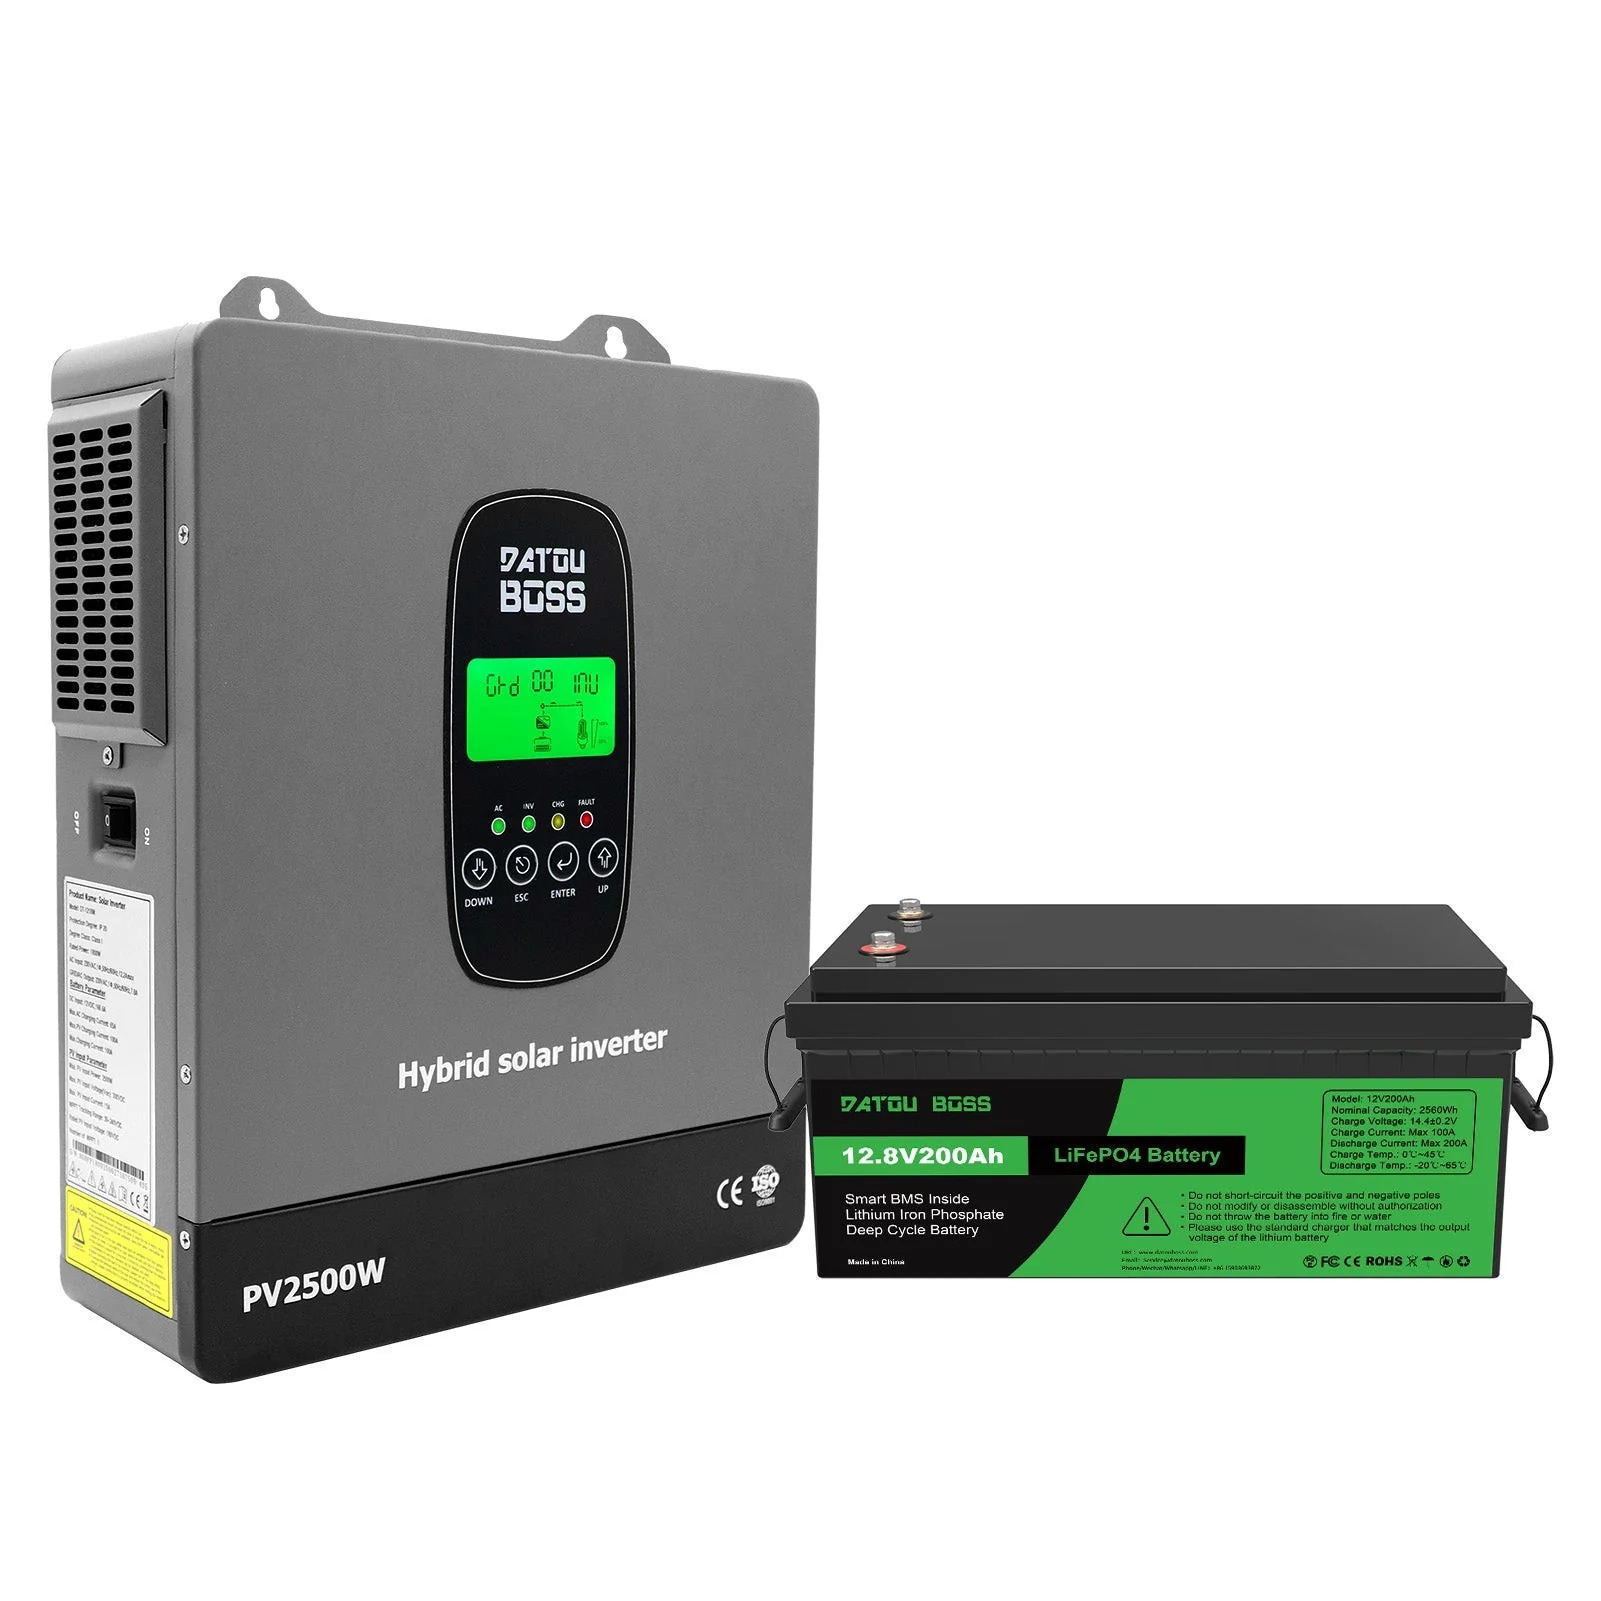
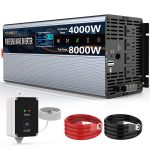
📷 Photo by xdatou.com
- Turn off the inverter and ensure the battery is disconnected from any charging sources.
- Measure the distance between the battery and the inverter to determine the exact length of cable needed, keeping the run as short as possible to minimize voltage drop.
- Crimp high-quality copper lugs onto the ends of your cables using a proper hydraulic crimping tool; ensure the crimp is tight enough that you cannot pull the wire out by hand.
- Install the inline fuse on the positive cable as close to the battery terminal as possible, ideally within 6-12 inches.
- Connect the negative (black) cable to the battery terminal first, then to the inverter’s negative input.
- Connect the positive (red) cable to the inverter’s positive terminal, and finally, connect the other end to the positive battery terminal (expect a small spark, which is normal as the inverter capacitors charge).
- Double-check all connections for tightness with a wrench and ensure no stray wire strands are touching other terminals.
Common Mistakes and Safety Risks
One of the most frequent errors is ignoring the BMS capacity of the LiFePO4 battery. If your inverter pulls 200 amps but your battery’s BMS is only rated for 100 amps, the battery will shut down immediately to protect itself. Always verify the continuous discharge rating of your battery matches or exceeds the continuous draw of your inverter.
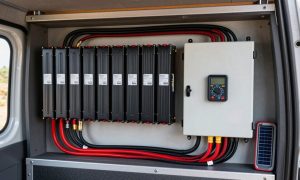
Another dangerous practice is using undersized busbars or failing to use heat shrink tubing on cable lugs. Exposed metal at the terminal ends can easily come into contact with tools or debris, causing a dead short. Always verify that your cables are rated for the voltage and current of your specific system. Additionally, ensure the inverter is mounted in a well-ventilated area, as these devices generate significant heat during heavy operation.
Maintenance and Inspection
After the initial installation, perform a “burn-in” test. Run a moderate load through the inverter for 30 minutes, then use an infrared thermometer or carefully touch the cable lugs. If any connection is hot to the touch, you have high resistance, likely caused by a loose connection or a poor crimp. Re-tighten and re-test immediately.
Vibrations in mobile setups, such as in RVs or boats, can loosen terminals over time. Make it a habit to check your connections every six months. A simple wiggle test can save you from a potential fire or a total loss of power in the middle of a trip.
Frequently Asked Questions
Q: Do I really need a fuse between the battery and the inverter?
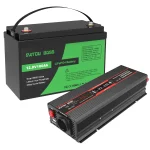
📷 Photo by aliexpress.com
A: Yes, it is non-negotiable. If the inverter develops an internal fault or the positive cable gets crushed against the chassis, the battery will dump its massive energy capacity instantly, leading to a fire if there is no fuse to break the circuit.
Q: Can I use aluminum cables instead of copper to save money?
A: It is strongly discouraged. Aluminum has higher resistance than copper and expands/contracts differently under heat, which leads to loose connections over time. For high-current DC systems, always use fine-stranded pure copper wire.
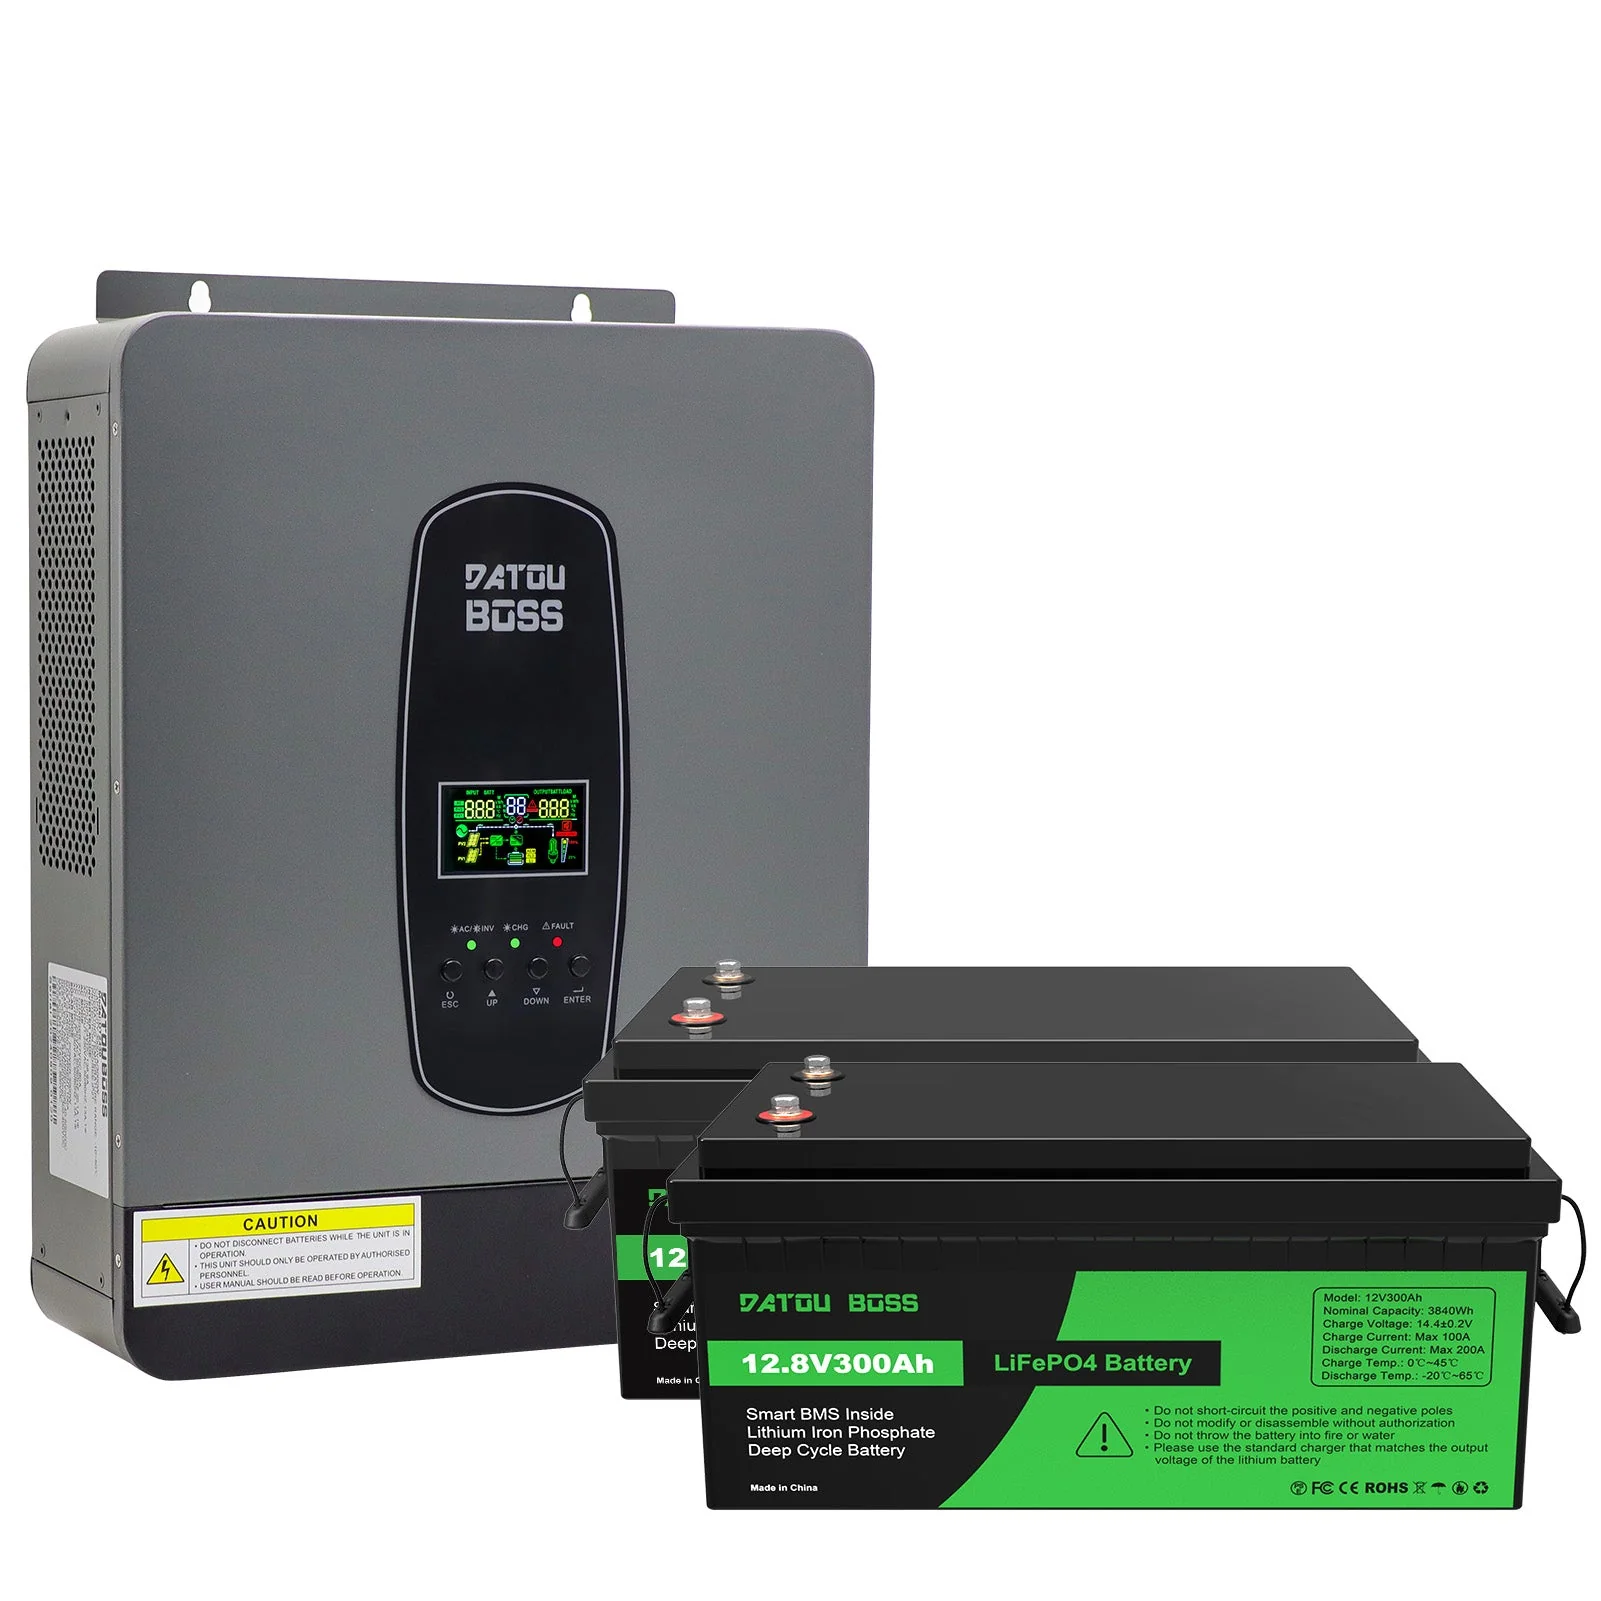
📷 Photo by xdatou.com
Q: Does the order of connecting cables matter?
A: Yes, it is a best practice to connect the negative side first. This reduces the risk of accidental shorting if your wrench touches the metal frame of the vehicle or the inverter housing while you are tightening the positive terminal.
📷 Photo by datouboss.com