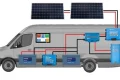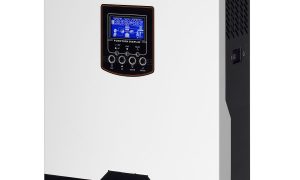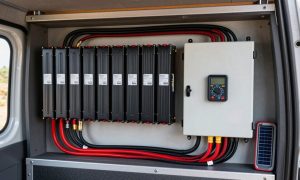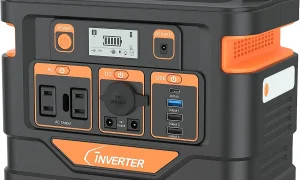




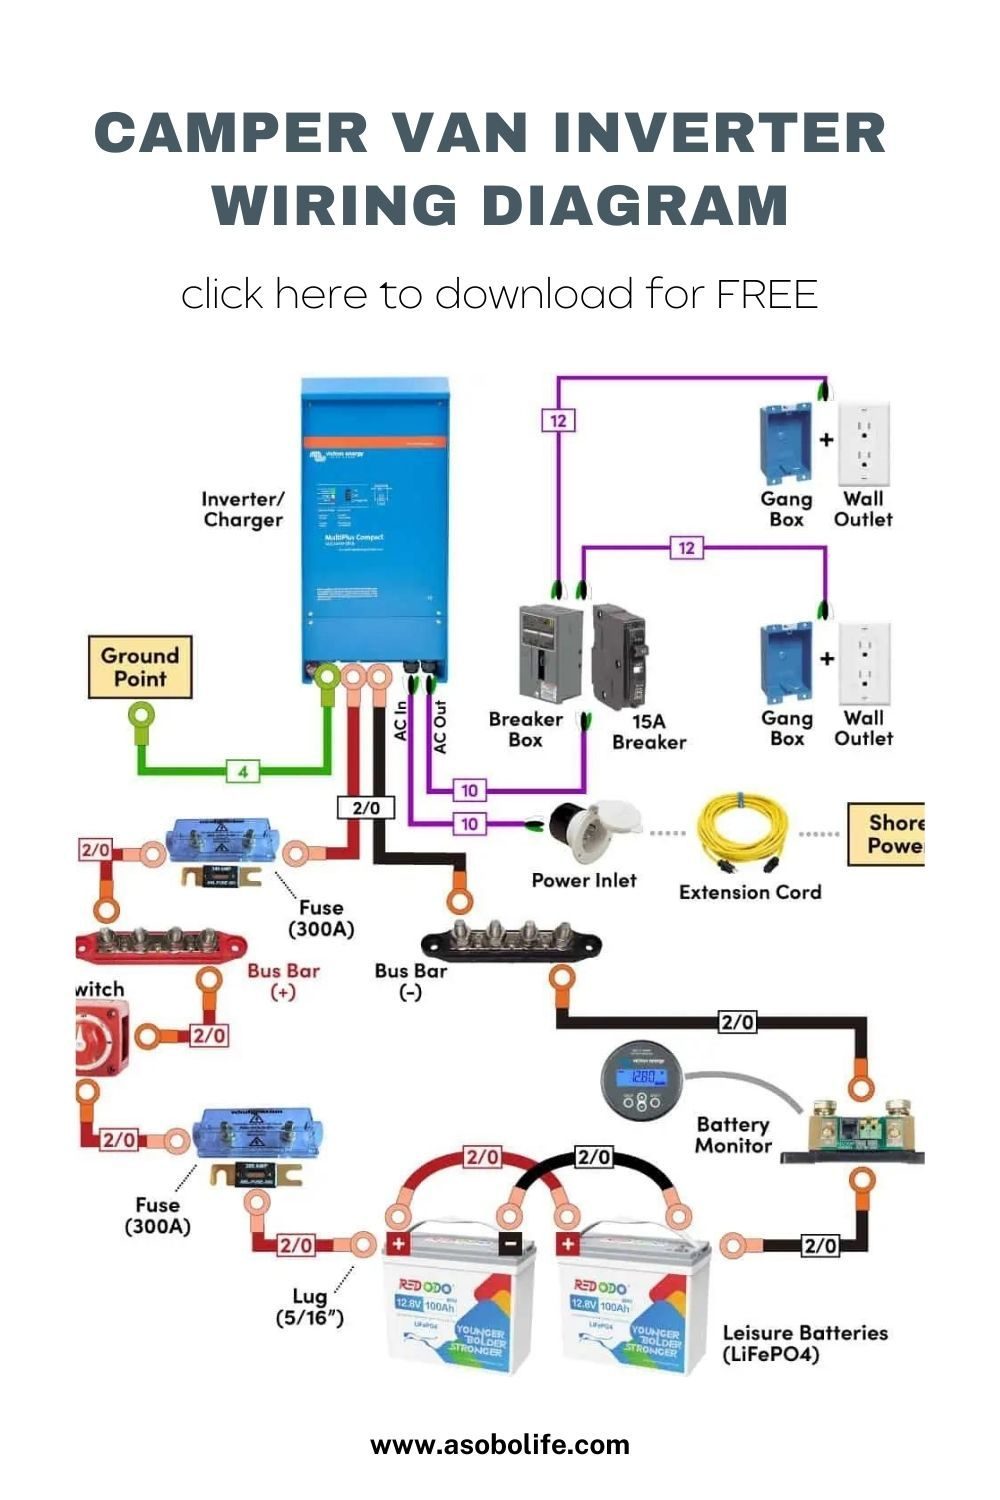
Vanonpower.com – Grounding an inverter in a DIY campervan involves connecting the inverter’s chassis ground terminal to the vehicle’s metal chassis to prevent electrical shock and ensure the safety of your onboard AC system. This process is essential for bypassing potential fault currents through the vehicle frame rather than through your body or sensitive equipment.
Understanding the Necessity of Inverter Grounding
In a DIY campervan, an inverter converts 12V DC power from your house battery bank into 120V or 230V AC power for household appliances. Unlike a residential home grid where the ground is physically driven into the earth, a campervan is a mobile, rubber-tired environment. This means the vehicle chassis acts as your common ground point. Failing to ground your inverter properly leaves you vulnerable to “floating” voltage, where the metal casing of the inverter or connected appliances could become energized, posing a significant electrocution hazard.
The Difference Between DC Negative and AC Chassis Ground
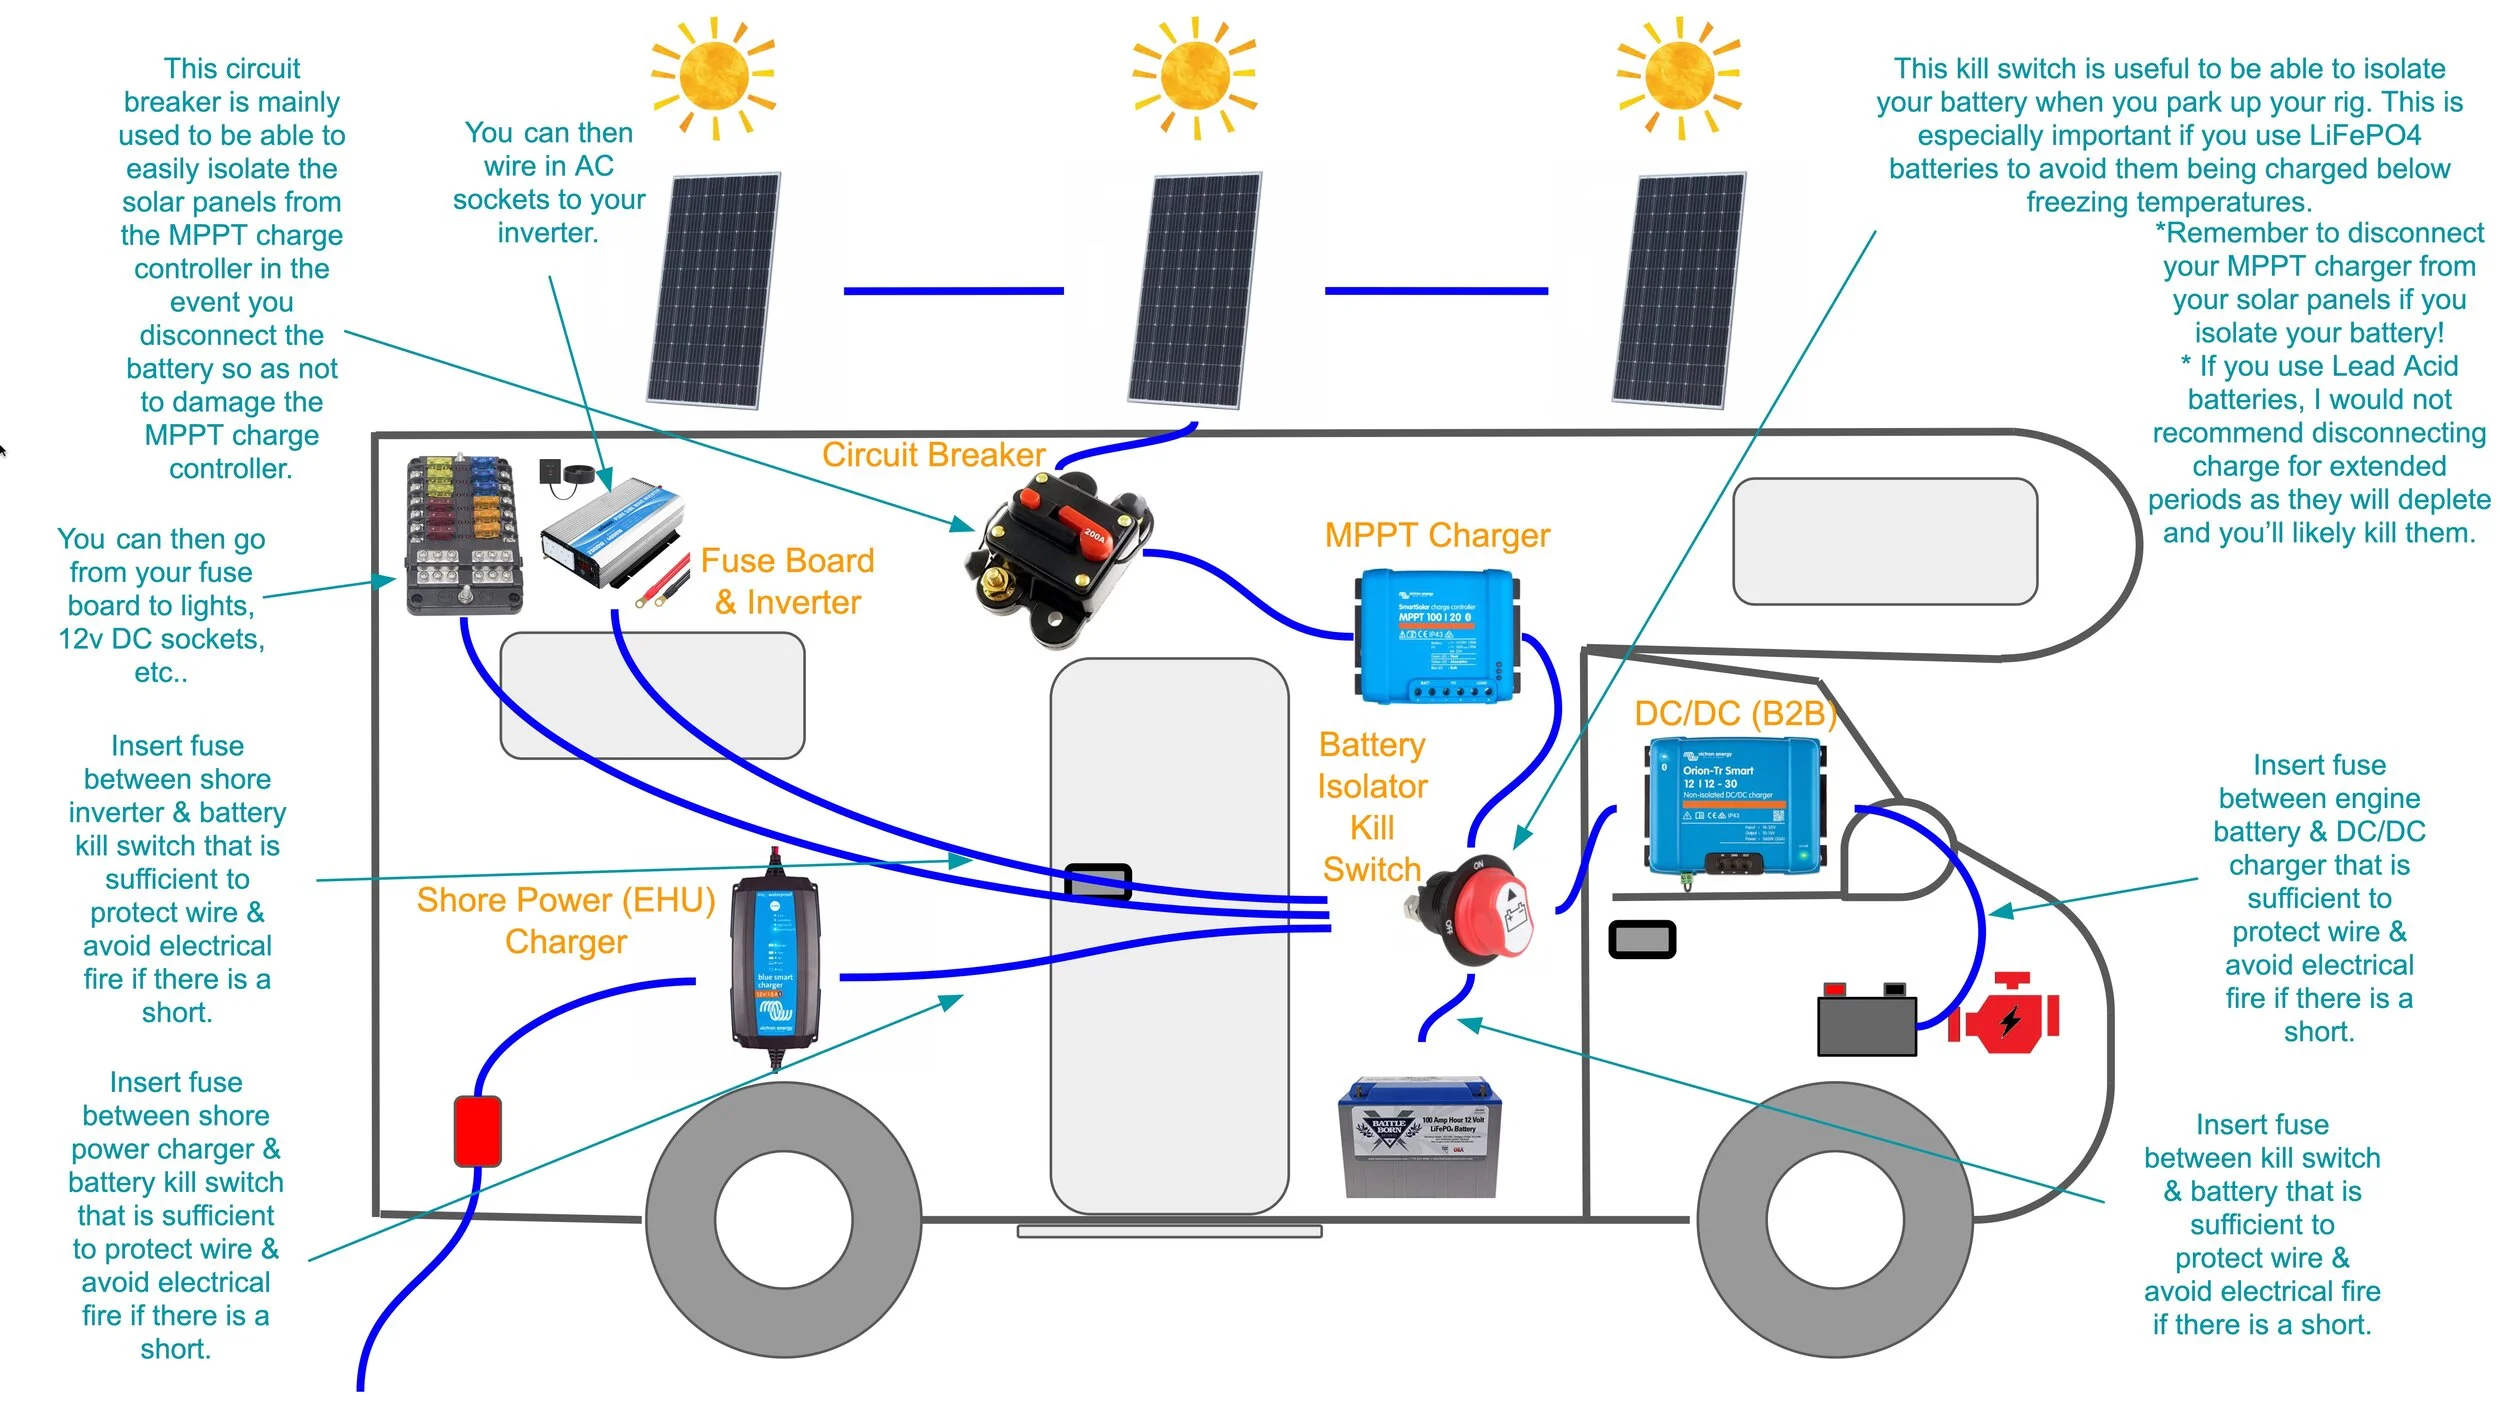
📷 Photo by schemadigital.com
A common mistake in DIY builds is confusing the DC negative return with the AC chassis ground. Your DC negative wire carries current back to the battery, while the AC chassis ground is a safety path meant only to carry current during a fault or short circuit. Never use the vehicle chassis as a return path for your DC power; always run dedicated negative cables from your battery bank to your inverter to prevent high-resistance connections and potential fires.
Step-by-Step Guide to Grounding Your Inverter
Follow these steps to ensure your inverter is grounded according to standard safety practices for mobile electrical systems.
- Locate the grounding lug on the exterior of your inverter chassis, which is typically marked with a green screw or a ground symbol.
- Select an appropriate gauge of copper wire for the ground connection; for most campervan inverters, a 6 AWG or 8 AWG stranded green or bare copper wire is sufficient.
- Identify a solid, unpainted metal point on the vehicle’s structural chassis near the inverter. If the area is painted, use a metal file or sandpaper to expose the bare, shiny metal.
- Secure the wire to the inverter’s grounding lug using a ring terminal and the provided screw.
- Attach the other end of the wire to the vehicle chassis using a stainless steel bolt, a star washer, and a nut. The star washer is critical as it bites into the metal to ensure a low-resistance connection.
- Apply a thin layer of dielectric grease or terminal protector spray over the chassis connection to prevent oxidation and rust, which can degrade the ground connection over time.
Essential Grounding Specifications
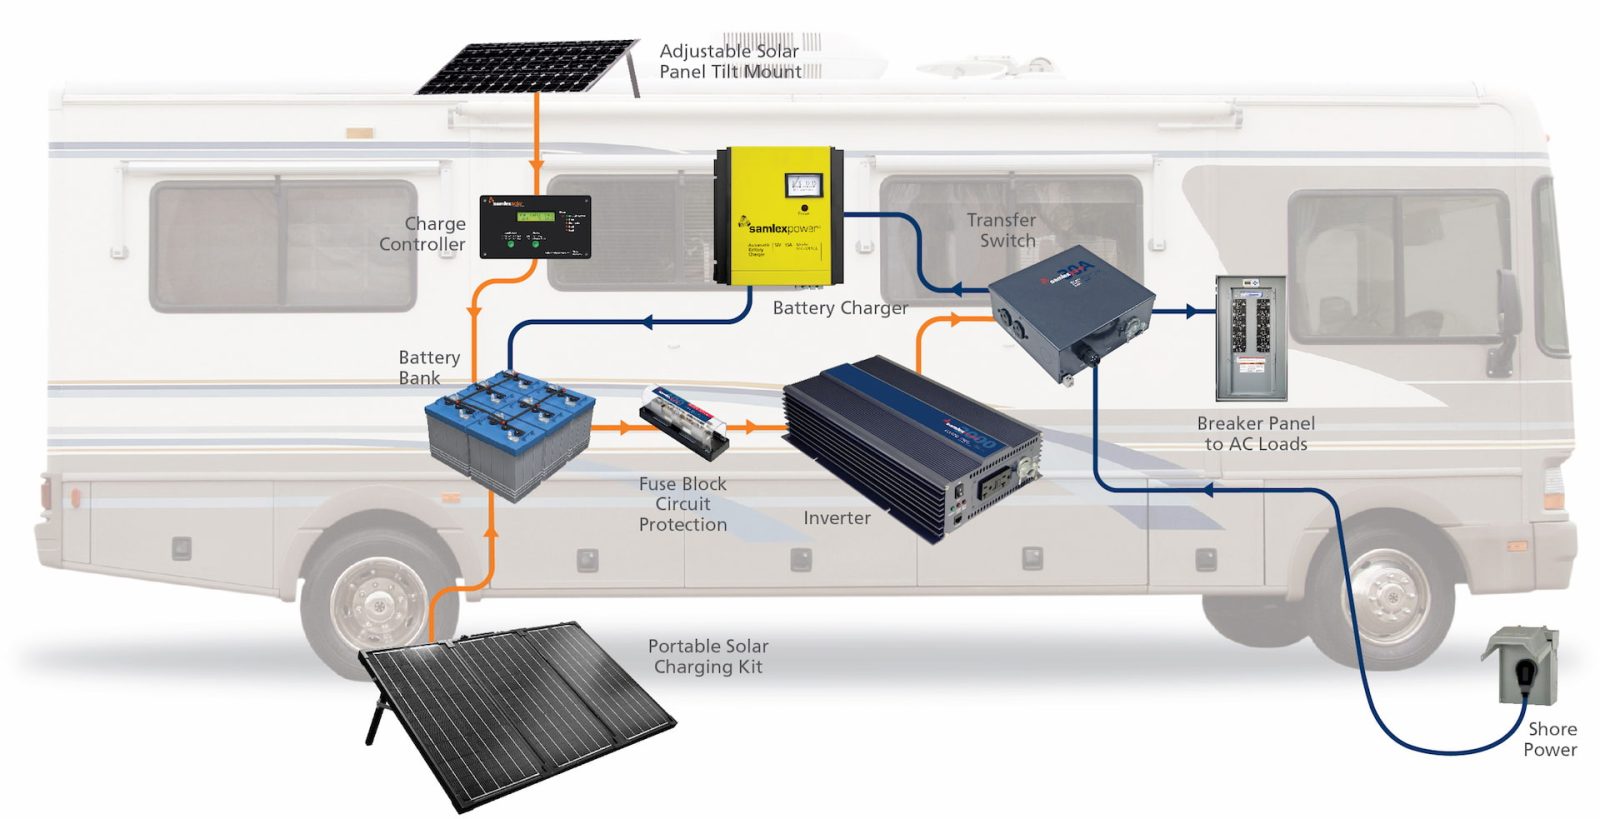
📷 Photo by wiringdiagram.2bitboer.com
| Component | Requirement | Purpose |
|---|---|---|
| Wire Gauge | 6 AWG to 8 AWG | Handles fault current safely |
| Connection Type | Ring Terminal | Ensures maximum surface contact |
| Fastener | Stainless Steel Bolt + Star Washer | Prevents corrosion and ensures electrical continuity |
| Terminal Location | Unpainted Chassis Metal | Provides a true path to ground |
Common Mistakes and Safety Risks
One of the most dangerous errors is connecting the ground wire to a thin sheet metal panel instead of the main structural frame. Thin panels often have poor conductivity and can vibrate loose, rendering your ground useless. Additionally, always verify that your inverter is truly grounded by using a multimeter to test for continuity between the inverter chassis and the vehicle frame. If you show high resistance, your connection is likely poor, and the safety benefit is nullified.
Another risk involves the use of GFCI (Ground Fault Circuit Interrupter) outlets. If you are using an inverter without an internal GFCI, you must install one at the first point of use in your AC circuit. A proper chassis ground is mandatory for a GFCI to function correctly; without it, the GFCI will not be able to detect the imbalance caused by a ground fault, failing to trip when it matters most.
Maintenance and Inspection
Vibration is the enemy of any DIY campervan electrical system. Over thousands of miles, road vibrations can loosen connections, including your ground bolt. Make it a habit to perform a visual inspection of your ground connection every six months. Check for signs of corrosion, loose bolts, or frayed wires. If you notice any rust forming around the connection point, clean it immediately with a wire brush and re-secure it to maintain a low-resistance path.
Frequently Asked Questions
Q: Can I use the negative battery terminal as a ground point for the inverter chassis?
A: No. The DC negative and the AC chassis ground serve different purposes. The inverter chassis ground must go to the vehicle frame to protect against AC faults, while the DC negative must return directly to the battery to complete the DC circuit.
Q: Does my inverter need to be grounded if I am only using double-insulated appliances?
A: Yes. Even if your appliances are double-insulated, the inverter chassis itself can develop a charge if an internal component fails. Grounding the chassis is a non-negotiable safety standard for all AC-to-DC installations in vehicles.
Q: Is it safe to ground the inverter to the same bolt used for the battery negative?
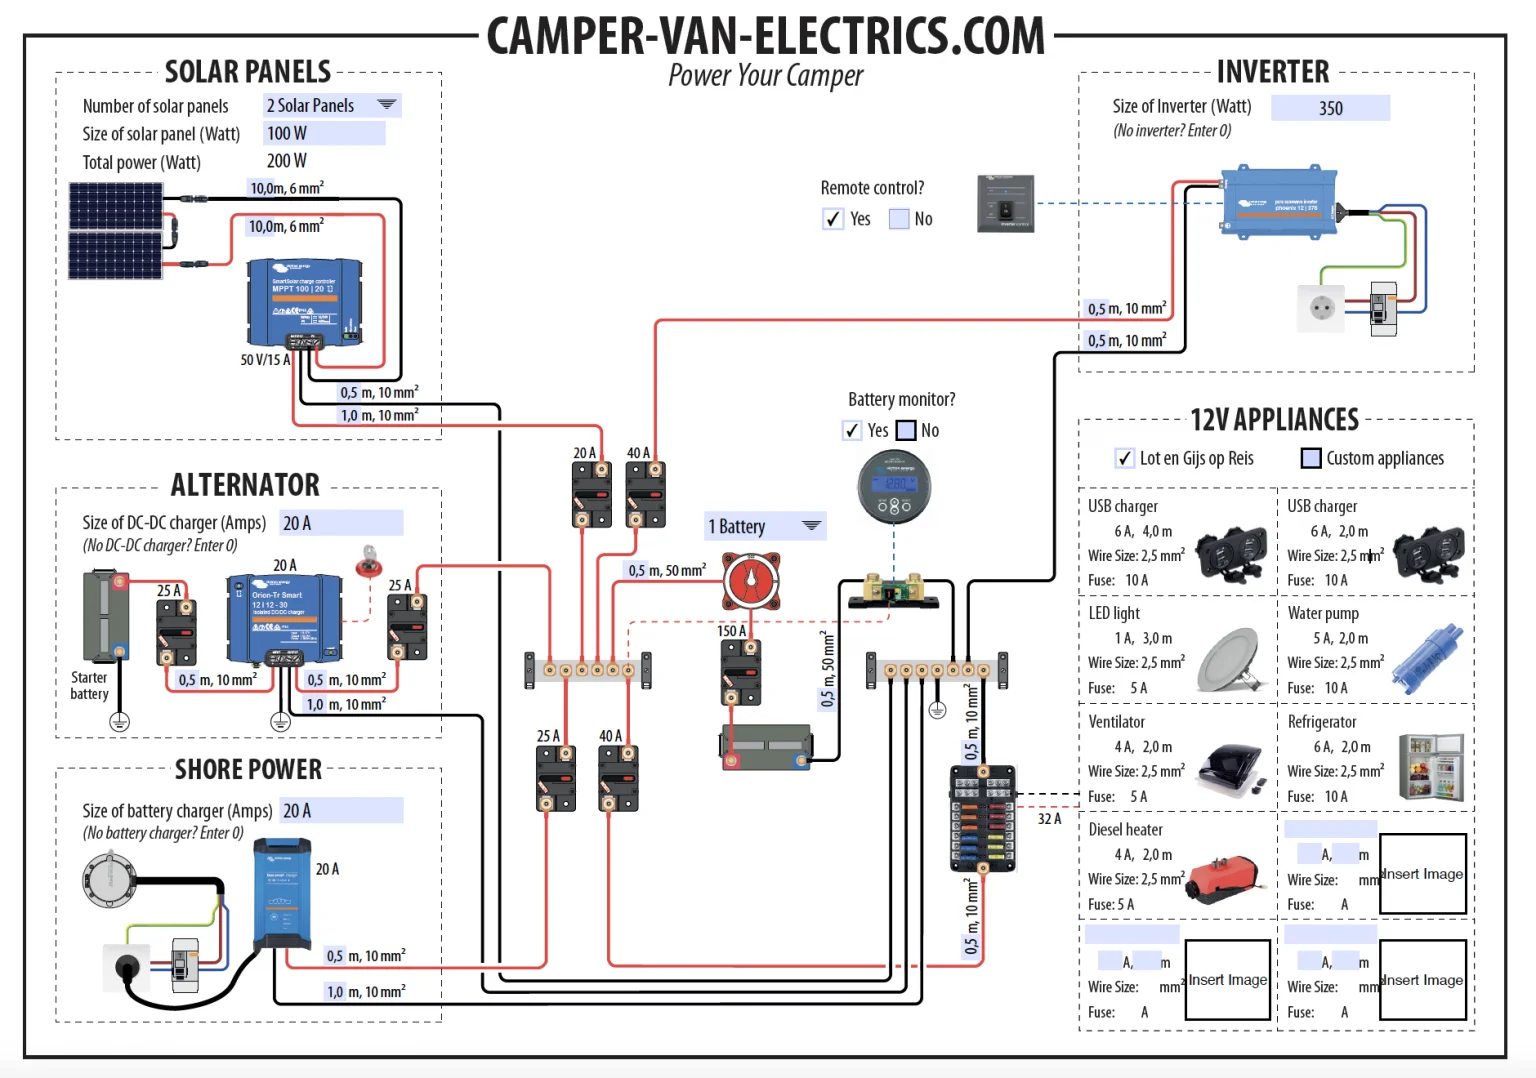
📷 Photo by wiringname.com
A: While technically possible, it is cleaner and safer to keep them separate. Using a dedicated chassis point for the ground wire prevents interference and ensures that the safety ground path is independent of the high-current DC power flow.
By following these guidelines, you create a robust electrical foundation for your campervan. Proper grounding is not just about passing a visual inspection; it is about ensuring that if a short circuit occurs, your system trips a breaker rather than causing a fire or delivering a lethal shock to you or your passengers.
📷 Photo by pinterest.com