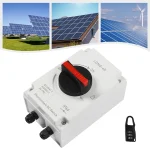



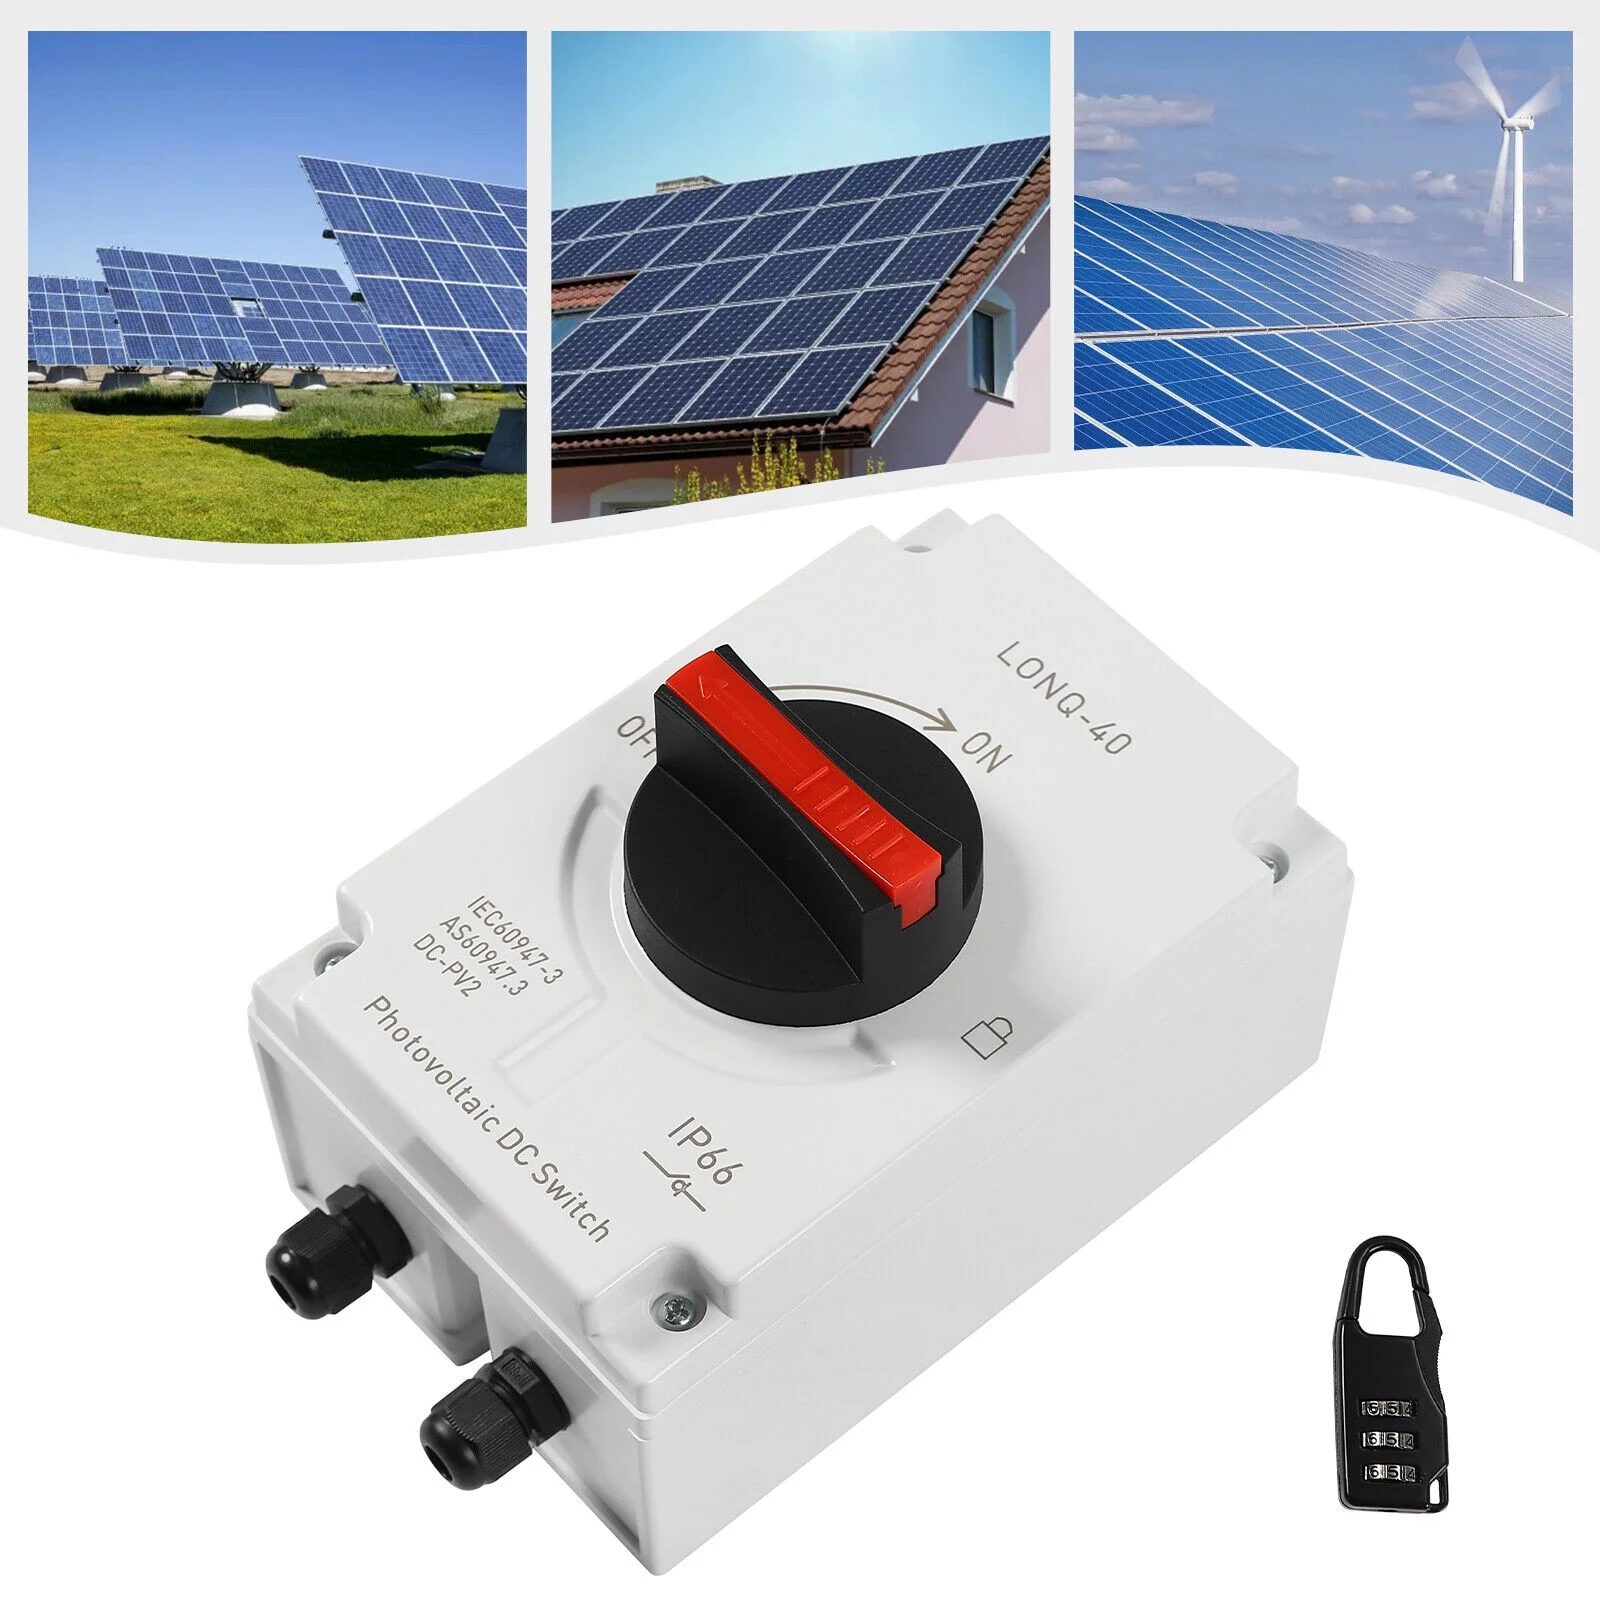
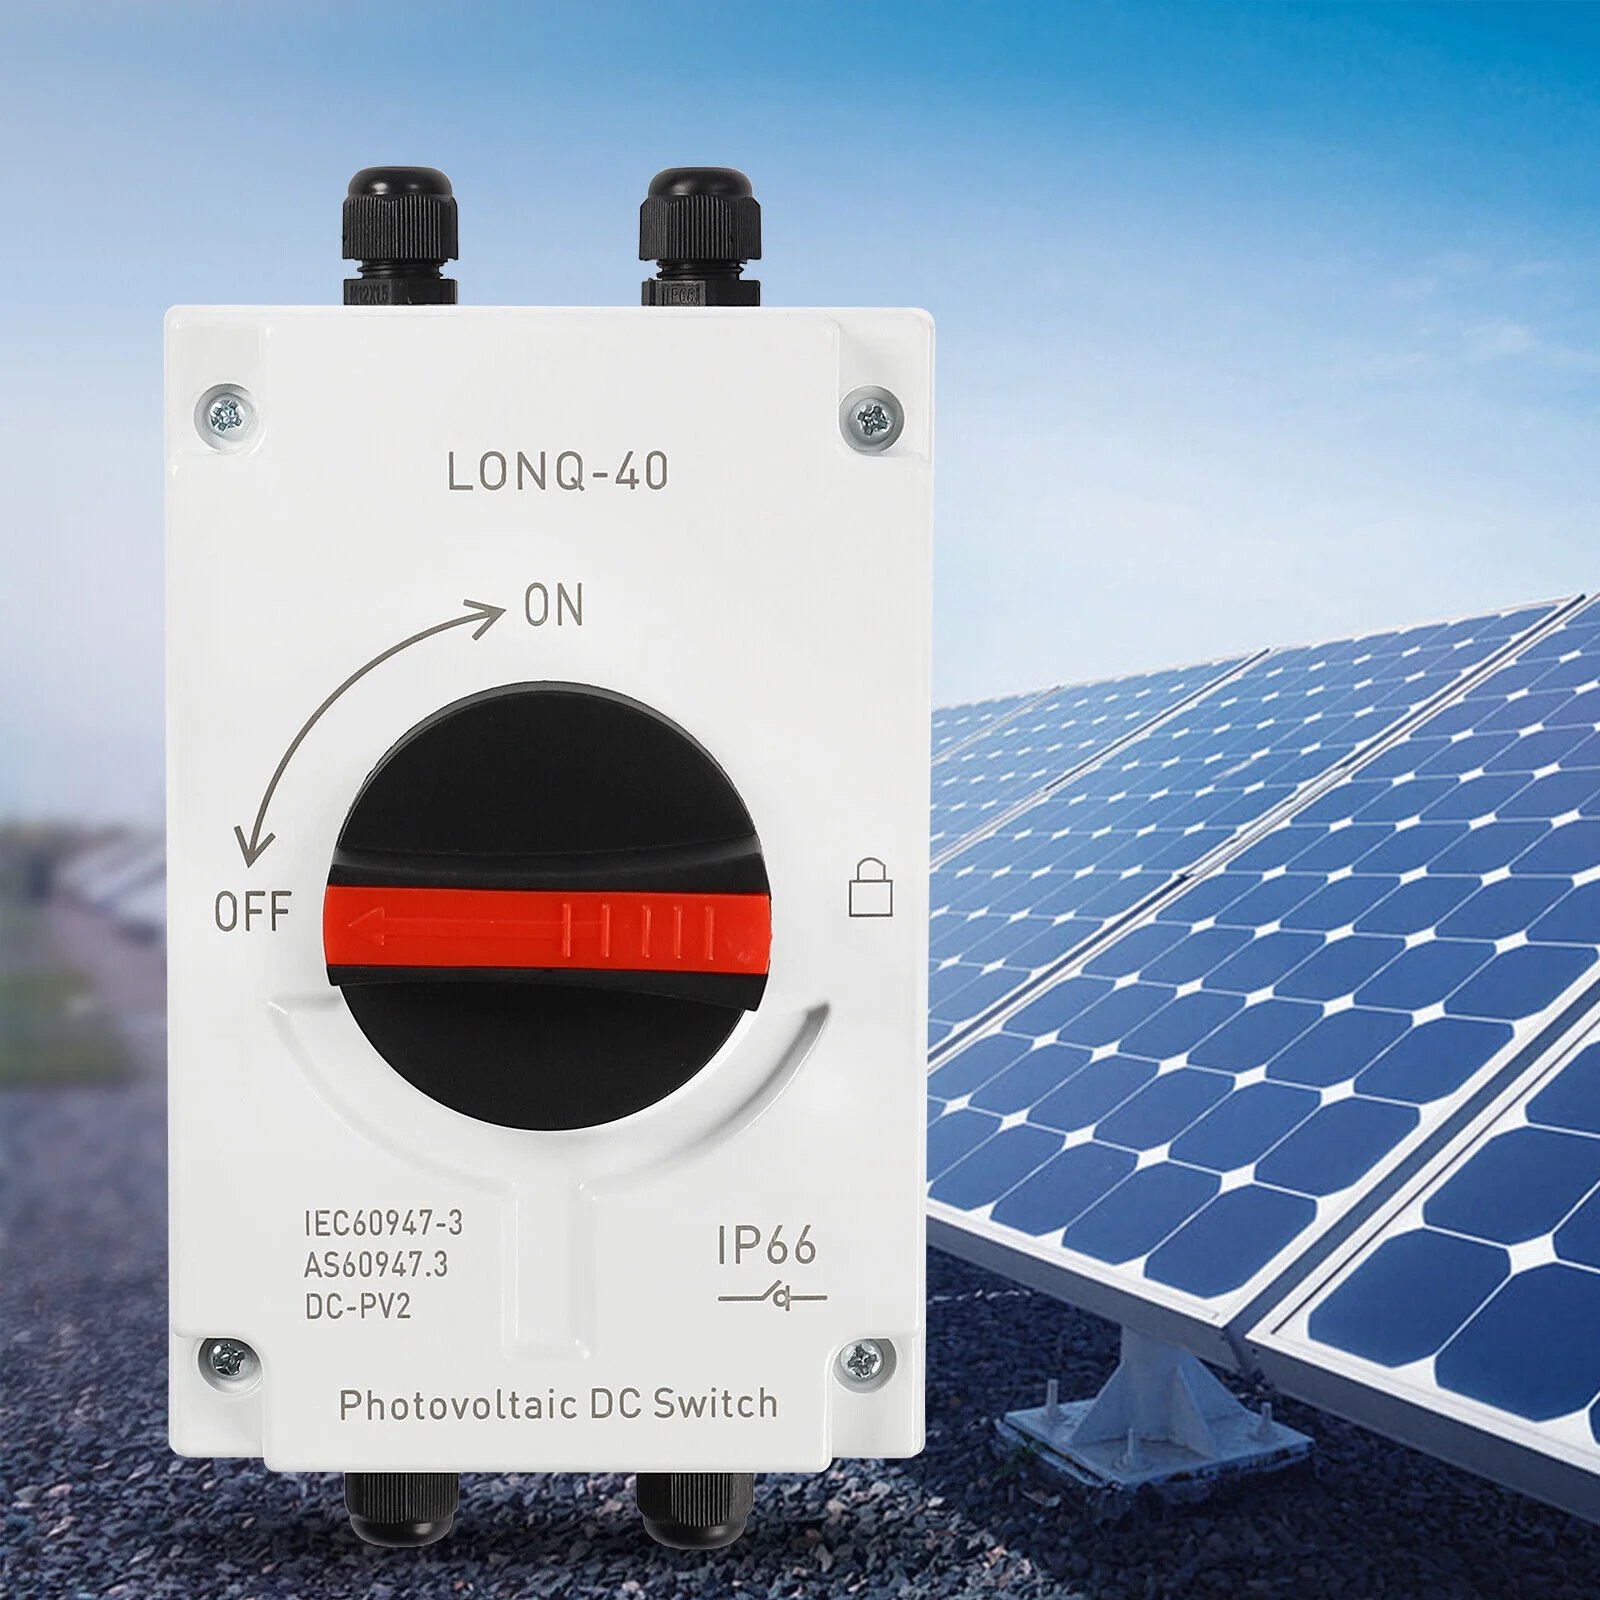
Vanonpower.com – A solar disconnect switch is wired by installing it in series between the solar array and the inverter, ensuring that the positive and negative conductors pass through the switch to physically break the electrical circuit for safe maintenance.
Wiring a solar disconnect switch is a critical safety procedure in any photovoltaic installation. Its primary purpose is to provide a mechanical way to isolate the solar panels from the rest of the electrical system, preventing current flow during repairs, inspections, or emergency shutdowns. Without a reliable disconnect, technicians risk exposure to high-voltage direct current (DC), which can be lethal and cause severe electrical arcing.
📷 Photo by walmart.com
Understanding the Role of the Disconnect Switch
The solar disconnect switch acts as a gateway. When turned to the “off” position, it interrupts the flow of electricity from the solar modules. This is distinct from an AC breaker, as it handles the specific characteristics of DC electricity, which is much more prone to sustaining an arc than AC. Proper installation ensures that you can service your inverter or charge controller without being “live” at the source.
Before beginning any wiring, you must verify the voltage and current ratings of your system. A switch that is undersized will overheat, melt, or fail to extinguish an arc during a load-break event. Always consult the manufacturer’s specifications to ensure the switch is rated for the maximum open-circuit voltage (Voc) and short-circuit current (Isc) of your solar array.
Essential Safety Checklist and Specifications
When selecting or preparing to wire a disconnect switch, use the following table to ensure your components match your system’s output requirements.
| Feature | Requirement |
|---|---|
| Voltage Rating | Must exceed array Voc by at least 20% |
| Current Rating | Must exceed array Isc by at least 25% |
| Enclosure | NEMA 3R or 4X for outdoor protection |
| Wiring Gauge | Match solar cable size (e.g., 10 AWG) |
Step-by-Step Installation Guide
Follow these steps to wire your solar disconnect switch effectively. Always ensure that the solar panels are covered or disconnected at the MC4 connectors before starting the wiring process to avoid working with live wires.
- Mount the disconnect switch enclosure in an accessible, weather-protected location near the inverter or the point of entry into the building.
- Feed the positive and negative DC cables coming from the solar array into the “Line” or “Input” side of the disconnect switch using appropriate cable glands to maintain the enclosure’s watertight seal.
- Strip the insulation from the wire ends according to the switch terminal specifications, ensuring no stray copper strands are visible.
- Connect the positive conductor to the positive input terminal and the negative conductor to the negative input terminal, tightening the screws to the specified torque setting.
- Connect the “Load” or “Output” wires from the switch to the inverter DC input, ensuring the polarity remains consistent throughout the circuit.
- Verify all connections with a multimeter to ensure there are no shorts and that the switch correctly interrupts the circuit when toggled to the off position.
- Secure the enclosure cover and apply a “Solar DC Disconnect” label for emergency responders.
Common Wiring Mistakes to Avoid
One of the most frequent errors is mixing up the polarity. In DC systems, reversing positive and negative connections can destroy sensitive inverter components or cause the disconnect switch to fail under load. Always double-check your wire markers before making the final connection.
Another common mistake is failing to use proper strain relief. Solar cables, particularly those exposed to wind or vibration, can loosen over time if not secured with cable glands or conduit fittings. A loose connection at the switch terminal creates high resistance, leading to heat buildup, which is a common fire hazard in solar installations.
Risks of Improper Installation
Improperly wired switches can lead to “arcing,” where electricity jumps across the contacts even when the switch is moved to the off position. This is particularly dangerous because DC current does not cross a zero-point like AC, meaning the arc can sustain itself indefinitely, potentially melting the switch and causing a fire. Always ensure the switch is rated for DC load-break, meaning it is designed to safely extinguish these arcs during operation.
Environmental factors also play a massive role in long-term safety. If you install an indoor-rated switch outside, moisture will inevitably enter the enclosure. This leads to corrosion on the copper terminals, increasing electrical resistance and potentially causing the switch to weld itself in the “on” position, rendering it useless for maintenance.
Frequently Asked Questions
Q: Can I use a standard light switch for my solar array?
A: Absolutely not. Standard household switches are designed for AC current and will fail catastrophically when exposed to the high DC voltages found in solar arrays, leading to fire or explosion.
Q: Should I disconnect the switch while the panels are under full sun?
A: While load-break rated switches are designed to handle this, it is best practice to cover the panels or perform the disconnection during early morning or late evening to minimize the intensity of the arc during the switch transition.
Q: How often should I inspect the disconnect switch?
A: You should inspect the connections for signs of heat discoloration or corrosion at least once a year, or whenever you perform routine maintenance on your inverter system.
By following these guidelines, you ensure that your solar energy system remains not only efficient but also safe for anyone who needs to perform maintenance in the future. Proper wiring is the foundation of a durable and reliable renewable energy setup.
📷 Photo by walmart.com